Make DIY Pop-It
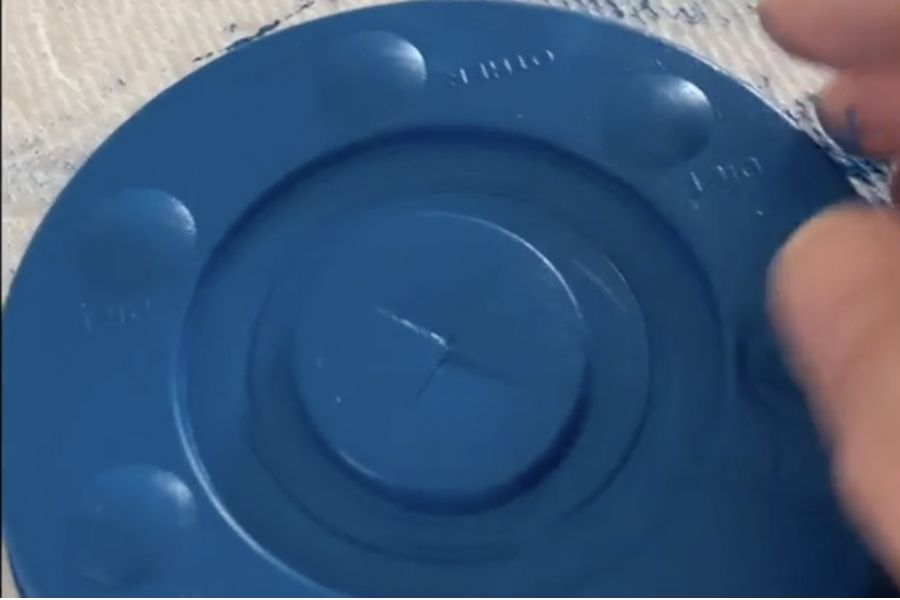
Make a DIY Pop-It using silicone cupcake liners glued into a cardboard base; decorate, then press the cups to flip and feel satisfying pops.
About this activity
Make a DIY Pop-It using silicone cupcake liners glued into a cardboard base; decorate, then press the cups to flip and feel satisfying pops.
What you need
Step by step
- 1
Step 1
Gather all the materials and put them on a clean flat table.
- 2
Step 2
Decide how big you want your Pop-It and draw a rectangle or circle on the cardboard with a pencil.
- 3
Step 3
Cut out the cardboard shape along your pencil line using scissors.
- 4
Step 4
Arrange the silicone cupcake liners on the cardboard until you like the pattern.
- 5
Step 5
Trace a small pencil mark inside each liner position so you know where to glue.
- 6
Step 6
Put a small dab of craft glue on each pencil mark.
- 7
Step 7
Press each silicone liner onto its glue dab and hold each one for about 10 seconds.
- 8
Step 8
Place a heavy book on top of the liners to keep them flat.
- 9
Step 9
Wait for the glue to dry for at least 30 minutes or follow the glue bottle directions.
- 10
Step 10
Remove the heavy book from your Pop-It once the glue is dry.
- 11
Step 11
Decorate the tops and the cardboard base with colouring materials and stickers.
- 12
Step 12
Let the decorations dry completely before playing.
- 13
Step 13
Press the cups to pop them and then share your finished Pop-It on DIY.org
Fun facts
How do I make a DIY Pop-It using silicone cupcake liners and cardboard?
To make a DIY Pop-It, cut a sturdy piece of cardboard to your desired size and mark a grid. Glue silicone cupcake liners, open-side down, onto the marks so they’re slightly flattened. Let glue dry fully. Decorate the cardboard and liner edges with paint, markers or stickers. Press each cup from the top to flip it through; flip back to reset. Adults should help with hot glue and scissors.
What materials do I need to make a DIY Pop-It with cupcake liners?
You’ll need silicone cupcake liners (same size), a sturdy cardboard base, scissors, craft glue or hot glue gun (with adult use), a ruler and pencil for spacing, paint, markers or stickers for decorating, and optional clear sealant. Use non-toxic materials if possible. For younger children, replace hot glue with tacky craft glue or double-sided tape to reduce burn risk.
What ages is a DIY Pop-It from cupcake liners suitable for?
This DIY Pop-It is suitable for children aged about 4 and up. Ages 4–6 will need close adult help with cutting and glue; use safer adhesives and pre-cut cardboard. Ages 7–10 can lead the project with supervision for hot glue; older kids can design larger or more complex grids independently. Adapt complexity and tools to your child’s fine motor skills and attention span.
What safety tips should I follow when making a DIY Pop-It?
Safety first: supervise hot glue, scissors and small decorations to avoid burns and choking. Press test a finished Pop-It to ensure liners are glued securely and won’t pop off. Smooth any sharp cardboard edges and use non-toxic paint. For toddlers, skip hot glue and small pieces—use double-sided tape and wider liners. Store the toy when not in use and inspect regularly for damage.
Watch & Learn
Need help?
What can we use if silicone cupcake liners or craft glue are hard to find?
If you don't have silicone cupcake liners, substitute small plastic bottle caps or circles cut from craft foam and attach them to the cardboard at the pencil-marked spots (step 5) using double-sided tape or a stronger school glue in place of the craft glue (step 6).
What should we do if the liners won't stay glued or fall off after drying?
If liners come loose after drying, remove them, apply a stronger adhesive such as hot glue or heavy-duty craft glue to the pencil marks (step 5), press each liner for about 10 seconds (step 7), and replace the heavy book while you follow the glue's recommended drying time (step 9).
How can we adapt the steps for different ages of children?
For toddlers have an adult cut the cardboard (step 3) and place glue dabs (step 6) while the child arranges liners (step 4) and presses them (step 7); for school-age kids let them draw the shape (step 2) and cut (step 3) themselves; and for teens encourage more detailed decorating and stronger adhesives before sealing (steps 11–12).
How can we personalize or upgrade our finished Pop-It after it's dry?
After decorations dry (step 12), seal the surface with clear craft sealer, glue small magnets to the cardboard back to make it a fridge toy, or swap in colored silicone molds for different popping textures before pressing and sharing on DIY.org (step 13).