Make DIY Christmas Ornaments For Your Christmas Tree!
Make colorful DIY Christmas ornaments using paper, felt, glue, and string; design shapes, add decorations, and hang them safely on the family tree.
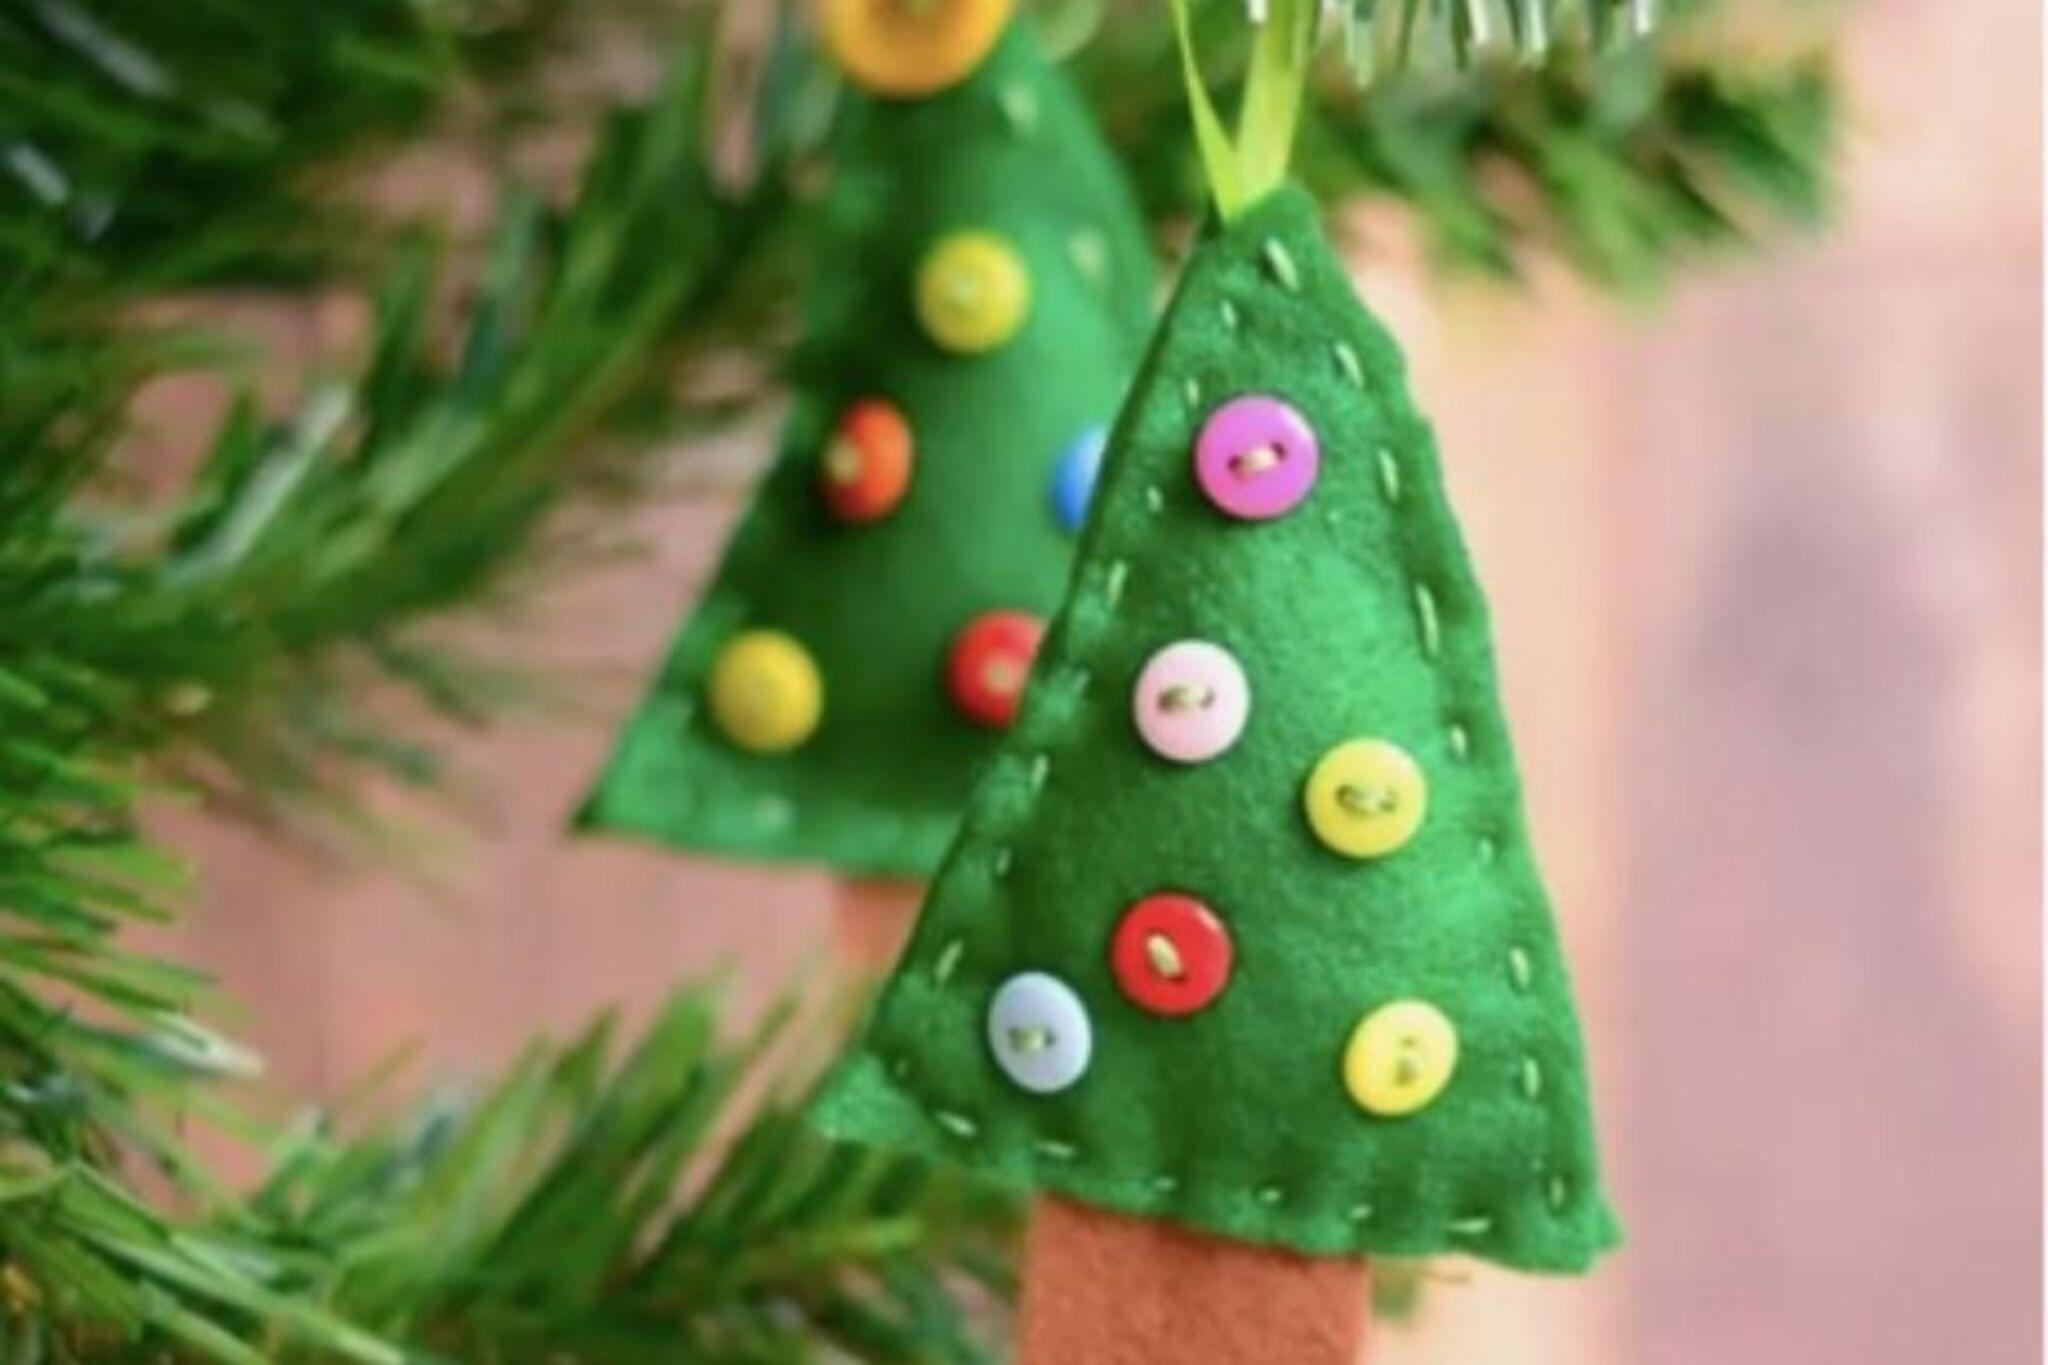
About this activity
Make colorful DIY Christmas ornaments using paper, felt, glue, and string; design shapes, add decorations, and hang them safely on the family tree.
What you need
Step by step
- 1
Step 1
Pick two or three colors of paper and felt for your ornaments.
- 2
Step 2
Draw simple ornament shapes like circles stars hearts or trees on the paper or felt using a marker or pencil.
- 3
Step 3
Cut out the shapes carefully with scissors.
- 4
Step 4
Glue a paper shape onto a felt shape to make a thicker ornament base.
- 5
Step 5
Use colouring materials to draw patterns or add color to each ornament.
- 6
Step 6
Glue small decorations like sequins buttons or bits of glitter onto your ornaments.
- 7
Step 7
Punch a hole near the top of each ornament with a hole punch.
- 8
Step 8
Cut a piece of string or ribbon about 10 to 15 centimeters long.
- 9
Step 9
Thread the string through the hole and tie the ends in a knot to make a hanging loop.
- 10
Step 10
Place your ornaments on a clean surface and let the glue dry fully for 15 to 30 minutes.
- 11
Step 11
Ask an adult to help you hang your ornaments safely on the family Christmas tree.
- 12
Step 12
Share your finished ornaments on DIY.org
Fun facts
How do I make DIY Christmas ornaments for our tree?
Start by choosing templates or drawing simple shapes on sturdy paper or felt. Cut shapes (adults help small kids), layer pieces and glue decorations like sequins, buttons, or paper scraps. Punch a small hole near the top, thread string or ribbon, knot securely, and let glue dry completely. For more durability, sandwich paper shapes between two felt layers or add a light coat of craft sealant. Hang on sturdy branches, distributing weight.
What materials do I need to make colorful paper and felt Christmas ornaments?
You'll need sturdy colored paper or cardstock, felt sheets, child-safe scissors, craft glue or a glue stick, a hole punch, string or ribbon, markers or fabric pens, sequins, buttons, beads, and stickers for decorations. Optional helpful tools: hot glue (adult use), needle and thread for sewn ornaments, cardboard for templates, clear craft sealant, and a craft mat to protect surfaces.
What ages are DIY paper and felt Christmas ornaments suitable for?
Suitable ages vary: toddlers (2–3) can join for gluing pre-cut shapes with close supervision; preschoolers (3–5) can use child-safe scissors and stick decorations with an adult nearby. Ages 6–9 can cut shapes, design patterns, and handle simple sewing with guidance. Older kids (10+) can lead projects independently. Always supervise when small parts, hot glue, or sharp tools are used, and adapt complexity to each child.
What are safe decorating tips and fun variations for homemade Christmas ornaments?
These ornaments boost creativity, fine motor skills, and family bonding. For safety, avoid loose glitter and tiny beads for young children, use child-safe glue, and reserve hot glue and needles for adults. Vary the project by making layered felt ornaments, salt-dough shapes, or recycled-paper collage designs. Consider adding dates or names to preserve memories. Store fragile ornaments in separate compartments after the holidays to prolong use.
Watch & Learn
Need help?
I don't have felt or a hole punch—what can I use instead?
If you don't have felt or a hole punch, substitute doubled cardstock or craft foam when you glue a paper shape onto a felt base in step 4 and make the hanger hole using a sharpened pencil or a toothpick.
My sequins keep falling off and the hole rips when I add the string—how do I fix that?
If decorations fall off, press each sequin or button firmly onto the glued paper/felt in step 6 and let the ornament sit undisturbed for the full 15–30 minutes in step 10, and if the hole rips when threading in step 8, reinforce the punched area first with a small piece of clear tape or a paper-reinforcement sticker.
How can I adapt this ornament activity for different ages?
For toddlers, use pre-cut shapes, blunt child-safe scissors, and stickers instead of sequins for steps 2–6, while older kids can freehand shapes, add drawn patterns in step 5, or sew on decorations for more advanced detail.
What are some ways to extend or personalize the ornaments after they're finished?
To personalize and extend the activity, write names and the year with a marker in step 5, add a clear-drying glue or sealant over glitter for durability, or glue on tiny battery LED lights before hanging and then share photos on DIY.org as the final step.