Make cardboard furniture
Build small cardboard furniture like a stool, shelf, or chair using recycled boxes, cutting, folding, and gluing while learning measurements and basic design.
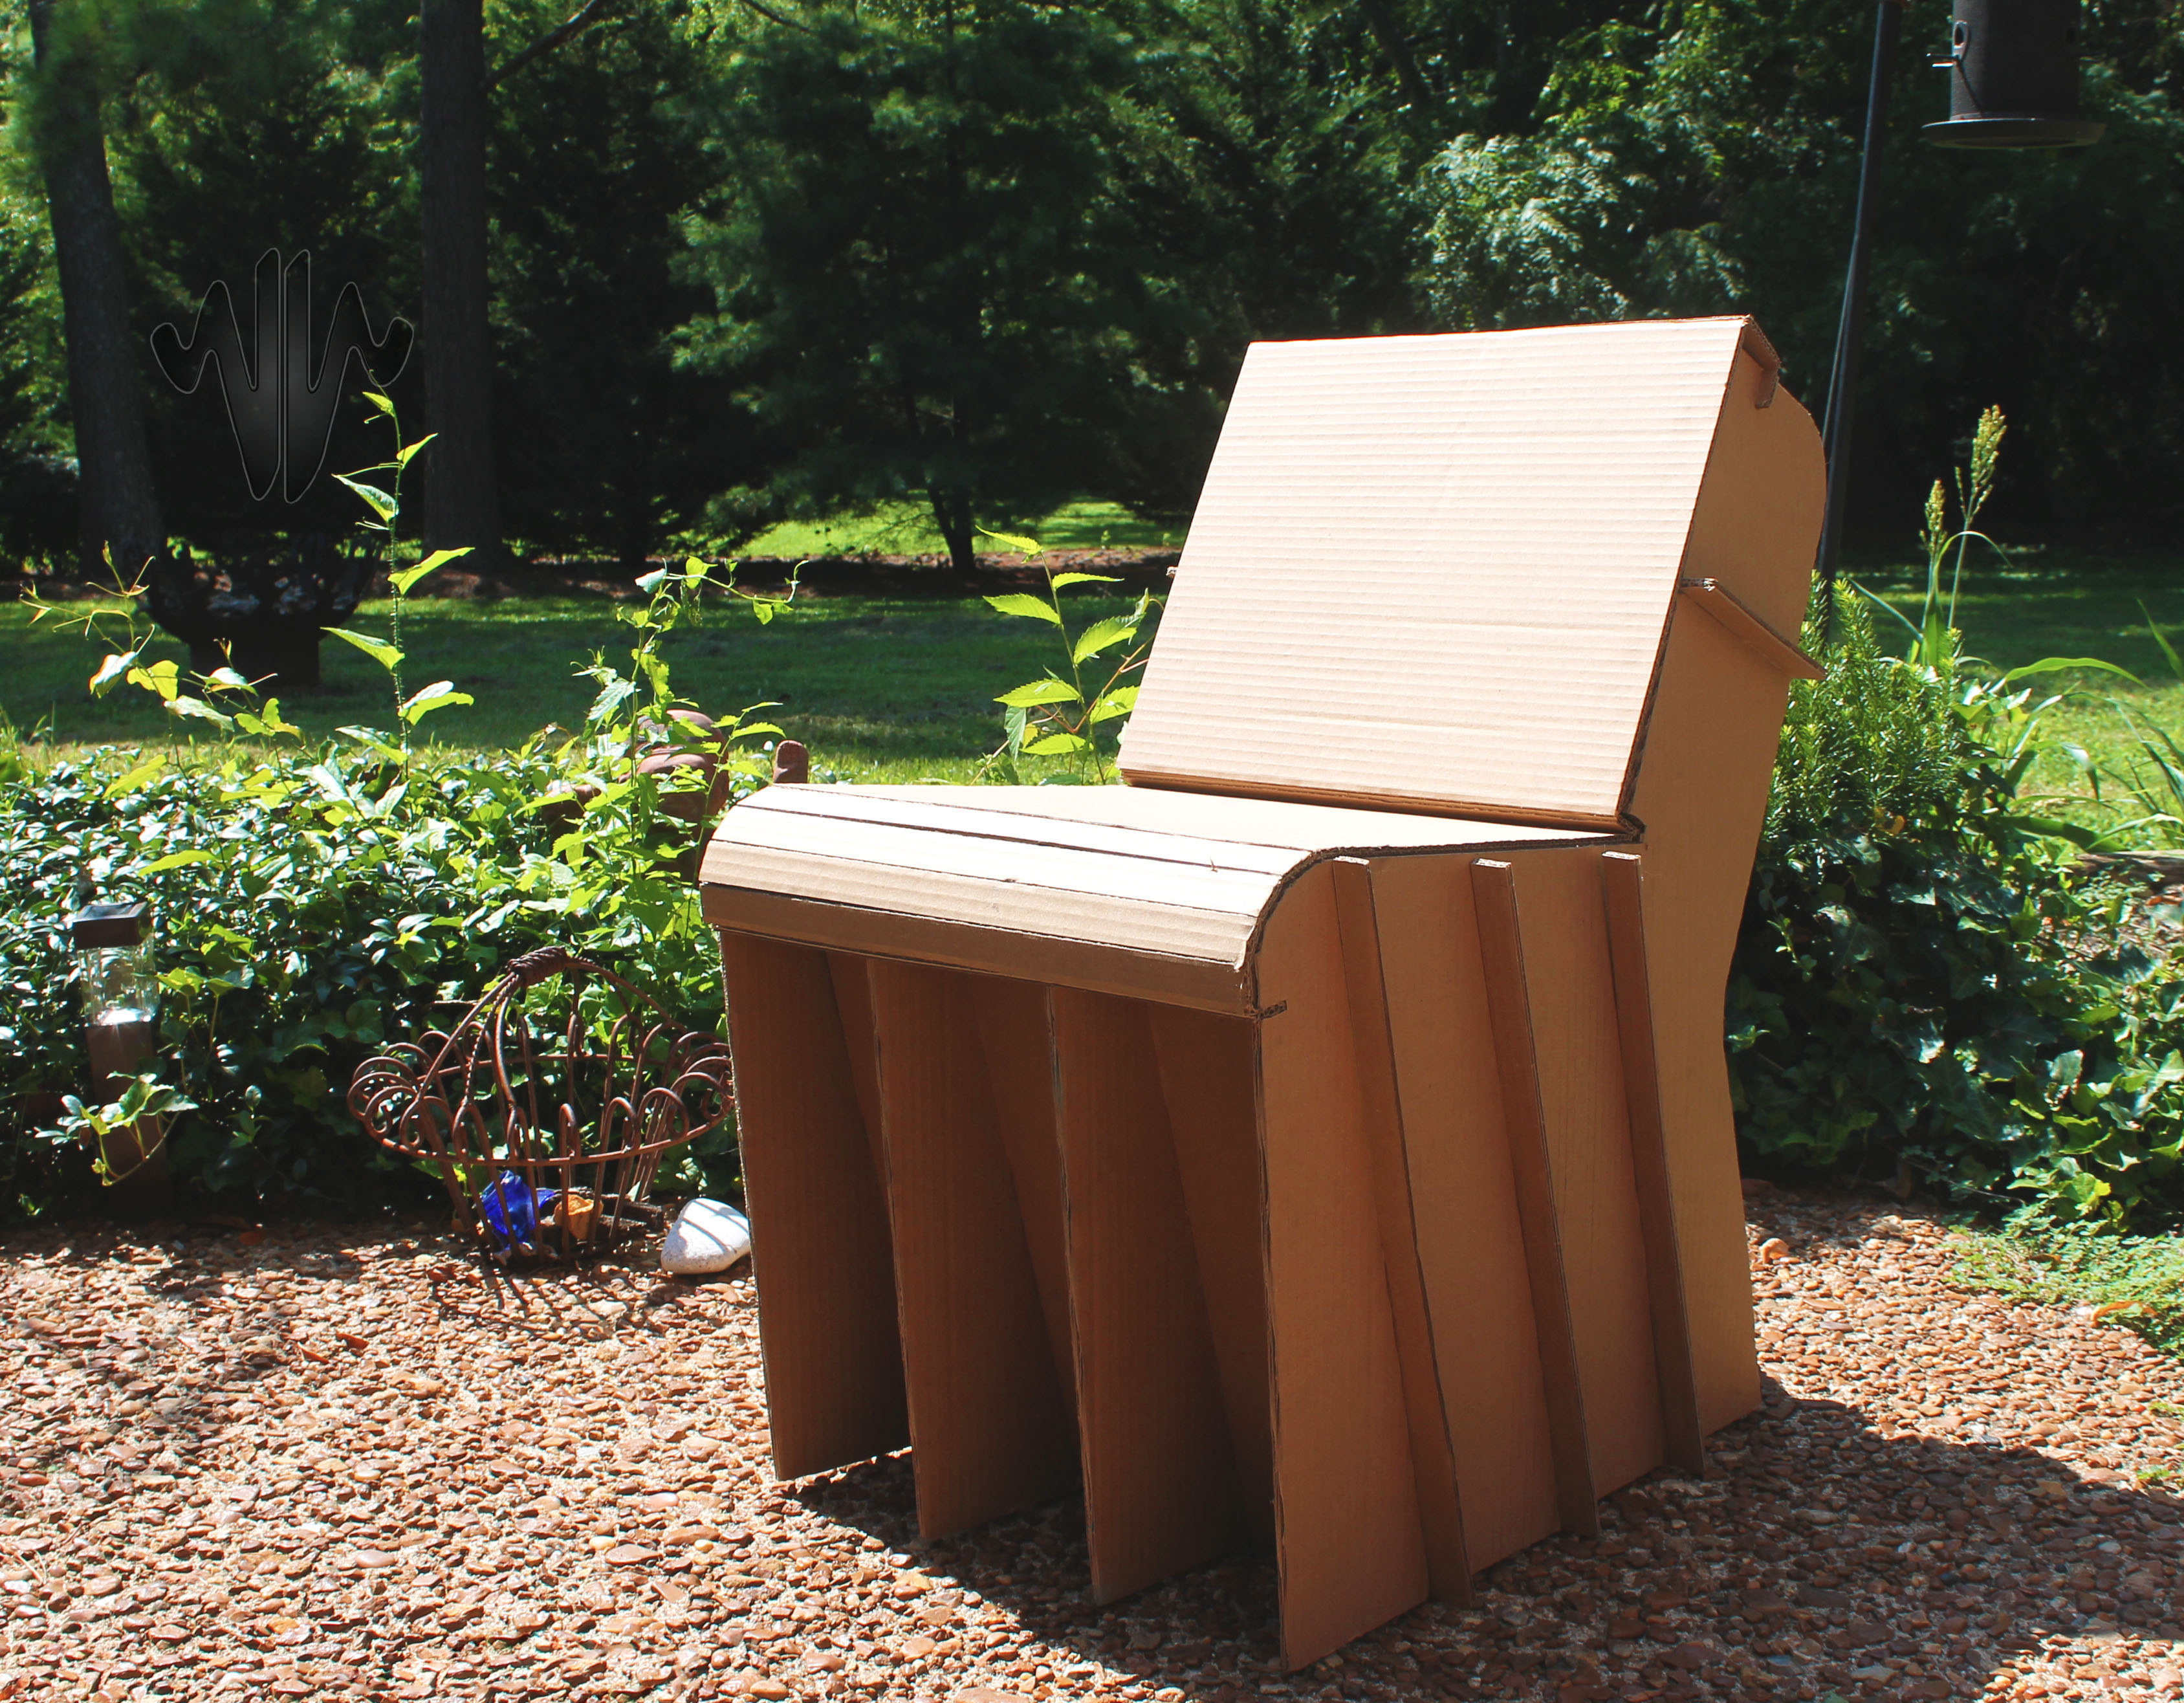
About this activity
Build small cardboard furniture like a stool, shelf, or chair using recycled boxes, cutting, folding, and gluing while learning measurements and basic design.
What you need
Step by step
- 1
Step 1
Pick which small piece of furniture you want to make such as a stool shelf or chair and imagine who will use it.
- 2
Step 2
Draw a simple plan on paper showing the top and front views and write the measurements in centimetres for each part.
- 3
Step 3
Place a flat piece of cardboard on a table and use your ruler and pencil to copy the measured shapes from your plan onto the cardboard.
- 4
Step 4
Ask an adult to help if you want to use a craft knife for cutting out the shapes.
- 5
Step 5
Cut out each cardboard piece carefully along your pencil lines using scissors.
- 6
Step 6
Score any fold lines by running the ruler along the line and pressing lightly with the pencil side to make neat folds.
- 7
Step 7
Fold along your scored lines so tabs and edges line up exactly for joining.
- 8
Step 8
Attach the main pieces together by sliding tabs into slots or by applying glue and holding the pieces until they stick.
- 9
Step 9
Reinforce the joins with extra strips of cardboard or tape so the furniture holds weight better.
- 10
Step 10
Trim any rough edges or extra tape so your furniture looks neat and smooth.
- 11
Step 11
Decorate your finished furniture with paint stickers or colouring materials and let it dry completely.
- 12
Step 12
Ask an adult to help you test your furniture gently and make any small fixes needed.
- 13
Step 13
Share a photo and a short description of your finished cardboard furniture on DIY.org
Fun facts
How do I make small cardboard furniture like a stool or chair with my child?
Start by choosing a simple design (stool, shelf, or small chair) and sketch dimensions based on the child’s size. Trace templates onto sturdy corrugated cardboard, cut pieces (adult does most cutting), add folding lines and reinforcement tabs. Slot or glue panels together, reinforce joints with extra cardboard layers and packing tape, let glue fully dry, sand rough edges, then paint or decorate. Supervise all cutting and hot-glue use.
What materials and tools do I need to build cardboard furniture from recycled boxes?
You’ll need sturdy corrugated cardboard, a ruler or tape measure, pencil, box cutter and safety scissors, cutting mat, strong adhesive (hot glue gun or PVA glue) and packing tape for reinforcement, extra cardboard for strengthening, clamps or clothespins, sandpaper, and paint or markers for decoration. Optional supports include wooden dowels or thin plywood. Always supervise children around sharp tools and hot glue.
What ages is making cardboard furniture suitable for?
Making cardboard furniture suits many ages: preschoolers (3–5) can measure, fold, and decorate with close adult help; ages 6–8 can trace and cut simple shapes with supervision; ages 9–12 can handle measuring, more precise cutting, and basic structural design; teens can design more complex, load-bearing pieces. Adjust tool access and project complexity to each child’s skills and always supervise sharp tools and adhesives.
What are the benefits of building cardboard furniture with children?
Building cardboard furniture teaches practical measurement, spatial reasoning, and basic design while strengthening fine motor skills and problem-solving. It’s an eco-friendly STEAM activity that demonstrates recycling and engineering concepts. Kids gain confidence and teamwork skills when planning, building, and testing a finished, usable item. Decorating adds creativity, and testing safe load limits reinforces learning through hands-on play.
Watch & Learn
Need help?
What can we use if we don't have a craft knife, special glue, or thick cardboard?
Use sharp scissors with an adult's help instead of a craft knife, stick pieces with strong clear tape if you don't have glue, and layer cereal boxes glued or taped together to get thicker cardboard for the pieces.
What should we do if the folds are messy or the joins don't hold when assembling the furniture?
Rescore fold lines by running the ruler and pencil again for neater folds, make sure tabs and slots line up exactly before sliding or gluing, and reinforce weak joins with extra strips of cardboard or tape while holding glued areas until they dry.
How can we adapt this activity for younger children or make it more challenging for older kids?
For younger children have an adult pre-cut the cardboard pieces and let them fold, slide tabs, and decorate, while older kids can draw precise top and front views with centimetre measurements, cut their own slots, and design stronger, weight-bearing joins.
What are simple ways to improve or personalize the finished cardboard furniture?
Add glued-on fabric and thin foam for upholstery, paint and stickers for decoration, trim rough edges for a neat look, and reinforce stress points with extra cardboard strips before testing gently and photographing the result for DIY.org.