Make an Origami Angel
Fold paper to make an origami angel, learning step by step creases, symmetry, and simple decorating techniques to personalize your paper angel.


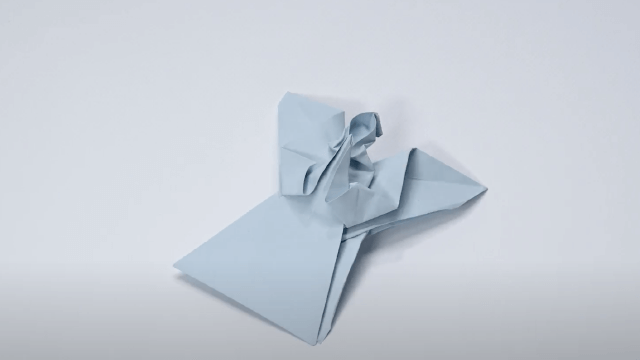

Step-by-step guide to make an origami angel
Step 1
Place your square paper color side down on a flat table so the blank side faces you.
Step 2
Fold the paper diagonally corner to corner to make a triangle and press the crease firmly.
Step 3
Turn the triangle so the long side is at the bottom and fold the bottom-left corner up to meet the top point; crease well.
Step 4
Fold the bottom-right corner up to meet the top point and crease so both sides match symmetrically.
Step 5
Fold the small top tip down about 1 centimetre to make the angel’s head and press the crease.
Step 6
Fold the whole model in half from left to right so the head is at the front and the edges line up; crease the center.
Step 7
On the right side fold the top layer outward so its edge lines with the bottom edge to form one wing and crease that fold.
Step 8
On the left side fold the top layer outward the same way so the wings match and crease that fold.
Step 9
Gently bend each wing backward a little so they curve and look like wings.
Step 10
Open the bottom slightly so the angel can stand or hang nicely.
Step 11
Decorate the angel with your colouring materials and stickers to give it a face dress and sparkles.
Step 12
Share a photo of your finished origami angel on DIY.org
Help!?
What can we use if we don't have square origami paper?
If you don't have square origami paper, trim a rectangle of printer, wrapping, or scrapbooking paper into a square by folding one corner diagonally to meet the opposite edge and cutting off the excess, then place it 'color side down' to start.
Why won't my wings match or the edges line up when I fold the model in half, and how do I fix it?
If the wings are uneven or edges don't line up when you 'fold the whole model in half from left to right,' unfold, realign the bottom and side edges, then press the diagonal and center creases firmly with a fingernail or ruler so the wing folds in steps 6–8 match.
How can I adapt this origami angel activity for younger or older kids?
For younger children use a larger square and pre-fold the diagonal and the ~1 centimetre head fold so they can complete steps 6–9 and decorate with stickers, while older kids can use smaller paper and practice precise 1 cm head folds and careful wing curving for a finer result.
How can we personalize or extend the finished origami angel project?
To personalize and extend the project, add a pipe-cleaner halo, glue sequins or glitter to the dress from the 'decorate' step, thread a loop through the top to hang using the 'open the bottom slightly' outcome, or make a garland by stringing several finished angels together.
Watch videos on how to make an origami angel
Origami ANGEL tutorial | How to make a paper angel
4 Videos

Origami ANGEL tutorial | How to make a paper angel

How To Fold An Origami Angel
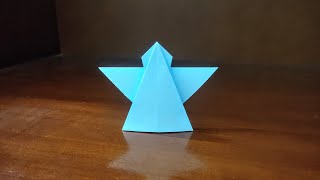
How To Fold An Origami Angel Easy - Origami Angel Easy Step By Step
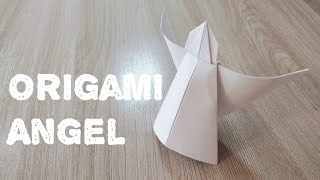
Origami Angel Instructions
Facts about origami and paper crafts
✂️ The word “origami” comes from Japanese: 'ori' (folding) + 'kami' (paper) — it literally means folding paper.
🕊️ In Japan, folding 1,000 paper cranes (senbazuru) is a traditional wish for health, hope, and peace.
➗ Many origami designs use symmetry — repeating the same folds on both sides creates balanced wings perfect for an angel.
📄 Thin, crisp paper (like kami or recycled gift wrap) makes the neatest creases and helps your angel hold its shape.
🎨 Little decorations — colored pencils, stickers, or tiny sequins — can turn a simple folded angel into a special keepsake.
How do you make an origami angel step by step?
What materials do I need to make an origami angel?
What ages is this origami angel suitable for?
What are the benefits, safety tips, and variations for making origami angels?
