Make an Edible Utensil
Make an edible spoon using simple dough (flour, butter, sugar); shape, bake with supervision, and test it to learn measuring and basic engineering.
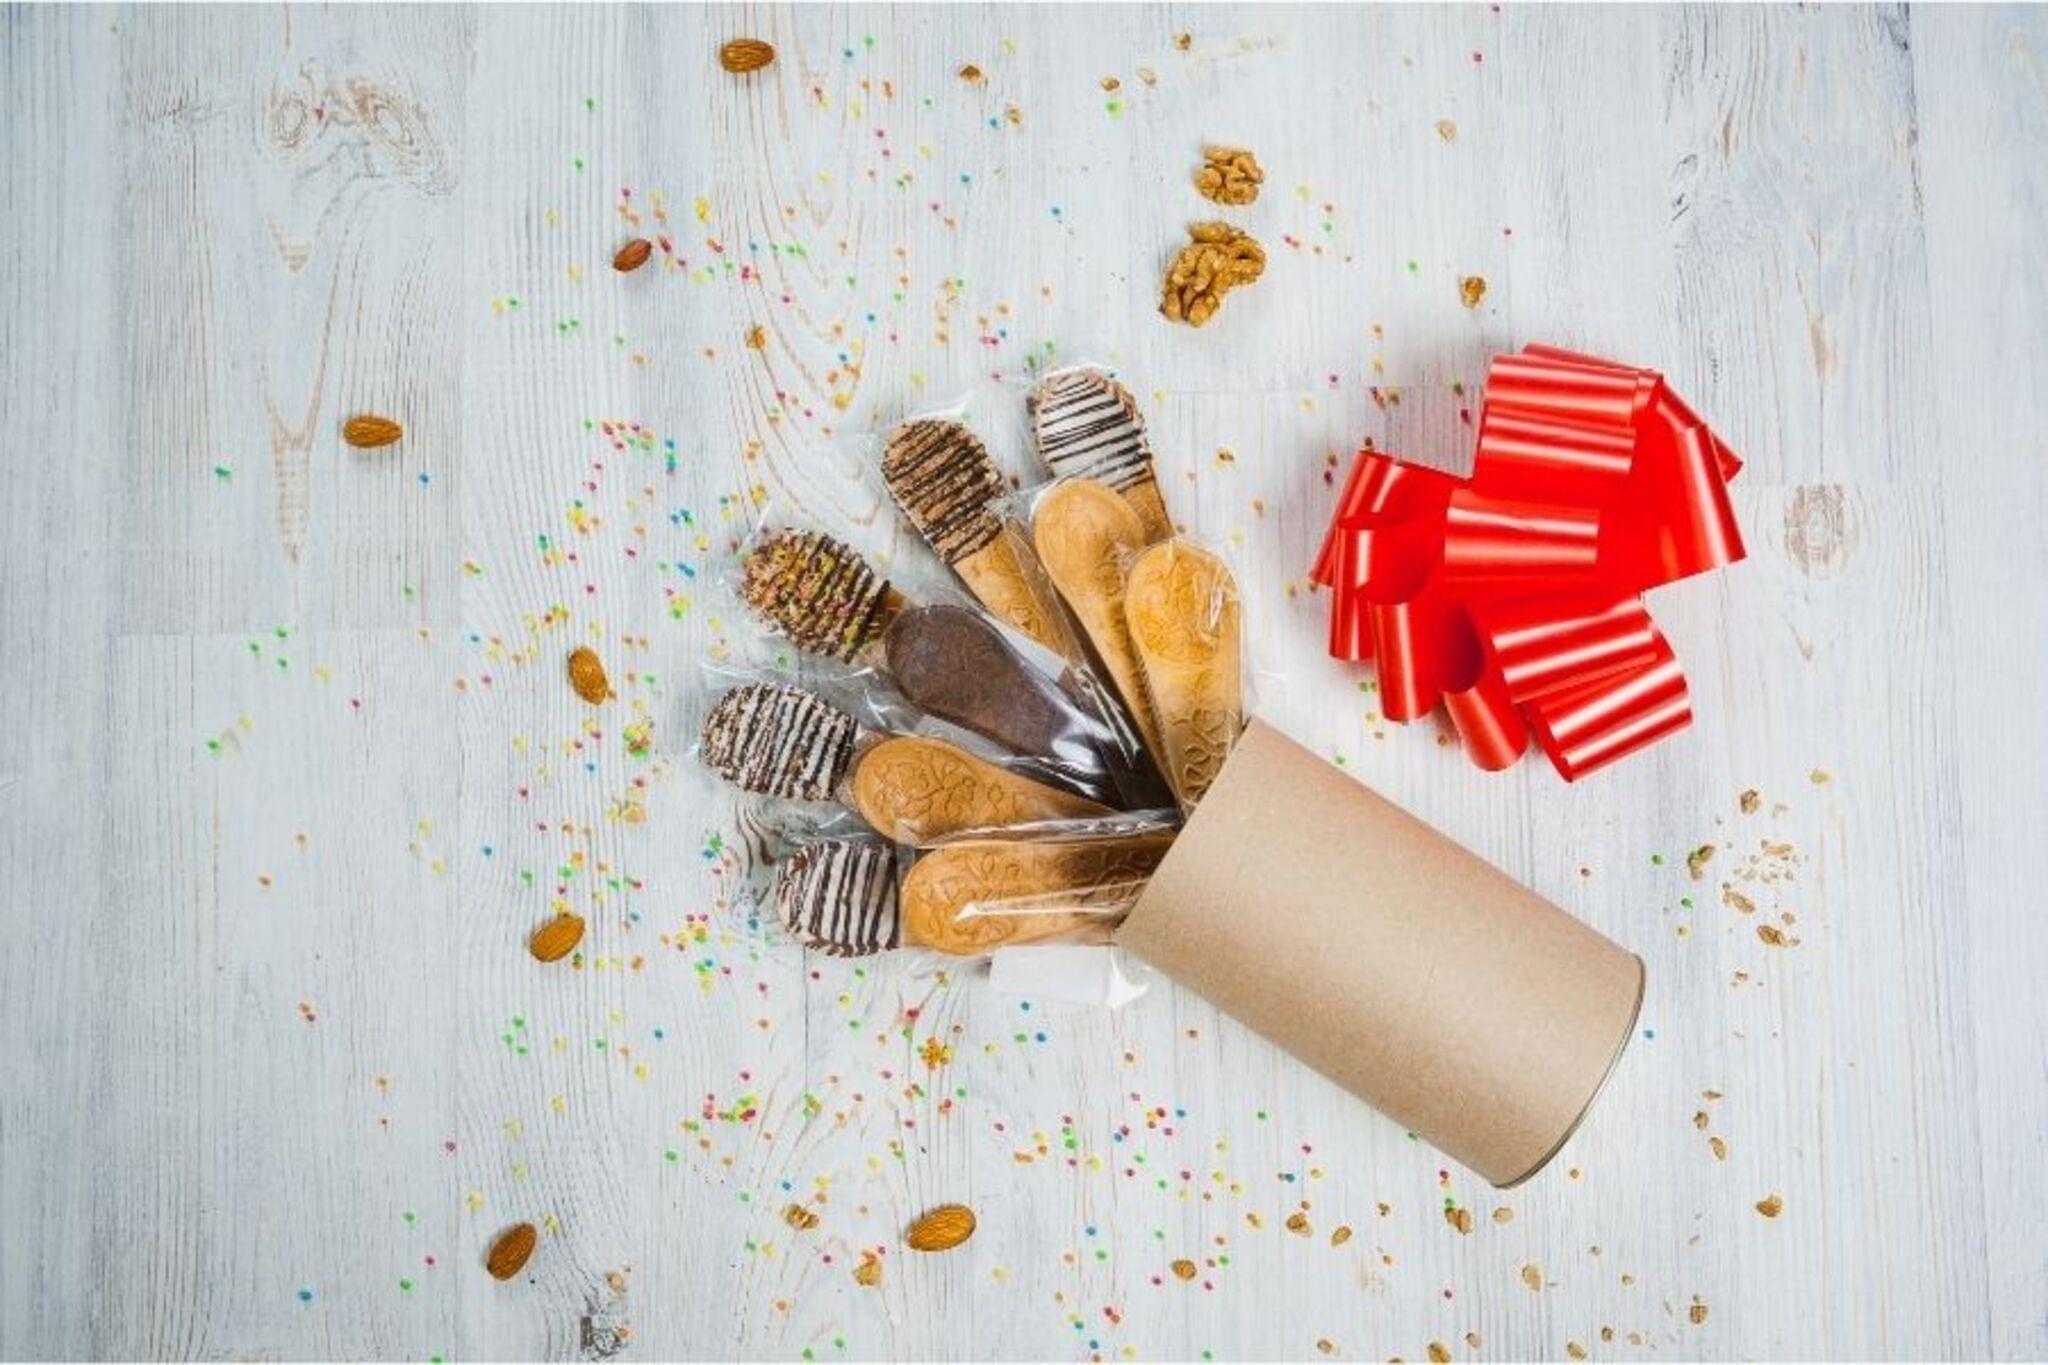
About this activity
Make an edible spoon using simple dough (flour, butter, sugar); shape, bake with supervision, and test it to learn measuring and basic engineering.
What you need
Step by step
- 1
Step 1
Wash your hands and clear a clean space to work so your kitchen is ready.
- 2
Step 2
Ask an adult to preheat the oven to 350°F (175°C).
- 3
Step 3
Measure 1 cup all-purpose flour 1/2 cup unsalted butter 2 tablespoons granulated sugar and a pinch of salt.
- 4
Step 4
Cut the butter into small cubes and put the butter and the measured dry ingredients into the mixing bowl.
- 5
Step 5
Use a fork to rub the butter into the dry mix until it looks like coarse crumbs.
- 6
Step 6
Add 1 tablespoon cold water and stir until the dough just holds together add up to 1 more tablespoon only if it is still too crumbly.
- 7
Step 7
Turn the dough onto a lightly floured surface and knead gently a few times until smooth.
- 8
Step 8
Roll the dough to about 1/8 to 1/4 inch thickness using your rolling pin or bottle.
- 9
Step 9
Place a clean spoon on the dough and use a knife to trace around it to cut out spoon shapes.
- 10
Step 10
Use the back of a small spoon to press the center of each cut shape to form a little bowl for scooping.
- 11
Step 11
Place the shaped spoons on a parchment-lined baking sheet with a little space between each one.
- 12
Step 12
With an adult, bake the spoons at 350°F (175°C) for 12 to 15 minutes until they are light golden.
- 13
Step 13
Use oven mitts to remove the baking sheet and let the spoons cool on a rack for at least 10 minutes.
- 14
Step 14
Test one cooled spoon by stirring a cup of room-temperature yogurt or cold water for up to two minutes to check how strong it is.
- 15
Step 15
Share a photo and story of your finished edible spoon on DIY.org.
Fun facts
How do you make an edible spoon using simple dough?
Mix 1 cup flour, 4 tablespoons cold butter, and 2 tablespoons sugar into a firm dough; add a pinch of salt. Chill 15–30 minutes, then roll or press small pieces over a metal spoon or spoon-shaped mold to form a concave bowl and a sturdy handle. Trim edges, place on parchment-lined sheet, and bake at 350°F (175°C) about 8–12 minutes until golden. Cool completely so the spoon hardens before testing. Adult supervises oven use and strength testing.
What materials and tools do I need to make an edible spoon?
You’ll need all-purpose flour, cold butter, sugar and a pinch of salt, plus a mixing bowl and measuring cups/spoons. Tools: a spoon-shaped mold or metal spoons, rolling pin or hands for pressing, a baking sheet with parchment paper, a cooling rack and an oven. Optional: egg wash for color, spatula, cookie cutter for uniform shapes, and a small offset spatula for trimming. Have a timer and oven mitts ready for safety.
What ages is making edible utensils suitable for?
This activity suits ages 4+ with adult help. Ages 4–6 can mix ingredients and press dough; 6–9 can shape spoons and learn measuring with guidance. Children 9+ can handle rolling, shaping, and following a simple recipe but still need adult supervision for the oven. Tailor tasks: younger kids do stirring and decorating while older kids handle more precise measuring and testing structural strength under supervision.
What safety tips should I follow when making edible spoons with kids?
Always supervise oven use—adults handle preheating, baking, and hot pans. Cool spoons completely before giving to children to avoid burns. Don’t eat raw dough: raw flour and uncooked ingredients can carry bacteria. Note allergies (gluten, dairy); use alternatives if needed. Watch for choking on small broken pieces and avoid sharp tools for young children. Test strength before serving with heavy foods and explain hot/cold and hygiene rules to kids.
Watch & Learn
Need help?
What can I use if I don't have unsalted butter, a rolling pin, or parchment paper?
If you don't have unsalted butter use salted butter but omit the 'pinch of salt', use a clean bottle as the instructions suggest if you lack a rolling pin, and substitute a lightly greased baking sheet for the parchment-lined baking sheet.
My spoons keep crumbling or breaking when I stir — what should I check or change?
Follow the step to add only up to 1 extra tablespoon of cold water, roll the dough to the specified 1/8–1/4 inch thickness, press the center firmly with the back of a small spoon to form the bowl, and bake until light golden for 12–15 minutes so they set solidly.
How can I adapt the activity for different age groups?
For toddlers and preschoolers let them press out pre-rolled spoon shapes and decorate cooled spoons, for elementary kids have them measure, cut around a clean spoon, and press the bowl with supervision, and for teens let them handle oven timing and experiment with flavors while testing strength by stirring yogurt or cold water as instructed.
How can we extend or personalize the edible spoons after making them?
Mix in 1–2 teaspoons of seeds or grated cheese when you rub the butter into the dry ingredients, bake as directed, then after the spoons cool dip ends in melted chocolate or spread icing and share your photo and story on DIY.org.