Make a toy figure
Make a simple toy figure from clay, pipe cleaners, and recycled materials, then paint and pose it to explore creativity and basic sculpting.


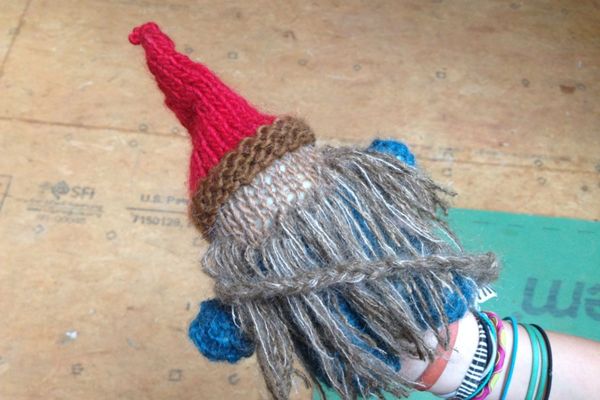

Step-by-step guide to make a simple toy figure
How to Make Custom Action Figures: a Beginner's Guide
Step 1
Gather all materials on a clean table so everything is easy to reach.
Step 2
Draw a quick sketch of your toy figure on a scrap of paper to plan its shape and colors.
Step 3
Soften a chunk of air dry clay by squishing and kneading it until it feels smooth.
Step 4
Shape a main body piece by rolling and forming the clay into the size and shape you want.
Step 5
Roll a smaller ball of clay for a head and make any other tiny clay parts like ears or a belly.
Step 6
Press the head and the small clay parts onto the main body to attach them firmly.
Step 7
Bend pipe cleaners into arms and legs and push their ends gently into the clay body to hold them in place.
Step 8
Use white craft glue to stick recycled bits onto the clay or pipe cleaners to add clothes or accessories.
Step 9
Smooth seams and add facial features by pressing or shaping details with your fingertips.
Step 10
Let the toy dry completely following the air dry clay instructions on the package.
Step 11
Paint your toy using the colors from your sketch and let the paint dry between layers.
Step 12
Pose your finished figure and share a photo of your creation on DIY.org
Help!?
What can I use if I can't find air-dry clay for the main body and head?
Use oven‑bake polymer clay and bake it per package directions or make a simple salt‑dough (2 cups flour, 1 cup salt, 1 cup water) to shape the body, head, and small parts and let it air‑dry.
My head or pipe cleaner arms keep falling off—how do I fix that?
Press the head firmly onto the softened clay and slightly score the attachment point, push pipe cleaner ends deeper into the body, and wait until the clay is completely dry before adding white craft glue to secure recycled bits.
How can I change this activity for younger children or older kids?
For younger kids, pre‑roll the main body and cut pipe cleaners to size so they only attach and decorate with large recycled bits, while older kids can sculpt finer facial features, add small clay parts, and paint detailed layers following their sketch.
What are some ways to extend or personalize the finished toy figure?
Embed a thin wire armature before shaping the air‑dry clay to make poseable limbs, varnish painted areas for durability, and add magnets, fabric clothes from recycled bits, or layered paint details to personalize the figure.
Watch videos on how to make a simple toy figure
DIY Toys for Kids! | How to make fun and creative kid toys for at-home play!
4 Videos
DIY Toys for Kids! | How to make fun and creative kid toys for at-home play!
Make TOYS at HOME! AOSEED X-MAKER JOY 3D Printer
Crafty Creations: Make Your Own Fidget & Squishy Toys! 🎨🧩
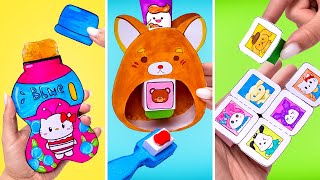
MAKE Your Own AMAZING Paper Toys 💜🚀 DIY Ideas for Kids by Slick Slime Sam's Maker World
Facts about sculpting and recycled crafts for kids
🧸 Archaeologists have found toy figurines and dolls that are thousands of years old — some are over 4,000 years!
♻️ Reusing cardboard, fabric scraps, and plastic bits to make crafts helps reduce waste and gives materials a second life.
🧶 Pipe cleaners started as tools to clean tobacco pipes in the 19th century and later became a favorite for crafters.
🪨 Air-dry modeling clay hardens by losing water into the air, while polymer clay needs baking to fully cure.
🎨 Adding a simple wire or pipe-cleaner armature makes small clay figures stronger and easy to pose for play or display.
How do you make a simple toy figure from clay, pipe cleaners, and recycled materials?
What materials do I need to make a toy figure using clay and pipe cleaners?
What ages is making a clay and pipe cleaner toy figure suitable for?
What safety tips should parents follow when kids make toy figures from clay, pipe cleaners, and recycled materials?
