Make A Tiny Stockpot
Make a tiny stockpot from recycled materials like a clean tin can, foil, and glue; decorate it and test the lid with adult supervision.
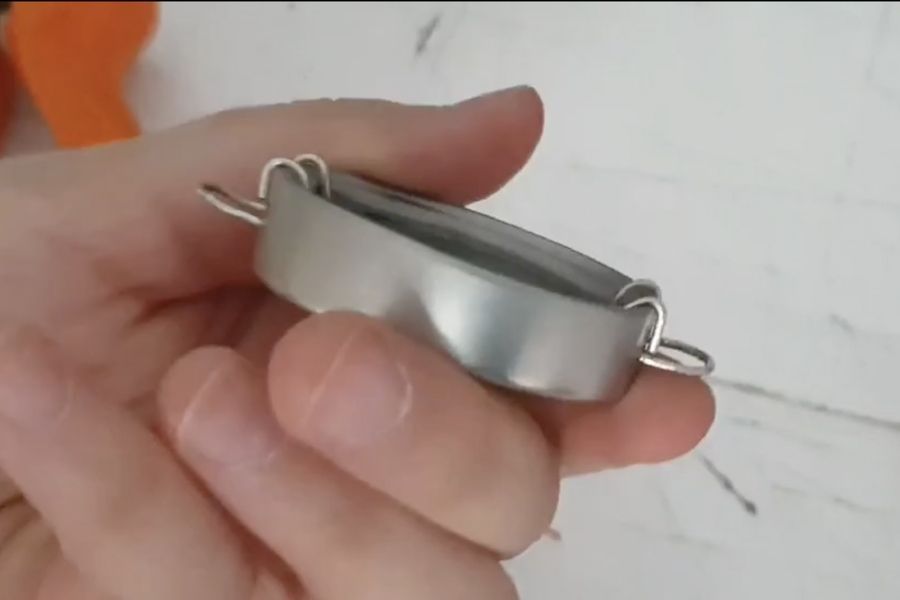
About this activity
Make a tiny stockpot from recycled materials like a clean tin can, foil, and glue; decorate it and test the lid with adult supervision.
What you need
Step by step
- 1
Step 1
Gather all the materials on a clear table so you can see everything.
- 2
Step 2
Ask an adult to check that the tin can is clean and that the edges are safe to touch.
- 3
Step 3
Use the ruler to measure the diameter across the open top of the tin can.
- 4
Step 4
Draw a circle on the cardboard using the measurement you took so the lid will fit.
- 5
Step 5
Cut out the cardboard circle carefully with scissors.
- 6
Step 6
Cut a small cardboard rectangle for a handle about the length of a finger.
- 7
Step 7
Wrap the cardboard circle tightly in aluminum foil and smooth the top and edges with your fingers.
- 8
Step 8
Wrap the small cardboard rectangle in foil to make the handle shiny and smooth.
- 9
Step 9
Glue the foil-covered handle to the center of the foil-covered circle and press gently until the glue holds.
- 10
Step 10
Place the foil lid on the can and use masking tape on the rim if you need the lid to sit more snugly.
- 11
Step 11
Decorate the outside of the tin can with paint stickers or ribbons to make your tiny stockpot look special.
- 12
Step 12
Let any glue or paint dry completely before the next step.
- 13
Step 13
With an adult present test the lid by placing it on the can and gently lifting the handle to check the fit.
- 14
Step 14
Share a photo of your finished tiny stockpot on DIY.org
Fun facts
How do you make a tiny stockpot from recycled materials?
Start with a clean tin can as the pot base. Wrap the outside with aluminum foil or cut decorative cardboard to glue on. Make a lid from a smaller can lid or stiff cardboard covered in foil, and attach a tiny knob using glued bottle cap or bead. Smooth sharp edges, let glue dry, then test the lid fit with an adult present. Decorate with paint, stickers, or washi tape for a finished mini stockpot.
What materials do I need to make a tiny stockpot?
You’ll need a clean tin can, a smaller lid-sized piece (cardboard or a small can lid), aluminum foil, glue (PVA or hot glue used by adults), scissors or craft knife (adult use), paint or markers, and decorative items like beads or stickers. Optional: sandpaper to smooth edges and a bottle cap for a lid knob. Always have adult supervision when cutting, gluing hot items, or handling sharp metal.
What ages is the tiny stockpot craft suitable for?
This activity suits preschoolers to school-age kids with adaptations: ages 3–5 can decorate pre-prepared cans and help press on foil; ages 6–9 can assemble pieces with close adult help; ages 10+ can handle more cutting and hot-glue steps with supervision. Always assess your child’s fine-motor skills and allow adults to do tasks involving sharp edges, hot glue, or heavy-duty scissors.
Is making a tiny stockpot safe for kids and how should adults supervise?
Yes, it can be safe with precautions: remove sharp rims or cover them with tape/foil, let adults handle cutting and hot glue, and test the lid fit only without heating. Keep paints and glues in a ventilated area and use non-toxic products. Never use the tiny pot with real fire or boil liquids; treat it as a toy. Supervise closely during all steps involving tools and always check for loose parts before play.
Watch & Learn
Need help?
What can we use if we can't find a tin can, aluminum foil, or masking tape?
If you don't have a tin can use a clean plastic yogurt tub or small cookie tin, swap aluminum foil for silver craft paper or a piece of pie tin, and replace masking tape with painter's tape or clear tape when securing the lid.
My foil keeps tearing or the lid is too loose — what should I try?
If the foil tears, wrap the cardboard circle in two thinner sheets or use a piece cut from a baking tray, and if the lid is too loose press masking tape around the can rim or add a thin cardboard ring under the foil for a snugger fit.
How can I change this activity for different ages?
For preschoolers have an adult measure and cut the cardboard circle and handle while the child wraps the foil and decorates with stickers, for elementary kids let them use the ruler and scissors with supervision to cut and glue the handle, and for older kids challenge them to design a hinged lid with masking tape or make a matching foil spoon from extra cardboard.
How can we make the tiny stockpot more special or turn it into a bigger project?
Glue a small bead or button to the foil-covered handle as a knob, decorate the outside with painted patterns or ribbons, make matching spoons from extra cardboard wrapped in foil, or create a set of different-sized stockpots by repeating the measuring, cutting, wrapping, and decorating steps.