Make a stamp
Make a custom stamp from craft foam and a bottle cap, cut a simple design, and print patterns using washable paint.
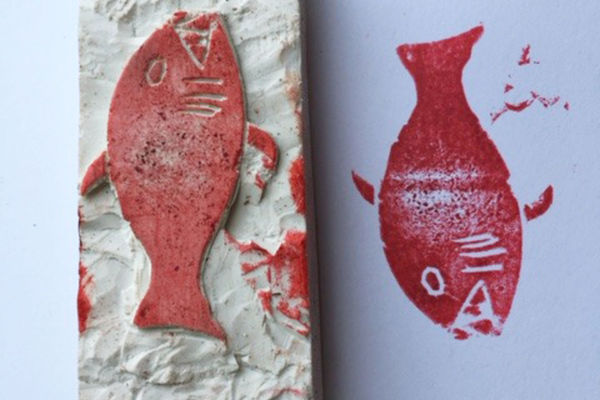
About this activity
Make a custom stamp from craft foam and a bottle cap, cut a simple design, and print patterns using washable paint.
What you need
Step by step
- 1
Step 1
Clear a flat workspace and lay out all your materials so everything is easy to reach.
- 2
Step 2
Look at simple shapes and choose one design like a star heart circle or leaf.
- 3
Step 3
Draw your chosen shape on the craft foam with the pencil.
- 4
Step 4
Cut out the foam shape carefully with scissors following your pencil line.
- 5
Step 5
Check the foam shape against the top of the bottle cap and center it so it fits well.
- 6
Step 6
Attach the foam shape to the bottle cap using a small piece of double-sided tape or a dab of craft glue and press to stick.
- 7
Step 7
Squeeze a little washable paint onto the plate and use the paintbrush or cotton swab to paint a thin even layer on the foam stamp.
- 8
Step 8
Press the painted foam stamp straight down onto the paper and lift up to make one print.
- 9
Step 9
Repeat painting the foam and stamping to create a pattern across the paper.
- 10
Step 10
Wipe the paint off the stamp and tools and let your stamped artwork dry completely.
- 11
Step 11
Take a photo of your finished stamped pattern and share your creation on DIY.org
Fun facts
How do I make a custom stamp from craft foam and a bottle cap?
Trace the inside of a clean bottle cap onto craft foam and cut out the circle. Draw a simple raised design (star, heart, lines) on the foam, then carefully cut away foam around the design so it stands proud. Glue the foam design into the bottle cap with craft or hot glue (adult only for hot glue). Press the cap into washable paint and stamp onto paper, cleaning and reloading paint as needed.
What materials do I need to make foam bottle-cap stamps?
You’ll need craft foam sheets, clean bottle caps, washable paint, scissors, a pencil, and craft glue or a hot glue gun (adult use only). Optional items: a craft knife for detailed cuts (adult use), paper or cardstock, a small palette or plate for paint, wet wipes, and a smock or table covering to protect clothes and surfaces.
What ages is this bottle-cap stamp activity suitable for?
This craft suits different ages with supervision adjustments: toddlers (2–3) can stamp using pre-made caps while closely supervised; preschoolers (3–5) can help design and press stamps with adult help for cutting; school-age kids (6+) can cut simple designs and glue pieces with guidance. Always supervise cutting and hot glue, and avoid loose small parts for very young children.
What are the benefits and safety tips for making foam bottle-cap stamps?
Stamping builds fine motor skills, pattern recognition, creativity, and hand-eye coordination. Use non-toxic, washable paints and cover surfaces. Supervise cutting, hot glue, and small parts—bottle caps can be choking hazards for children under three. Encourage testing on scrap paper, allow paint to dry fully, and store caps and tools out of reach when finished.
Watch & Learn
Need help?
What can I use if I don't have craft foam or a bottle cap?
If you don't have craft foam or a bottle cap, substitute a kitchen sponge or thick cardboard for the foam and a jar lid or a sturdy piece of cardboard as the cap base, attaching it with double-sided tape or a dab of craft glue as in step 5.
My stamp keeps coming off the bottle cap or the prints look smudged — how do I fix that?
Make sure the foam shape is centered and pressed firmly onto the bottle cap with a fresh piece of double-sided tape or a dab of craft glue (press and let dry) and apply a thin, even layer of washable paint with the paintbrush or cotton swab as described in step 6 to avoid smudging.
How can I adapt this activity for different age groups?
For toddlers, have an adult pre-draw and pre-cut simple shapes and let them press pre-painted stamps, while older kids can draw more detailed shapes on the craft foam (step 3), carefully cut them out (step 4), and design repeating patterns across the paper (step 7).
How can we make the stamped artwork more creative or personal?
Layer colors by letting each stamped layer dry completely before stamping again, combine different bottle-cap sizes and foam shapes to make larger motifs, add glitter or metallic paint before the final drying step, and then photograph your finished pattern to share on DIY.org as suggested.