Make a spooky treat
Decorate simple spooky cupcakes using pre-baked cupcakes, frosting, candy eyes, and sprinkles while practicing safe kitchen skills and creative design.


Step-by-step guide to decorate spooky cupcakes
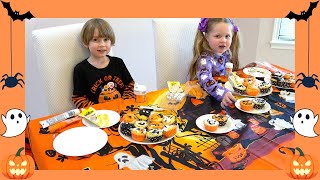
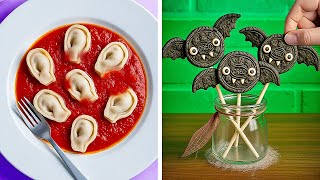
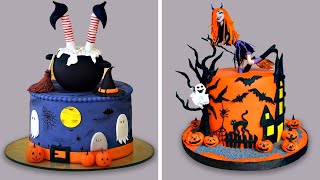
17 Spooky Halloween Party Treats
Step 1
Wash your hands with soap and water for 20 seconds to make sure they are clean.
Step 2
Clear a flat workspace and put a napkin or plate down to keep the area tidy.
Step 3
Place all materials on the workspace where you can reach them easily.
Step 4
Put one cupcake on a plate or tray to get ready to decorate.
Step 5
Scoop some frosting into a small bowl using a spoon so it is easy to handle.
Step 6
Use the butter knife or spreader to gently spread a smooth layer of frosting on the top of the cupcake.
Step 7
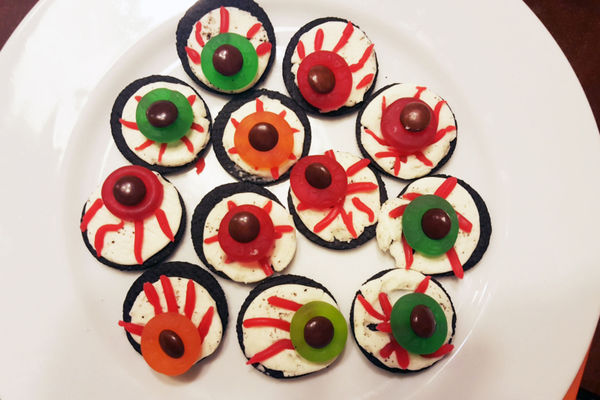
Press candy eyes into the frosting to create spooky faces or silly looks.
Step 8
Sprinkle sprinkles over the frosting to add color and spooky texture.
Step 9
Wipe any frosting from the edges of the plate with a napkin to keep your cupcakes neat.
Step 10
Ask an adult to help open packages or handle anything tricky, then repeat steps 4–8 for each cupcake until they are all decorated.
Step 11
Share photos of your spooky cupcakes and what you made on DIY.org to show your creation to others.
Final steps
You're almost there! Complete all the steps, bring your creation to life, post it, and conquer the challenge!


Help!?
What can I use if I can't find candy eyes, a butter knife, or a small bowl?
If candy eyes are unavailable, press chocolate chips, mini M&Ms, or small raisins into the frosting (step 7), use a spoon or plastic spreader instead of a butter knife for spreading (step 6), and scoop frosting into a clean cup or ramekin if you don't have a small bowl (step 5).
The frosting is tearing the cupcake top or the candy eyes keep sliding off—how do I fix that?
If the frosting is too stiff or tearing the cupcake during spreading (step 6), soften it with a teaspoon of milk or microwave the bowl for 5–10 seconds and stir, then press candy eyes gently into slightly tacky frosting (step 7) and wipe excess from the plate (step 9) to keep things neat.
How can I adapt this activity for a 3-year-old, an 6-year-old, or a 10-year-old?
For a 3-year-old, have an adult handle steps 4 and 8 and let them press pre-scooped frosting and large candies in place (steps 5–7); for a 6-year-old, supervise while they spread frosting with a butter knife and add sprinkles (steps 6–7); and for a 10-year-old, let them mix colors into the frosting, design detailed faces, and photograph their cupcakes for DIY.org (step 10).
What are some fun ways to make the spooky cupcakes more creative or personalized?
Make colored frosting by adding a drop of food coloring to the bowl (step 5), use piping bags or a zip-top bag with a snipped corner instead of a butter knife (step 6) to create details, swap sprinkles for crushed cookies or edible glitter (step 8), and encourage kids to name their creations and post photos on DIY.org (step 10).
Watch videos on how to decorate spooky cupcakes
Halloween Cupcake Decorating Challenge for Kids With Candy | 🎃 Easy & Fun DIY Treats!
3 Videos
Halloween Cupcake Decorating Challenge for Kids With Candy | 🎃 Easy & Fun DIY Treats!
SPOOKY & CUTE HALLOWEEN TREATS! 👻 Easy DIY Ideas For The Best Halloween Ever! 🎃
10+ Simple and Easy Halloween Treats for a Spooky Party | Scary Halloween Cupcakes and Cake Design
Facts about cupcake decorating and kitchen safety for kids
🧁 The word “cupcake” showed up in American cookbooks in the early 1800s — tiny cakes baked in cups!
🎃 Halloween is one of the most popular times for making spooky-themed treats and fun decorations.
🍬 Sprinkles are known by many names around the world, including 'jimmies' and 'hundreds and thousands.'
👀 Edible candy eyes are tiny sugar decorations that instantly give cupcakes silly or spooky personalities.
🧼 Washing hands before baking can cut the spread of germs and reduce some foodborne illnesses by about 30–40%.
How do I decorate spooky cupcakes with my child?
What materials do I need to make spooky cupcakes?
What ages are spooky cupcake decorating suitable for?
What safety tips should I follow when decorating spooky cupcakes?


