Make a Scrunchie With RosieDonut14
Make a colorful fabric scrunchie with RosieDonut14 using safe scissors, elastic, and basic sewing or no-sew glue techniques while learning measurements.
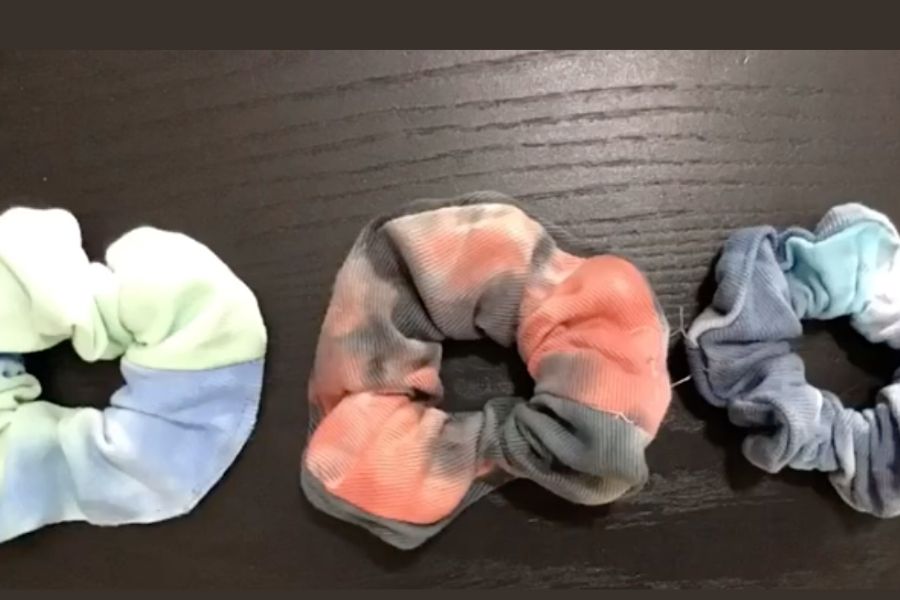
About this activity
Make a colorful fabric scrunchie with RosieDonut14 using safe scissors, elastic, and basic sewing or no-sew glue techniques while learning measurements.
What you need
Step by step
- 1
Step 1
Lay out all your materials on a clean flat table so everything is easy to reach.
- 2
Step 2
Use the measuring tape to measure the elastic to the length you want for your scrunchie and note the number.
- 3
Step 3
Cut the elastic to the measured length with safety scissors.
- 4
Step 4
Measure a fabric rectangle that is about twice the elastic length plus 6 cm for seam and gathering.
- 5
Step 5
Cut the fabric rectangle along your measurements with safety scissors.
- 6
Step 6
Fold the fabric lengthwise with the right sides facing each other and pin the long edges together.
- 7
Step 7
Decide whether you will sew the seam or use fabric glue for a no-sew scrunchie.
- 8
Step 8
If you chose to sew then stitch the long pinned edge to make a tube and leave a 3 cm gap unstitched.
- 9
Step 9
If you chose no-sew glue then run a thin line of fabric glue along the long edge press to seal and leave a 3 cm gap unglued.
- 10
Step 10
Turn the fabric tube right side out through the gap using a safety pin to help pull it.
- 11
Step 11
Attach a safety pin to one end of the elastic and thread the elastic all the way through the fabric tube.
- 12
Step 12
Overlap the elastic ends by about 1 cm and sew them together with a few stitches or tie a secure knot.
- 13
Step 13
Tuck the fabric gap inside neatly and sew or glue the gap closed so the tube looks even.
- 14
Step 14
Put the scrunchie around your hair or a friend and share a photo of your finished scrunchie on DIY.org
Fun facts
How do you make a scrunchie with RosieDonut14?
Follow RosieDonut14’s step-by-step tutorial: measure and cut a fabric strip (about 18–22" long by 3–4" wide), fold right sides together and sew a ¼" seam leaving a short gap, or use no-sew fabric glue. Turn the tube right-side out with a safety pin, thread 7–9" elastic through and overlap ends, stitch or secure with a small tight knot and hide seam inside. Finish by closing the gap and fluffing the scrunchie.
What materials do I need to make a scrunchie with RosieDonut14?
You’ll need: a cotton or stretch fabric strip about 18–22 inches long and 3–4 inches wide (adjust for child size), 7–9 inches of 1/4-inch elastic, sharp (safe) fabric scissors, a ruler or measuring tape, safety pin to thread elastic, needle and thread or no-sew fabric glue, and optional items like pins, iron, and a sewing machine for faster stitching.
What ages is this scrunchie activity suitable for?
This craft works well for kids aged about 6 and up with adult supervision for cutting and sewing. Younger children (3–5) can join by choosing fabric, holding pins, or using pre-cut strips and fabric glue while an adult handles scissors and needles. Teens can try more advanced fabrics, patterns, or tiny scrunchie sizes to learn measurements and sewing techniques independently.
What safety tips should I follow when making a scrunchie with RosieDonut14?
Safety first: always supervise children when using scissors, needles, or hot glue. Use kid-safe rounded scissors and a blunt-tip tapestry needle when possible. Pre-cut fabric for younger kids and secure elastic ends with stitches rather than small metal clamps that could be a choking risk. Work on a clear surface, keep pins in a magnetized dish, and teach measuring skills with a ruler. Consider no-sew glue for ages under eight.
Watch & Learn
Need help?
What can I use if I don't have elastic, fabric glue, or a measuring tape?
Use a cut strip from an old t‑shirt or sock as elastic when you 'measure the elastic', replace fabric glue with clear craft glue or hand sewing for the 'run a thin line of fabric glue' step, and use a ruler plus a piece of string to mark lengths instead of the measuring tape.
The fabric tube won't turn right side out or is bunched up when I try to pull it through the 3 cm gap — what should I do?
If the tube resists or bunches while you 'turn the fabric tube right side out through the gap', attach the safety pin to the fabric end and push with a blunt tool (like a pencil or chopstick) while pulling the pin to ease the tube through smoothly.
How can I adapt this scrunchie activity for different age groups?
For toddlers have an adult do the 'measure' and 'cut' and let the child choose fabric, for 6–9 year olds let them measure with help and use the 'no‑sew glue' option, and for 10+ let them follow all steps including stitching the 'overlap the elastic ends by about 1 cm'.
How can we customize or upgrade the scrunchie after finishing it?
After you 'tuck the fabric gap inside neatly and sew or glue the gap closed', personalize your scrunchie by sewing on a small button, adding a glued ribbon bow, or making it reversible by using two different fabric rectangles.