Make a Pumpkin for Halloween!
Create a Halloween pumpkin craft using paper, scissors, glue, and markers. Cut shapes, assemble layers, and decorate to learn design and fine-motor skills.
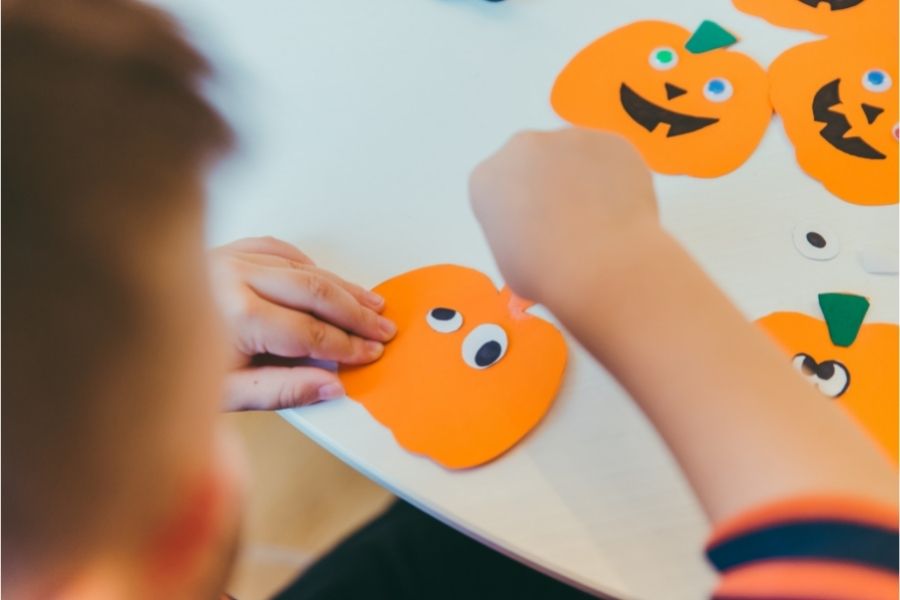
About this activity
Create a Halloween pumpkin craft using paper, scissors, glue, and markers. Cut shapes, assemble layers, and decorate to learn design and fine-motor skills.
What you need
Step by step
- 1
Step 1
Clear a flat space and lay out all your materials so you can reach them easily.
- 2
Step 2
Use the pencil to draw a big oval for the pumpkin on the orange paper.
- 3
Step 3
Draw three curved vertical lines inside the oval to make pumpkin sections.
- 4
Step 4
Cut out the pumpkin shape carefully along the pencil outline with scissors.
- 5
Step 5
Use a marker to draw and color a short stem at the top of your pumpkin.
- 6
Step 6
Draw two triangle eyes a triangle nose and a mouth shape on the black paper.
- 7
Step 7
Cut out the eyes nose and mouth shapes from the black paper with scissors.
- 8
Step 8
Put a little glue on the back of each black face piece.
- 9
Step 9
Press the black face pieces onto the pumpkin where you want them and hold for a few seconds.
- 10
Step 10
Let the glue dry for a few minutes so everything stays stuck.
- 11
Step 11
Add finishing details with markers like lines shadows or fun patterns to make your pumpkin unique.
- 12
Step 12
Share your finished pumpkin craft on DIY.org
Fun facts
How do I make a Halloween pumpkin craft with paper and markers?
To make a Halloween pumpkin craft, start by tracing a pumpkin shape on orange paper and draw where eyes and mouth will go. Cut out the pumpkin and additional layers (segments, stem) from colored paper. Assemble and glue layers to create dimension, then add facial features with markers, stickers, or cut shapes. Let glue dry and display. Supervise scissors use and expect 20–40 minutes depending on complexity.
What materials do I need to create a paper pumpkin for Halloween?
You'll need orange, green, and brown construction paper (or recycled cardboard), child-safe scissors, a glue stick and white craft glue for stronger holds, pencils, markers or crayons for decorating, and a black marker for facial details. Optional extras: googly eyes, glitter, ribbon or twine, hole punch, and templates. For younger children, pre-cut shapes or thicker foam sheets make assembly easier and safer.
What ages is this Halloween pumpkin craft suitable for?
This pumpkin craft suits ages 3–10 with adjustments. Toddlers (3–4) can glue pre-cut shapes and use markers with close supervision. Preschoolers (4–6) practice cutting simple shapes and layering with adult help. Elementary kids (7–10) can cut freehand, design more detailed faces, add 3D elements, or create lanterns. Adapt complexity, tools, and supervision to each child's fine-motor skills and attention span.
What are the benefits of making a Halloween pumpkin craft with my child?
Making a Halloween pumpkin craft builds fine-motor skills through cutting and gluing, and boosts hand-eye coordination and scissor control. It encourages creativity, color and shape recognition, following step-by-step instructions, and problem-solving when assembling layers. The activity supports language development as children describe their design, and promotes confidence and focus. It's also a low-cost seasonal project that fosters family bonding when parents and siblings craft together.
Watch & Learn
Need help?
What can I use if I don't have orange paper or black paper?
If you don't have orange paper, color or paint white paper or use a painted paper plate for the pumpkin, and for black paper either use dark construction paper or draw the eyes, nose, and mouth directly with a black marker.
My scissors keep tearing the paper when I cut the pumpkin — what should I do?
To prevent tearing while you 'cut out the pumpkin shape', use sharper craft scissors, cut slowly along the pencil outline, or fold the paper and make small snips around curves for better control.
How can I adapt this activity for younger or older children?
For younger kids, pre-draw and pre-cut the big oval and the black face pieces so they can glue and add simple marker details, while older kids can freehand more curved vertical lines, add layered paper textures, and create intricate marker patterns before sharing on DIY.org.
How can we make the pumpkin more special or reusable?
After the glue dries, attach a rolled brown-paper stem and a ribbon loop with glue so it can be hung, and personalize it with glitter, googly eyes, or extra marker shadows and patterns from the finishing details step.