Make a Pen Stand
Make a sturdy, decorated pen stand from recycled cardboard or a plastic cup; measure, cut, glue, and personalize to organize pencils and pens.


Step-by-step guide to make a pen stand
DIY pen stand|How to make pen stand with paper|DIY school supplies|Easy school craft
Step 1
Gather all the materials listed and bring them to a clean flat workspace.
Step 2
Pick whether you will make your pen stand from the plastic cup or the recycled cardboard tube.
Step 3
Use the ruler and pencil to mark the height you want your pen stand on the cup or tube by drawing a straight line around it.
Step 4
Carefully cut along the pencil line to trim the cup or tube to the height you marked.
Step 5
If your chosen container has no bottom place the open end on the scrap cardboard and trace around it to draw a circle the same size as the bottom.
Step 6
Cut out the cardboard circle carefully following the pencil line.
Step 7
Glue or tape the cardboard circle to the bottom of the tube or cup so it makes a closed base and press until it feels secure.
Step 8
Reinforce the join where the base meets the sides with extra glue or tape for extra strength.
Step 9
Decorate the outside of your pen stand with markers paints stickers or any decorating materials you chose.
Step 10
Let any glue or paint dry completely before using the pen stand.
Step 11
Put your pencils pens and markers into the pen stand and check that it stands steady on a table.
Step 12
Take a photo and share your finished pen stand on DIY.org
Help!?
What can we use if we don't have a plastic cup, recycled cardboard tube, or scrap cardboard?
Use a clean yogurt cup or small tin can in place of the plastic cup or cardboard tube and cut a bottom circle from a cereal box or cardboard packaging instead of scrap cardboard when you 'trace around it' and 'cut out the cardboard circle'.
My pen stand wobbles or the bottom keeps coming off—how do I fix it?
Follow the instructions to 'press until it feels secure' and 'reinforce the join' by holding the glued or taped cardboard circle firmly while it dries and adding extra glue, tape, or a ring of hot glue around the seam so the pen stand stands steady on a table.
How should we change the steps for different ages of kids?
For toddlers (3–5) have an adult pre-cut the cup/tube and attach the base while the child decorates with markers and stickers, for ages 6–9 let them measure with the ruler and cut with safety scissors with supervision, and for 10+ let them use a craft knife with adult help and add precise painted decorations or multiple compartments.
What are simple ways to make the pen stand more useful or special after decorating?
After you 'decorate the outside' and let glue or paint dry, add cardboard dividers for compartments, line the bottom with felt for steadiness, and seal painted areas with clear tape or varnish before putting in pencils and taking a photo to share on DIY.org.
Watch videos on how to make a pen stand
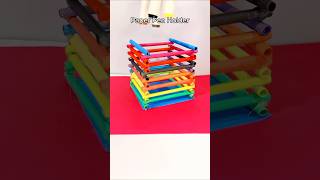
DIY strong pen stand|How to make pen stand with paper|No glue paper craft|Sturdy paper pen holder
4 Videos
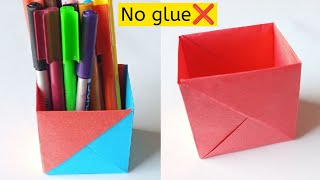
DIY strong pen stand|How to make pen stand with paper|No glue paper craft|Sturdy paper pen holder
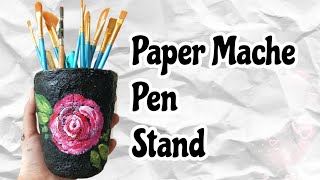
How To Make Paper Mache pen stand | DIY Pen Stand using Waste Paper!!
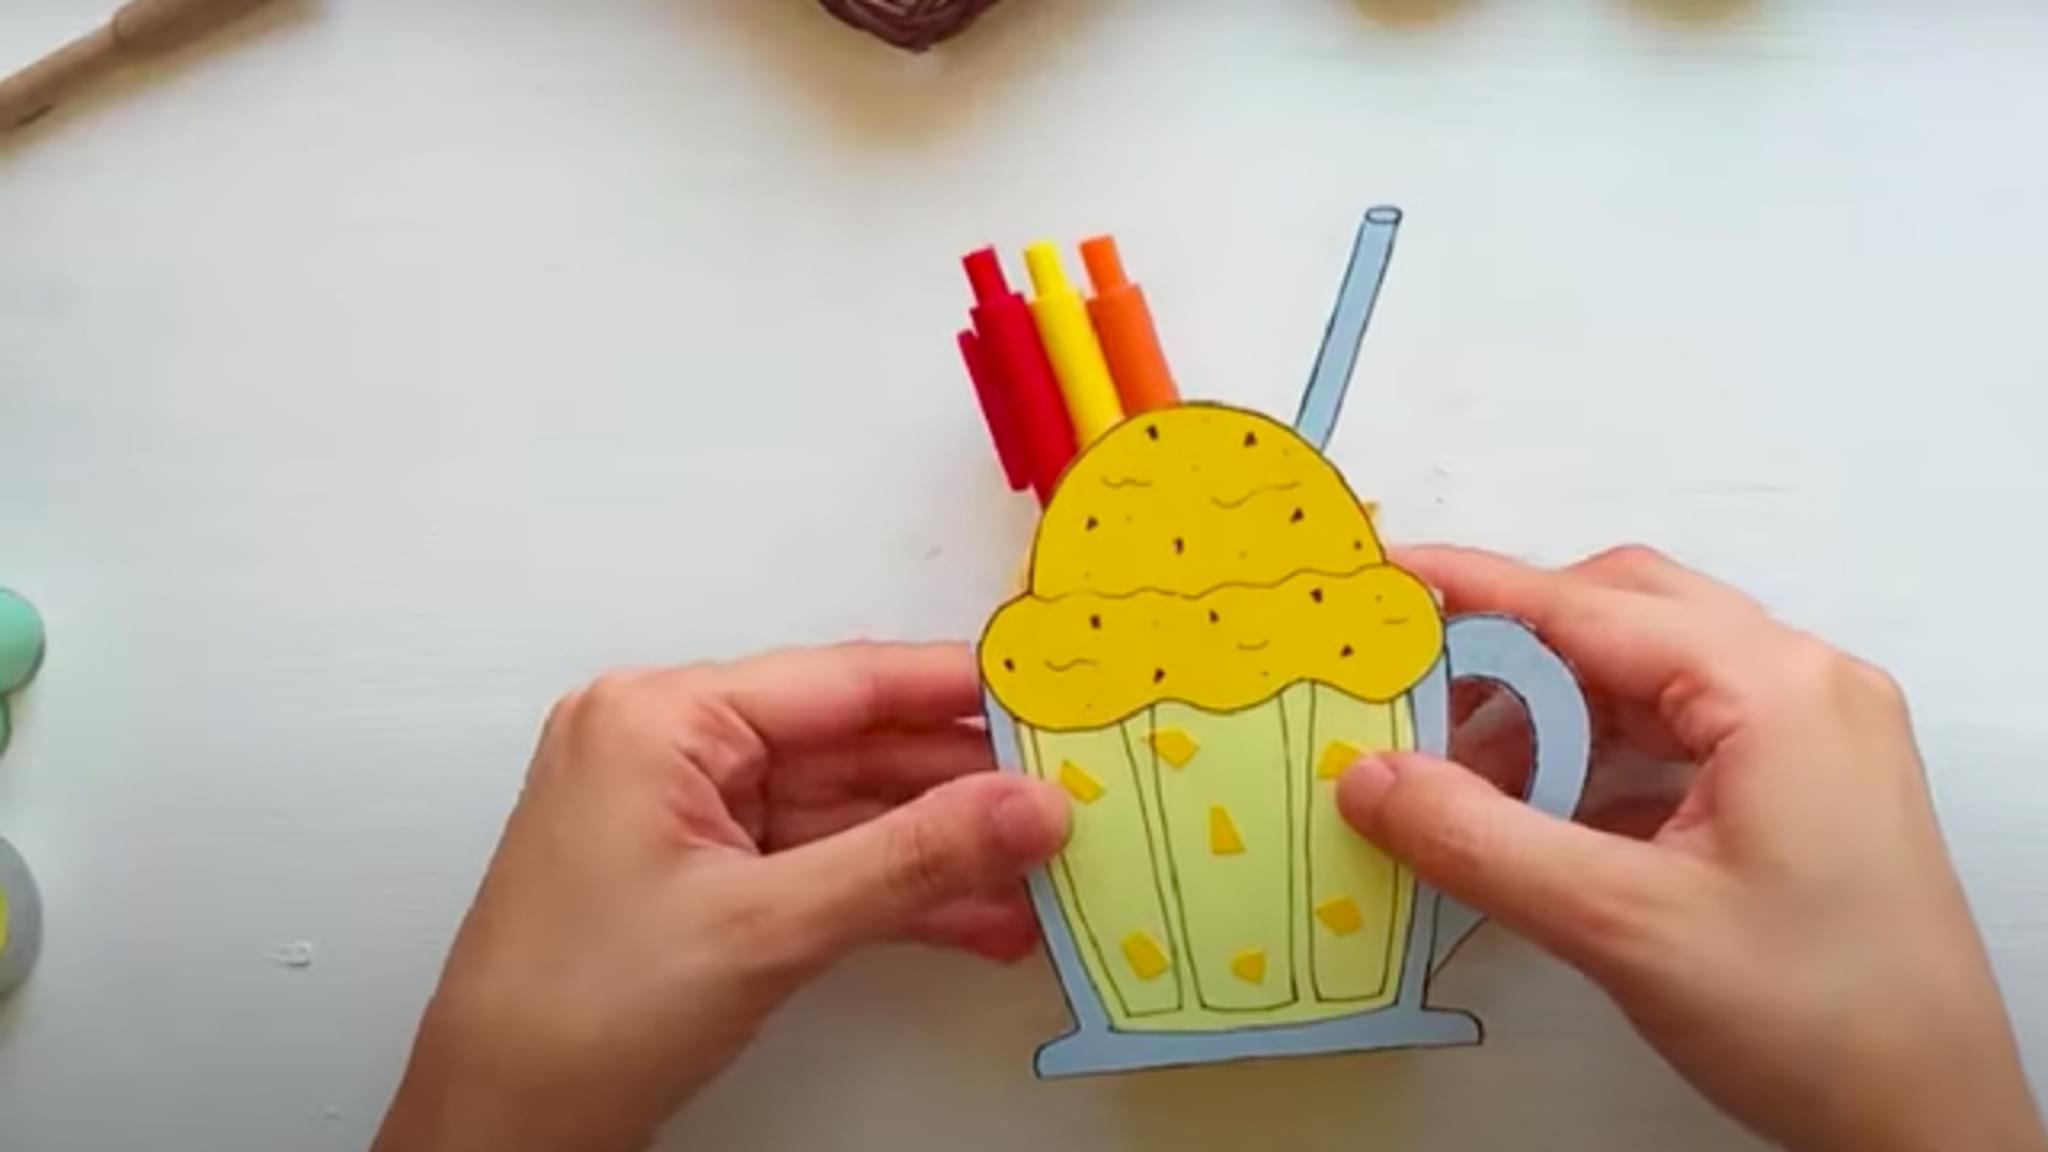
DIY pen stand|How to make pen stand with paper|DIY school supplies|Easy school craft
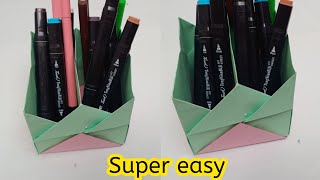
DIY Paper Pen Holder | Easy Pen Stand Making with Paper | Craftpodia
Facts about recycled crafts for kids
♻️ Cardboard fibers can be recycled about 5–7 times before they get too short to be reused.
📦 Corrugated cardboard gets most of its strength from the wavy "fluting" layer sandwiched between flat liners.
🥤 Many disposable plastic cups can take hundreds of years to break down in landfill, so reusing them helps cut waste.
✂️ A standard pencil is about 19 cm (7.5 in) long—use that as a quick measuring guide when planning pen stand height.
🧰 White school glue (PVA) dries clear and is ideal for cardboard; hot glue bonds plastic cups faster for sturdy builds.
How do I make a sturdy pen stand from recycled cardboard or a plastic cup?
What materials do I need to make a recycled pen stand?
What ages is this pen stand activity suitable for?
What are the benefits of making a recycled pen stand?
