Make a Peacock Book Cover!
Make a colorful peacock-themed book cover using paper, paint, and feathers. Measure, decorate, and protect your book with a creative wrap.


Step-by-step guide to make a peacock book cover
Step 1
Gather all your materials in one spot so they are easy to reach.
Step 2
Place your closed book in the center of the large sheet of paper.
Step 3
Use a ruler and pencil to draw a rectangle around the book leaving about 3 cm extra on every side for folding.
Step 4
Cut out the rectangle carefully with scissors.
Step 5
Fold the paper around the book to form the cover shape and press the edges to make neat creases.
Step 6
Take the book out of the folded paper cover.
Step 7
Paint a bright peacock-colored background on the outer side of the paper cover.
Step 8
Let the paint dry completely before you touch the cover.
Step 9
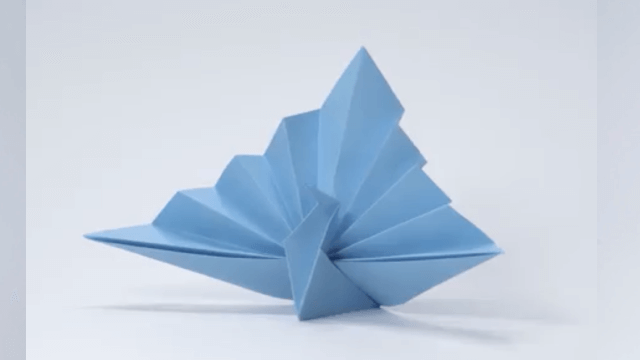
Glue feathers in a fan shape on the top half of the cover to make the peacock tail.
Step 10
Draw or paint a peacock body and eye details at the base of the feather fan.
Step 11
Slide the book back into the paper cover so it fits snugly.
Step 12
Fold the paper flaps over the front and back edges of the book.
Step 13
Secure the folded flaps with glue or tape so the cover stays in place.
Step 14
Cover the whole outside with clear contact paper to protect your design and smooth out any bubbles.
Step 15
Share your finished peacock book cover on DIY.org
Help!?
What can we use if we don't have real feathers or clear contact paper?
If you can't find real feathers, cut feather shapes from construction paper or use feather stickers for Step 9, and if clear contact paper is unavailable, protect the finished cover in Step 12 with a clear plastic folder, laminating sheet, or strips of clear packing tape.
What should we do if the paint smears or the paper wrinkles when making the cover?
Follow Step 6 and let paint dry completely, and if it still smears or the paper warps, press the cover flat under heavy books until dry before gluing feathers in Step 9 or applying contact paper in Step 12.
How can we adapt this activity for different ages?
For preschoolers, use pre-cut large paper, washable paints, and stickers instead of scissors or hot glue, while school-age kids can measure with a ruler in Step 3, paint detailed peacock patterns in Steps 7–8, and teens can add mixed-media feathers or sequin detailing before Step 12.
How can we enhance or personalize the peacock book cover?
Write or paint the book title and your name on the spine before Step 8, add glitter glue or metallic paint to the feather tips after Step 9, and finish with patterned washi tape over the folded flaps in Step 11 for extra decoration.
Watch videos on how to make a peacock book cover
How to Draw a Book Easy | Cute Back to School Supplies
4 Videos

How to Draw a Book Easy | Cute Back to School Supplies

How To Draw A Cartoon Peacock (for Young Artists)
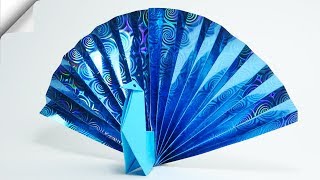
DIY paper crafts Paper toy Peacock
60 Easy Paper Projects - The new Red Ted Art Craft Book for Kids
Facts about paper and mixed-media crafts for kids
🦚 Peacocks (male peafowl) fan out spectacular trains of tail feathers that can be over 1.5 meters (5 feet) long!
🪶 Feathers are made mostly of keratin — the same protein in hair and nails — which makes them light, flexible, and strong.
🎨 Acrylic paint dries quickly and washes up with water, making it a favorite for colorful, kid-friendly crafts.
📚 Bookbinding has protected pages for centuries using materials like leather, cloth, and decorated paper to make covers durable and beautiful.
✂️ 'Decoupage' comes from the French découper, meaning 'to cut out' — layering cut paper pieces creates fun textures and designs.
How do you make a peacock book cover?
What materials do I need to make a peacock book cover?
What ages is this peacock book cover activity suitable for?
What are some variations, benefits, and safety tips for making a peacock book cover?
