Make a path
Design and build a garden path using stones, pebbles, and sand; measure spacing, arrange patterns, and test safe walking carefully.
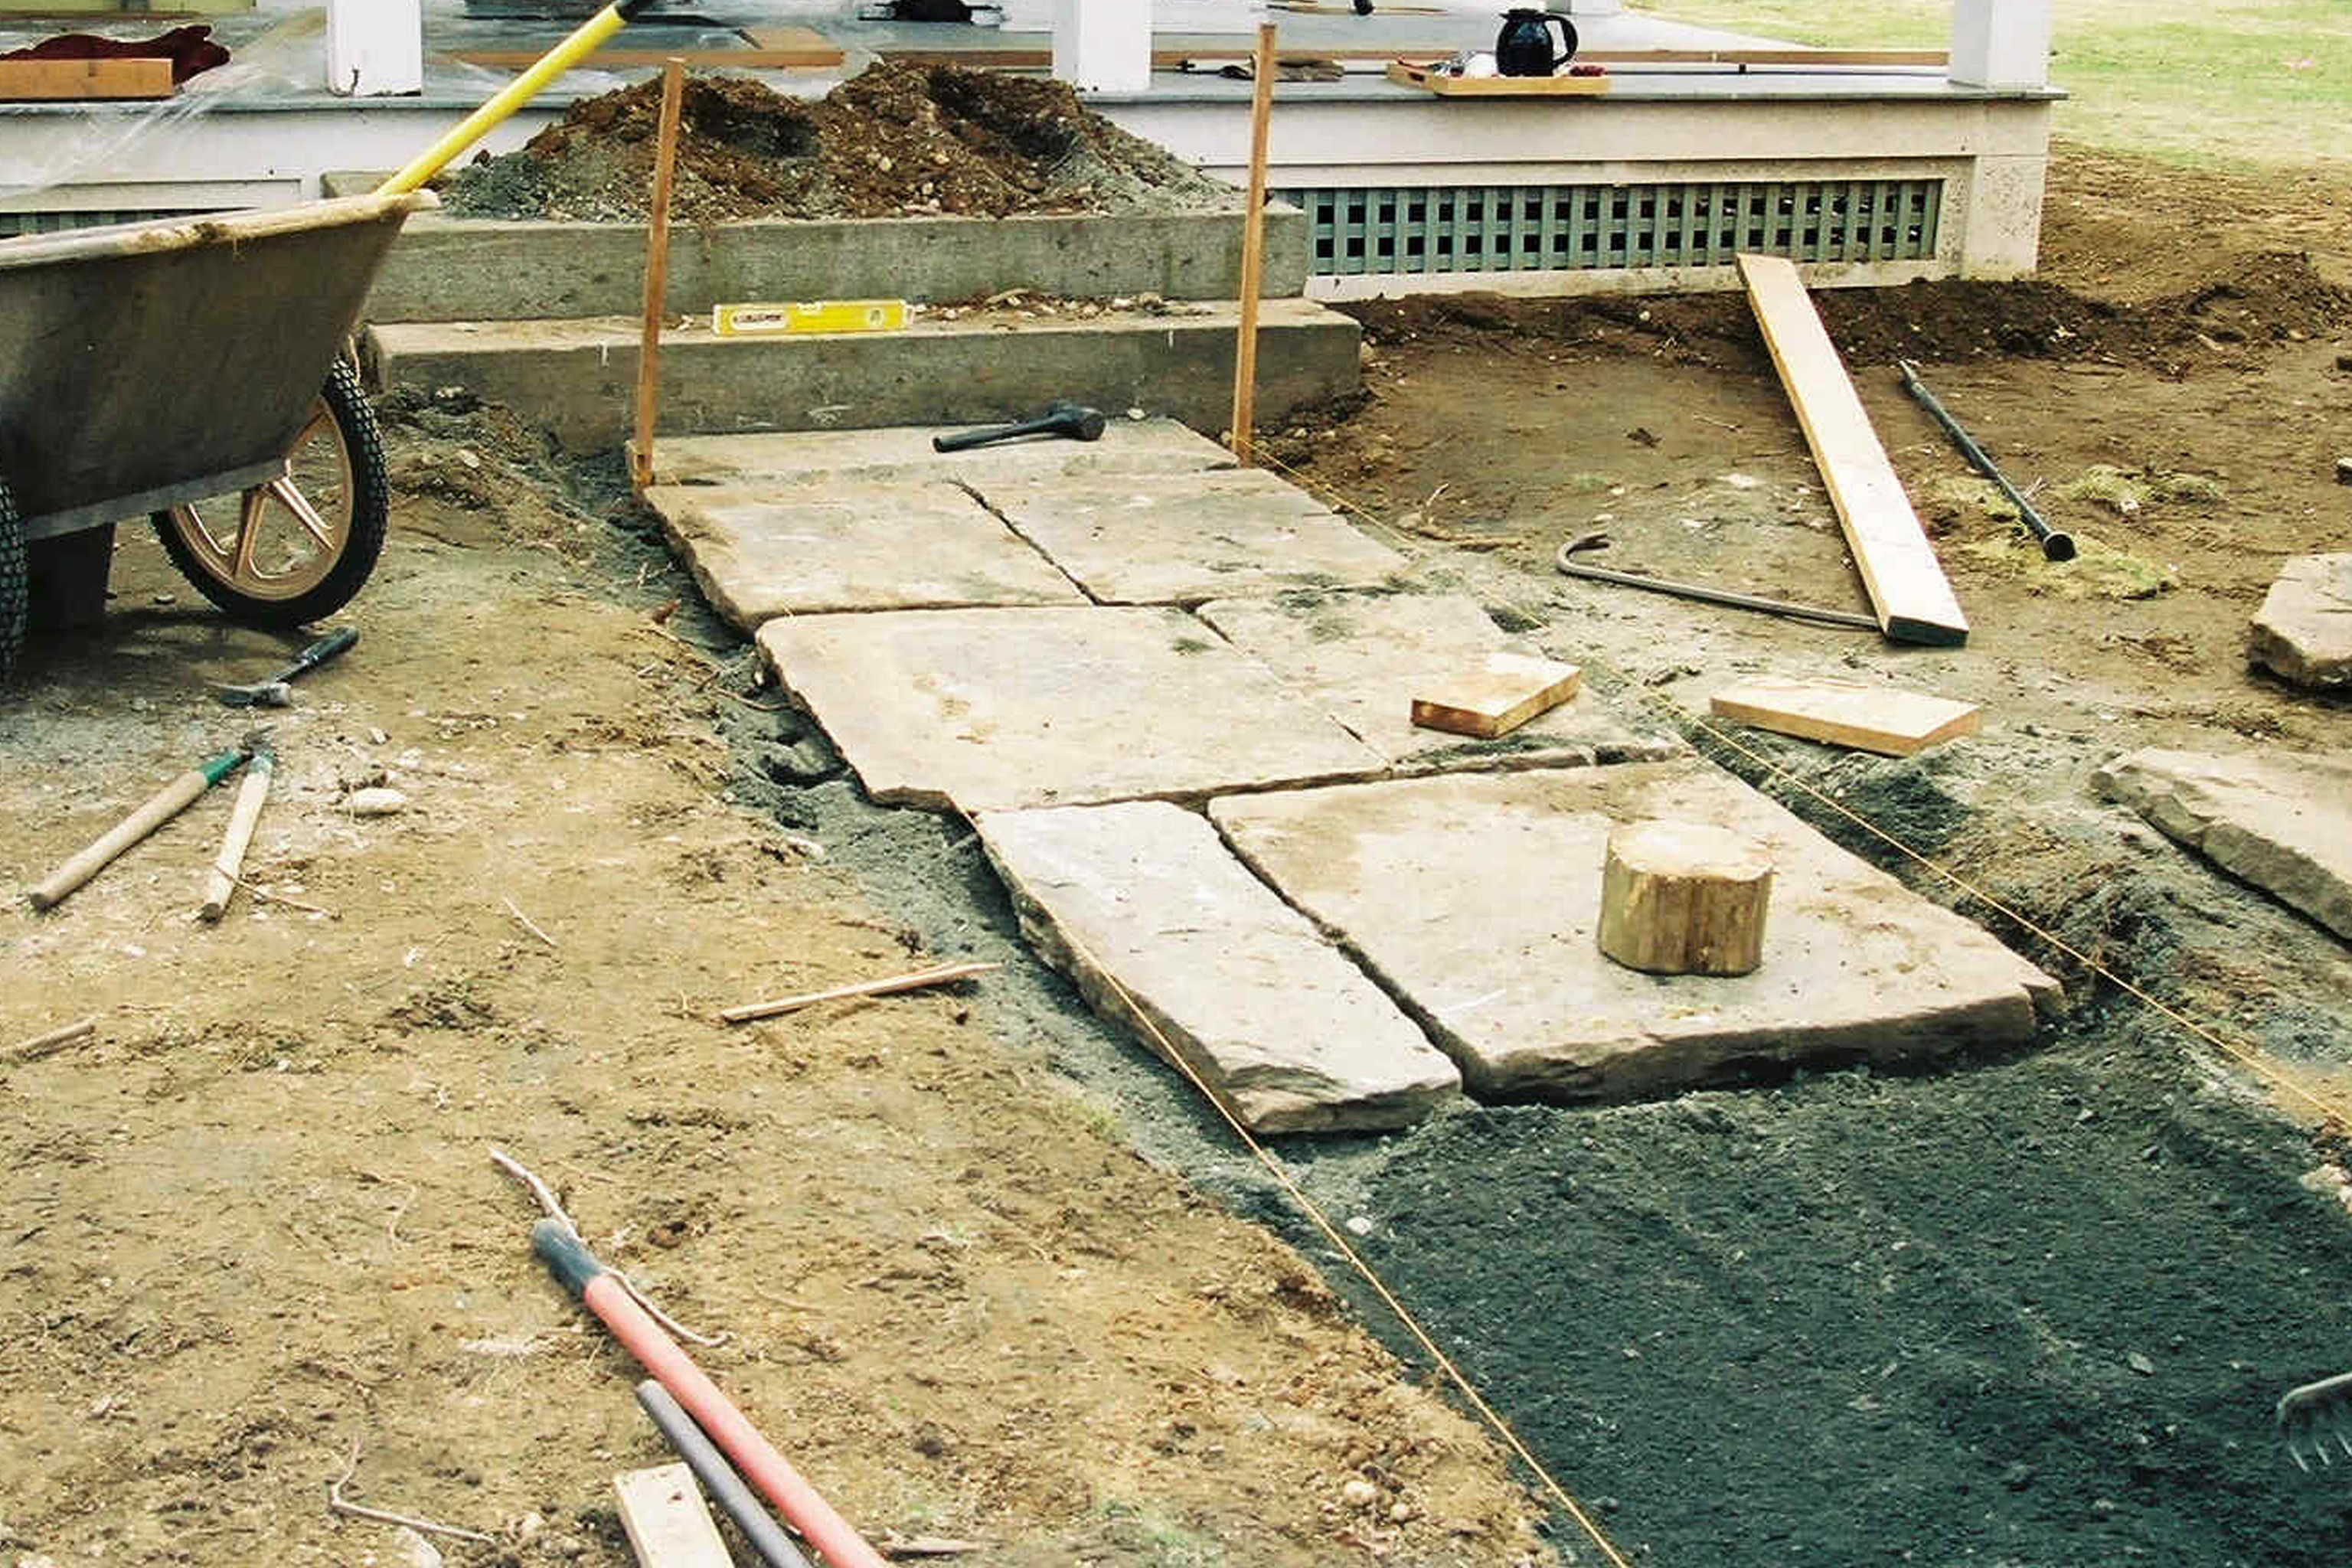
About this activity
Design and build a garden path using stones, pebbles, and sand; measure spacing, arrange patterns, and test safe walking carefully.
What you need
Step by step
- 1
Step 1
Put on your garden gloves to keep your hands safe.
- 2
Step 2
Carry all materials to the flat area where you want your garden path.
- 3
Step 3
Pick a safe flat route for your path and mark the start and end with sticks or rocks.
- 4
Step 4
Clear the marked path area of grass sticks and loose stones using the trowel.
- 5
Step 5
Measure a comfortable step distance with the tape measure to decide how far apart your stones should be.
- 6
Step 6
Mark positions along the route using small piles of sand or short sticks spaced by your measured step distance.
- 7
Step 7
Lay out your stones and pebbles beside the path to try different shapes and patterns before fixing them.
- 8
Step 8
Dig a shallow flat spot at each marked position with the trowel so each stone will sit solidly.
- 9
Step 9
Add a small handful of sand into each dug spot to make a level base for the stone.
- 10
Step 10
Place a stepping stone on each sand base and press or tap it down until it feels level and stable.
- 11
Step 11
Fill the gaps between the stones with pebbles and sweep extra sand into cracks to lock everything in place.
- 12
Step 12
Walk slowly along the path to test each stone for stability and comfort and note any loose stones.
- 13
Step 13
Ask an adult to inspect the path and help fix any stones that move or feel unsafe.
- 14
Step 14
Share a photo and a short description of your finished garden path on DIY.org.
Fun facts
How do we design and build a garden path using stones, pebbles, and sand?
Start by choosing a clear, level route and mark the edges with string and stakes. Measure the desired width and remove turf or weeds. Lay landscape fabric and a 2–3 inch sand base, then set larger stepping stones first, spacing for comfortable strides. Fill gaps with pebbles or sand, tamp stones level with a rubber mallet, and sweep fine sand into joints. Test walking for stability and adjust stones to remove wobble before compacting edges.
What materials and tools do I need to make a garden path for a child to help with?
You’ll need flat stones or pavers, small pebbles, coarse and fine sand, landscape fabric, and edging (timber or metal). Tools: shovel, rake, wheelbarrow, tape measure, level, rubber mallet, broom, and gloves. For marking: string and stakes. Consider kid-safe alternatives: plastic trowels, small measuring tapes, and lightweight pebbles so children can help without lifting heavy pieces; always supervise tool use.
What ages is building a garden path suitable for, and how can kids participate?
Toddlers (2–4) can help collect pebbles and enjoy sensory play under close supervision. Ages 5–8 can measure spacing with help, arrange pebbles, and sweep sand. Ages 9+ can assist more independently with laying stones, using lightweight tools, and checking levels if supervised. Adults should handle heavy lifting, power tools, and final compaction; assign age-appropriate tasks to keep the activity safe and fun.
What safety tips and benefits should I know when making a garden path with my child?
Safety: wear gloves and closed-toe shoes, check stones for sharp edges, keep loose pebbles out of high-traffic areas, and supervise all tool use. Ensure stones are level and stable to prevent trips. Benefits: the project builds measuring and planning skills, fine motor coordination, and creativity, plus outdoor time and pride in completing a useful feature together. Add durable edging and test the path after rain to ensure safe traction.
Watch & Learn
Need help?
What can we use if we don't have garden gloves, sand, or a tape measure?
Use sturdy kitchen or leather gloves instead of garden gloves, fine gravel or potting soil in place of sand for the stone bases, and a length of string plus a ruler or measured footstep to replace the tape measure when marking step distances.
The stones keep wobbling — what should we do?
Dig each marked spot a bit deeper with the trowel, add or level more sand as a base, then press or tap the stepping stone down firmly and re-test by walking slowly, asking an adult to help fix any stones that still move.
How can we adapt this activity for younger or older children?
For younger kids, give safe tasks like collecting pebbles, laying out stone patterns beside the route, and sweeping sand into cracks, while older children can measure step distances with the tape measure, dig and set stones, and take the photo and write the DIY.org description.
How can we personalize or improve our finished garden path?
Personalize the path by arranging stones into shapes or patterns, adding colored pebbles between the stones, planting low groundcover along the edges, or asking an adult to help secure stones with extra sand or gravel before sharing a photo on DIY.org.