Make A Paper Geometric Sculpture
Fold and assemble paper polygons to build a freestanding geometric sculpture, exploring symmetry, angles, and spatial reasoning using scissors, glue, and a ruler.
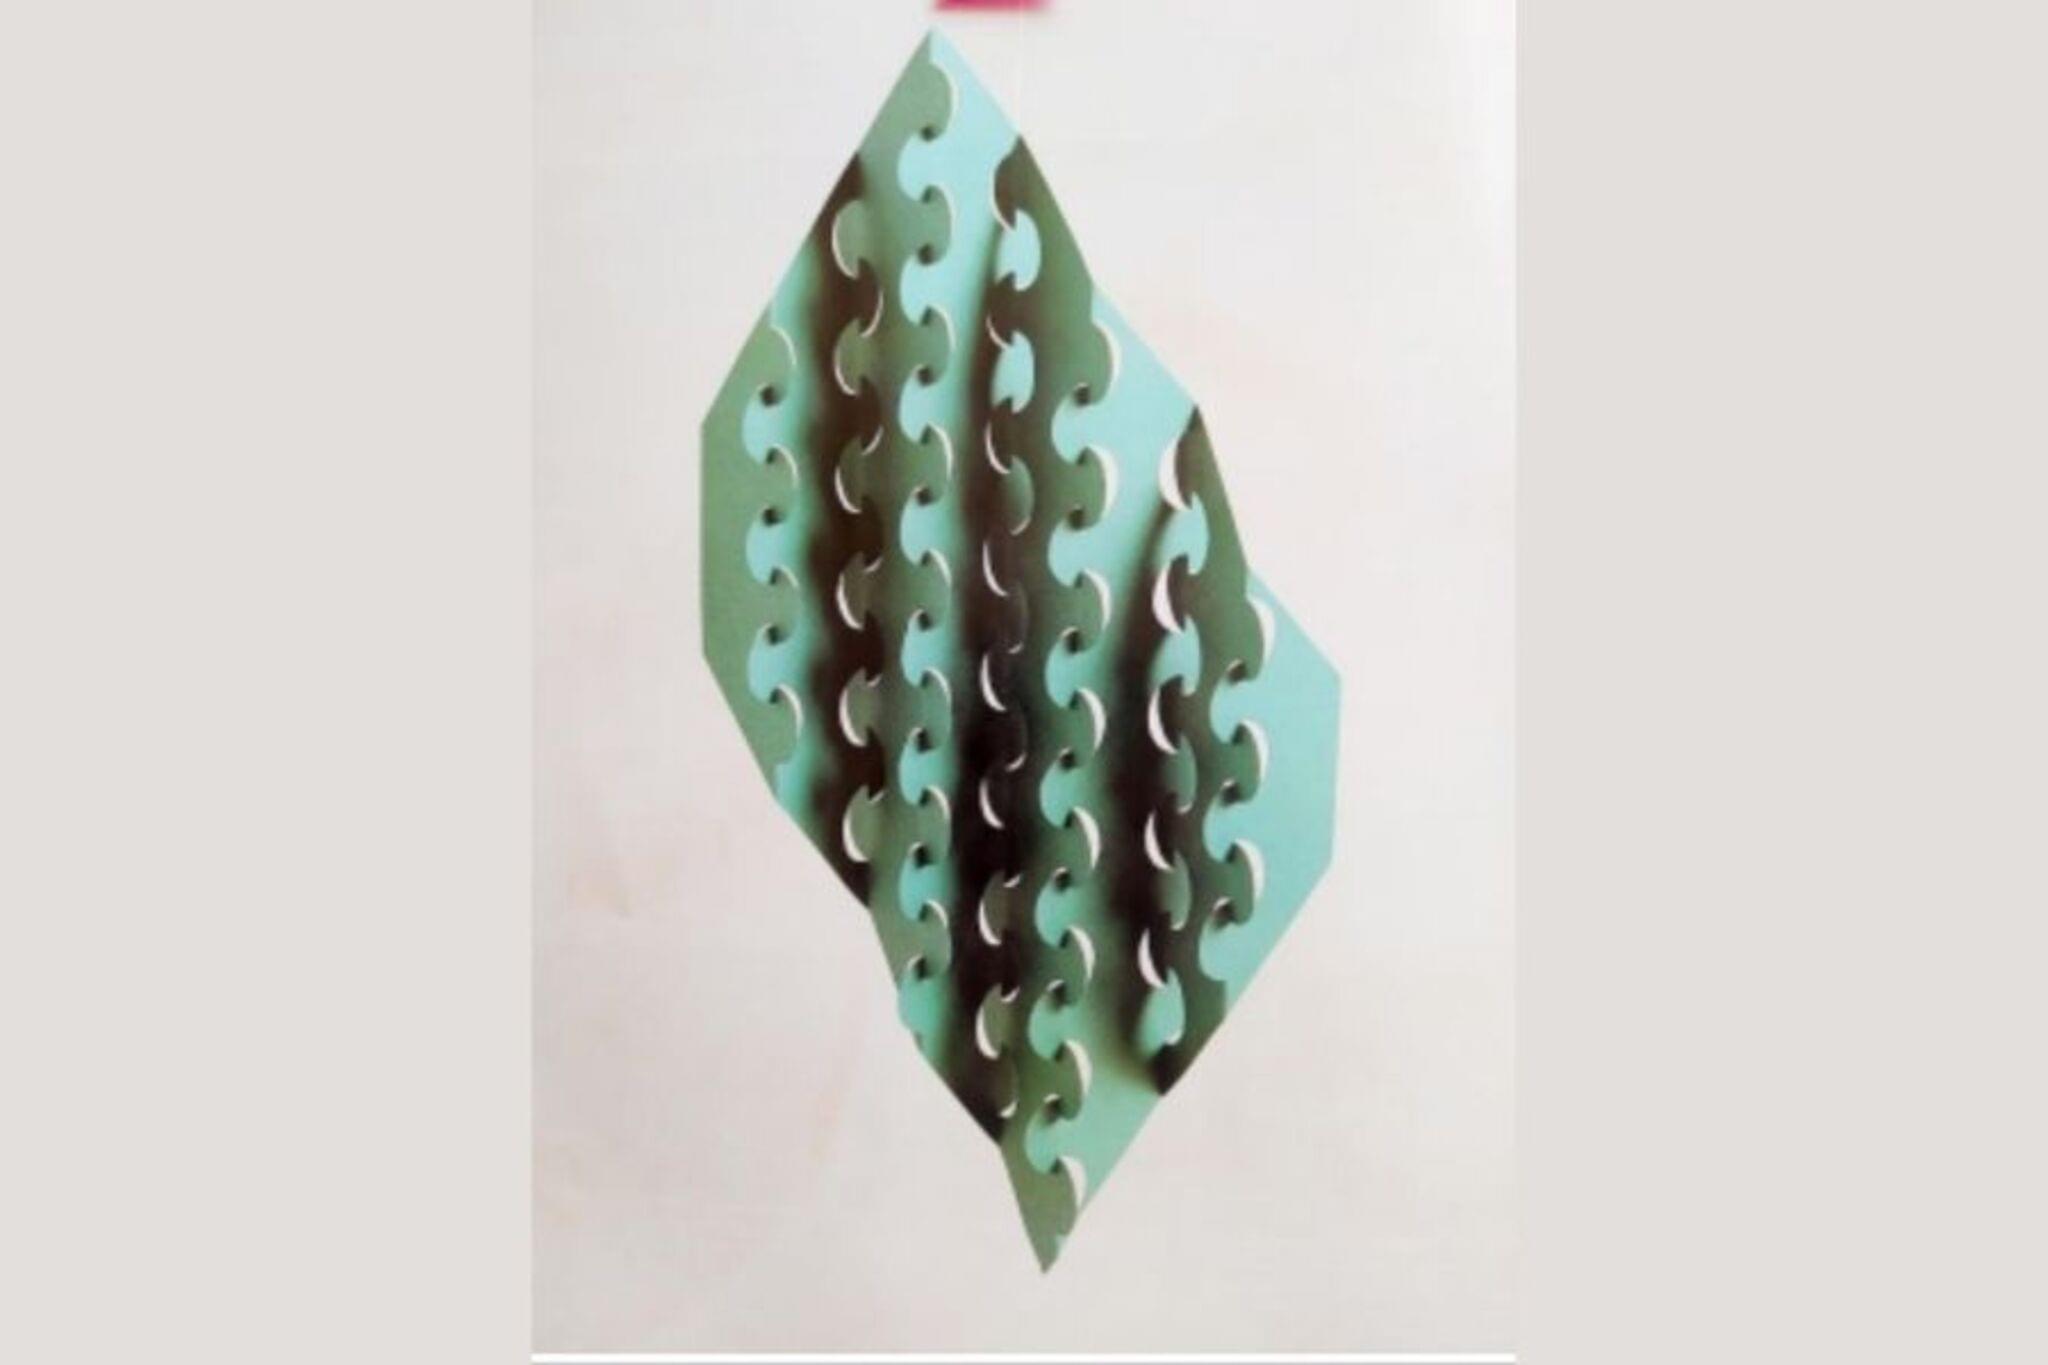
About this activity
Fold and assemble paper polygons to build a freestanding geometric sculpture, exploring symmetry, angles, and spatial reasoning using scissors, glue, and a ruler.
What you need
Step by step
- 1
Step 1
Gather all your materials on a clear table so everything is ready to use.
- 2
Step 2
Choose a side length for your polygons such as 4 centimeters and write that number on your paper.
- 3
Step 3
Decide which polygon shapes you want to build like triangles squares pentagons and hexagons and choose how many of each so you have at least six pieces.
- 4
Step 4
Draw one polygon at a time using the ruler and protractor by drawing a side of your chosen length then using the exterior angle 360 ÷ n to place each next side until the shape closes.
- 5
Step 5
Repeat the drawing step until you have all the polygons you planned.
- 6
Step 6
Cut out each polygon carefully with scissors along the pencil lines.
- 7
Step 7
Draw and cut small glue tabs about 1 centimeter wide along some edges of the polygons so you can glue them together.
- 8
Step 8
Score and fold each glue tab outward by running the ruler along the tab fold to make a clean crease.
- 9
Step 9
Decorate the faces of your polygons with colouring materials now so the colors stay bright when you assemble.
- 10
Step 10
Apply glue to a tab and press that tab to the edge of another polygon to join two pieces together; hold them until the glue feels tacky.
- 11
Step 11
Add one polygon at a time connecting tabs to edges and keep checking angles so the sculpture grows into a balanced freestanding form.
- 12
Step 12
Adjust and add supportive base pieces or tape if needed so the sculpture can stand on its own.
- 13
Step 13
Let your sculpture dry completely so all the glue is set before moving it.
- 14
Step 14
Share a photo and a short description of your finished geometric sculpture on DIY.org
Fun facts
How do I make a paper geometric sculpture?
Start by choosing polygon templates (triangles, squares, pentagons) and a simple 3D model to copy. Trace shapes on cardstock, score fold lines with a ruler and blunt tool, then cut out each polygon. Fold along scored lines, fold and crease glue tabs, and assemble faces using quick-drying craft glue or tacky glue. Use a ruler to align edges precisely and hold pieces with clothespins while glue sets. Finish by attaching a base so the sculpture stands freestanding.
What materials do I need to make a paper geometric sculpture?
You'll need sturdy paper or light cardstock, scissors or a craft knife with cutting mat, a ruler, pencil, and a scoring tool or bone folder to make clean folds. Use PVA glue, tacky craft glue, or a strong glue stick, plus clothespins or binder clips to hold pieces while drying. Optional: polygon templates, colored paper, markers or paint for decoration, and a small base (cardboard) to make the sculpture freestanding. Safety gear: child-safe scissors and adult supervision for blades.
What ages is a paper geometric sculpture suitable for?
This activity suits preschoolers to teens depending on complexity. Simple folding and gluing with pre-cut shapes works for ages 5–7 with adult help. Ages 8–11 can trace, score, cut, and assemble basic polygons with supervision. Teens (12+) can design more complex polyhedra independently and learn geometric concepts. Always supervise use of craft knives and hot tools; adapt shapes and number of pieces to match fine motor skills and attention span.
What are the benefits and safety tips for making paper geometric sculptures?
Benefits include improved spatial reasoning, geometry awareness, fine motor skills, patience, and creativity; it also reinforces measuring and following sequences. Safety tips: use child-safe scissors, supervise any craft knife or hot-glue use, work on a protected surface, and avoid very small pieces with young children to reduce choking risk. Keep glue and tools out of reach when not in use, and allow glued joints to dry fully before moving the sculpture to prevent collapses.
Watch & Learn
Need help?
What can we use if we don't have a protractor, ruler, or liquid glue?
If you don't have a protractor use a printable protractor or smartphone protractor app to place exterior angles during the 'Draw one polygon at a time' step, swap a ruler for any straight-edged book or cardboard, and replace white glue with glue sticks, double-sided tape, or clear craft tape for the 'Apply glue to a tab' step.
The tabs keep tearing or the sculpture won't stand—what should we try?
Make glue tabs wider (about 1.5 cm), score and fold them outward firmly with the ruler before gluing, hold each 'Apply glue to a tab and press' connection until tacky, and add extra supportive base pieces or clear tape at the base if the freestanding form still wobbles.
How can we adapt this activity for younger or older children?
For younger kids use pre-drawn or pre-cut cardstock polygons and thicker 1 cm–1.5 cm tabs so they can focus on decorating faces, while older kids can choose larger side lengths, use the protractor to make higher-n polygons, and plan more than six pieces to build complex freestanding forms.
How can we extend or personalize the finished geometric sculpture?
Decorate faces before assembly with paint or markers, label each face with its polygon name and side length, insert a small LED tea light inside hollow areas for illumination, or join several sculptures into a modular installation to photograph and share on DIY.org.