Make a Notebook Cover
Create a personalized notebook cover using cardstock, fabric scraps, scissors, glue, and markers; measure, cut, and decorate to protect and customize your notebook.


Step-by-step guide to make a notebook cover
Step 1
Measure the height and width of your closed notebook with the ruler and write the numbers down.
Step 2
Use those measurements to draw a matching rectangle on the cardstock and add 1 cm extra on all sides.
Step 3
Cut out the marked rectangle from the cardstock using scissors.
Step 4
Cut one large piece of fabric that will cover the entire cardstock plus about 1 cm extra on every side.
Step 5
Spread glue evenly over the front half of the cardstock.
Step 6
Lay the fabric onto the glued front half so the front is covered.
Step 7
Spread glue evenly over the back half of the cardstock.
Step 8
Fold the extra fabric over the glued back half so the back is covered.
Step 9
Smooth the fabric across the whole cover to remove any wrinkles.
Step 10
Fold the 1 cm cardstock flaps inward along the edges to make inner pockets.
Step 11
Tuck the fabric edges under the folded flaps so the fabric is neat at the edges.
Step 12
Apply glue to the folded flaps to hold the fabric edges in place.
Step 13
Let the glue set for a few minutes so the cover stays secure.
Step 14
Slide your notebook into the new fabric-covered cardstock to make your finished cover.
Step 15
Share your finished creation on DIY.org
Help!?
Can I use something other than cardstock or fabric if I can't find them?
If you don't have cardstock, cut a cereal box or thin cardboard to your notebook measurements (step 2), and if you lack fabric, use wrapping paper or construction paper cut slightly larger to fold over the edges as in steps 4–6.
My fabric is wrinkling or peeling off—what should I do?
To prevent wrinkles and peeling when you spread glue (steps 5 and 7), apply glue thinly, lay fabric from the center outward smoothing with a ruler or your hands, and use paper clips or clothespins on folded flaps (steps 10–12) while the glue sets.
How can I adapt this activity for younger or older children?
For younger kids, pre-measure and pre-cut the cardstock and fabric and let them spread glue and smooth (steps 1–7), while older kids can add sewing, trim, or use a rotary cutter for precise edges and design their own pockets (steps 9–11).
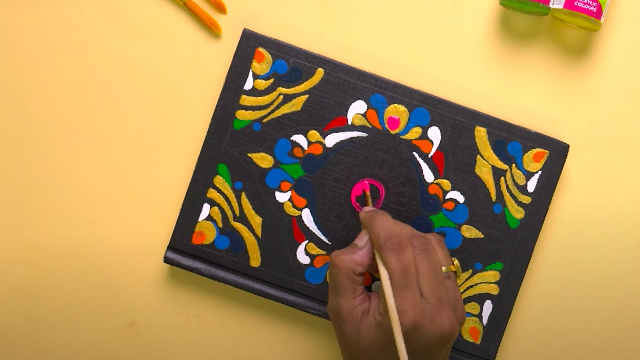
What are fun ways to personalize or enhance the finished cover?
After sliding the notebook into the finished cover (step 13), personalize it by gluing on patches or stickers, painting the fabric with fabric paint, adding an elastic band or ribbon closure, or sewing a small pen pocket onto the inside flap for extra function.
Watch videos on how to make a notebook cover
How to Make a Custom Composition Notebook Cover in Canva | Easy Back-to-School DIY!
4 Videos
How to Make a Custom Composition Notebook Cover in Canva | Easy Back-to-School DIY!
DIY Back to School Notebook Covers | How to Use Sticker Paper for Custom Composition Books

Origami Cute Mini Notebook How to make a kawaii notebook
Diy School Notebook Cover In Minutes!
Facts about paper and fabric crafts for kids
📝 Leonardo da Vinci filled thousands of pages with sketches and notes—historians estimate about 7,000 pages in his notebooks!
✂️ Scissors-like tools have been used for over 3,000 years—early metal shears were common in ancient Rome and earlier civilizations.
🎨 Cardstock is thicker than regular paper and comes in many weights, making it a simple way to add durability to a notebook cover.
🧵 Upcycling tiny fabric scraps into a cover is eco-friendly—one small craft project can rescue pieces that might otherwise be thrown away.
🖍️ Sealing decorations with a clear glue or decoupage medium helps protect drawings and fabrics from dirt and rubbing, so your design lasts longer.
How do you make a personalized notebook cover?
What materials do I need to make a notebook cover?
What ages is this notebook cover activity suitable for?
What are some fun variations and upgrades for a DIY notebook cover?
