Make a magic wand
Make a magic wand from a wooden dowel or stick, decorate it with paint, ribbons, and beads, and practice safe crafting skills.
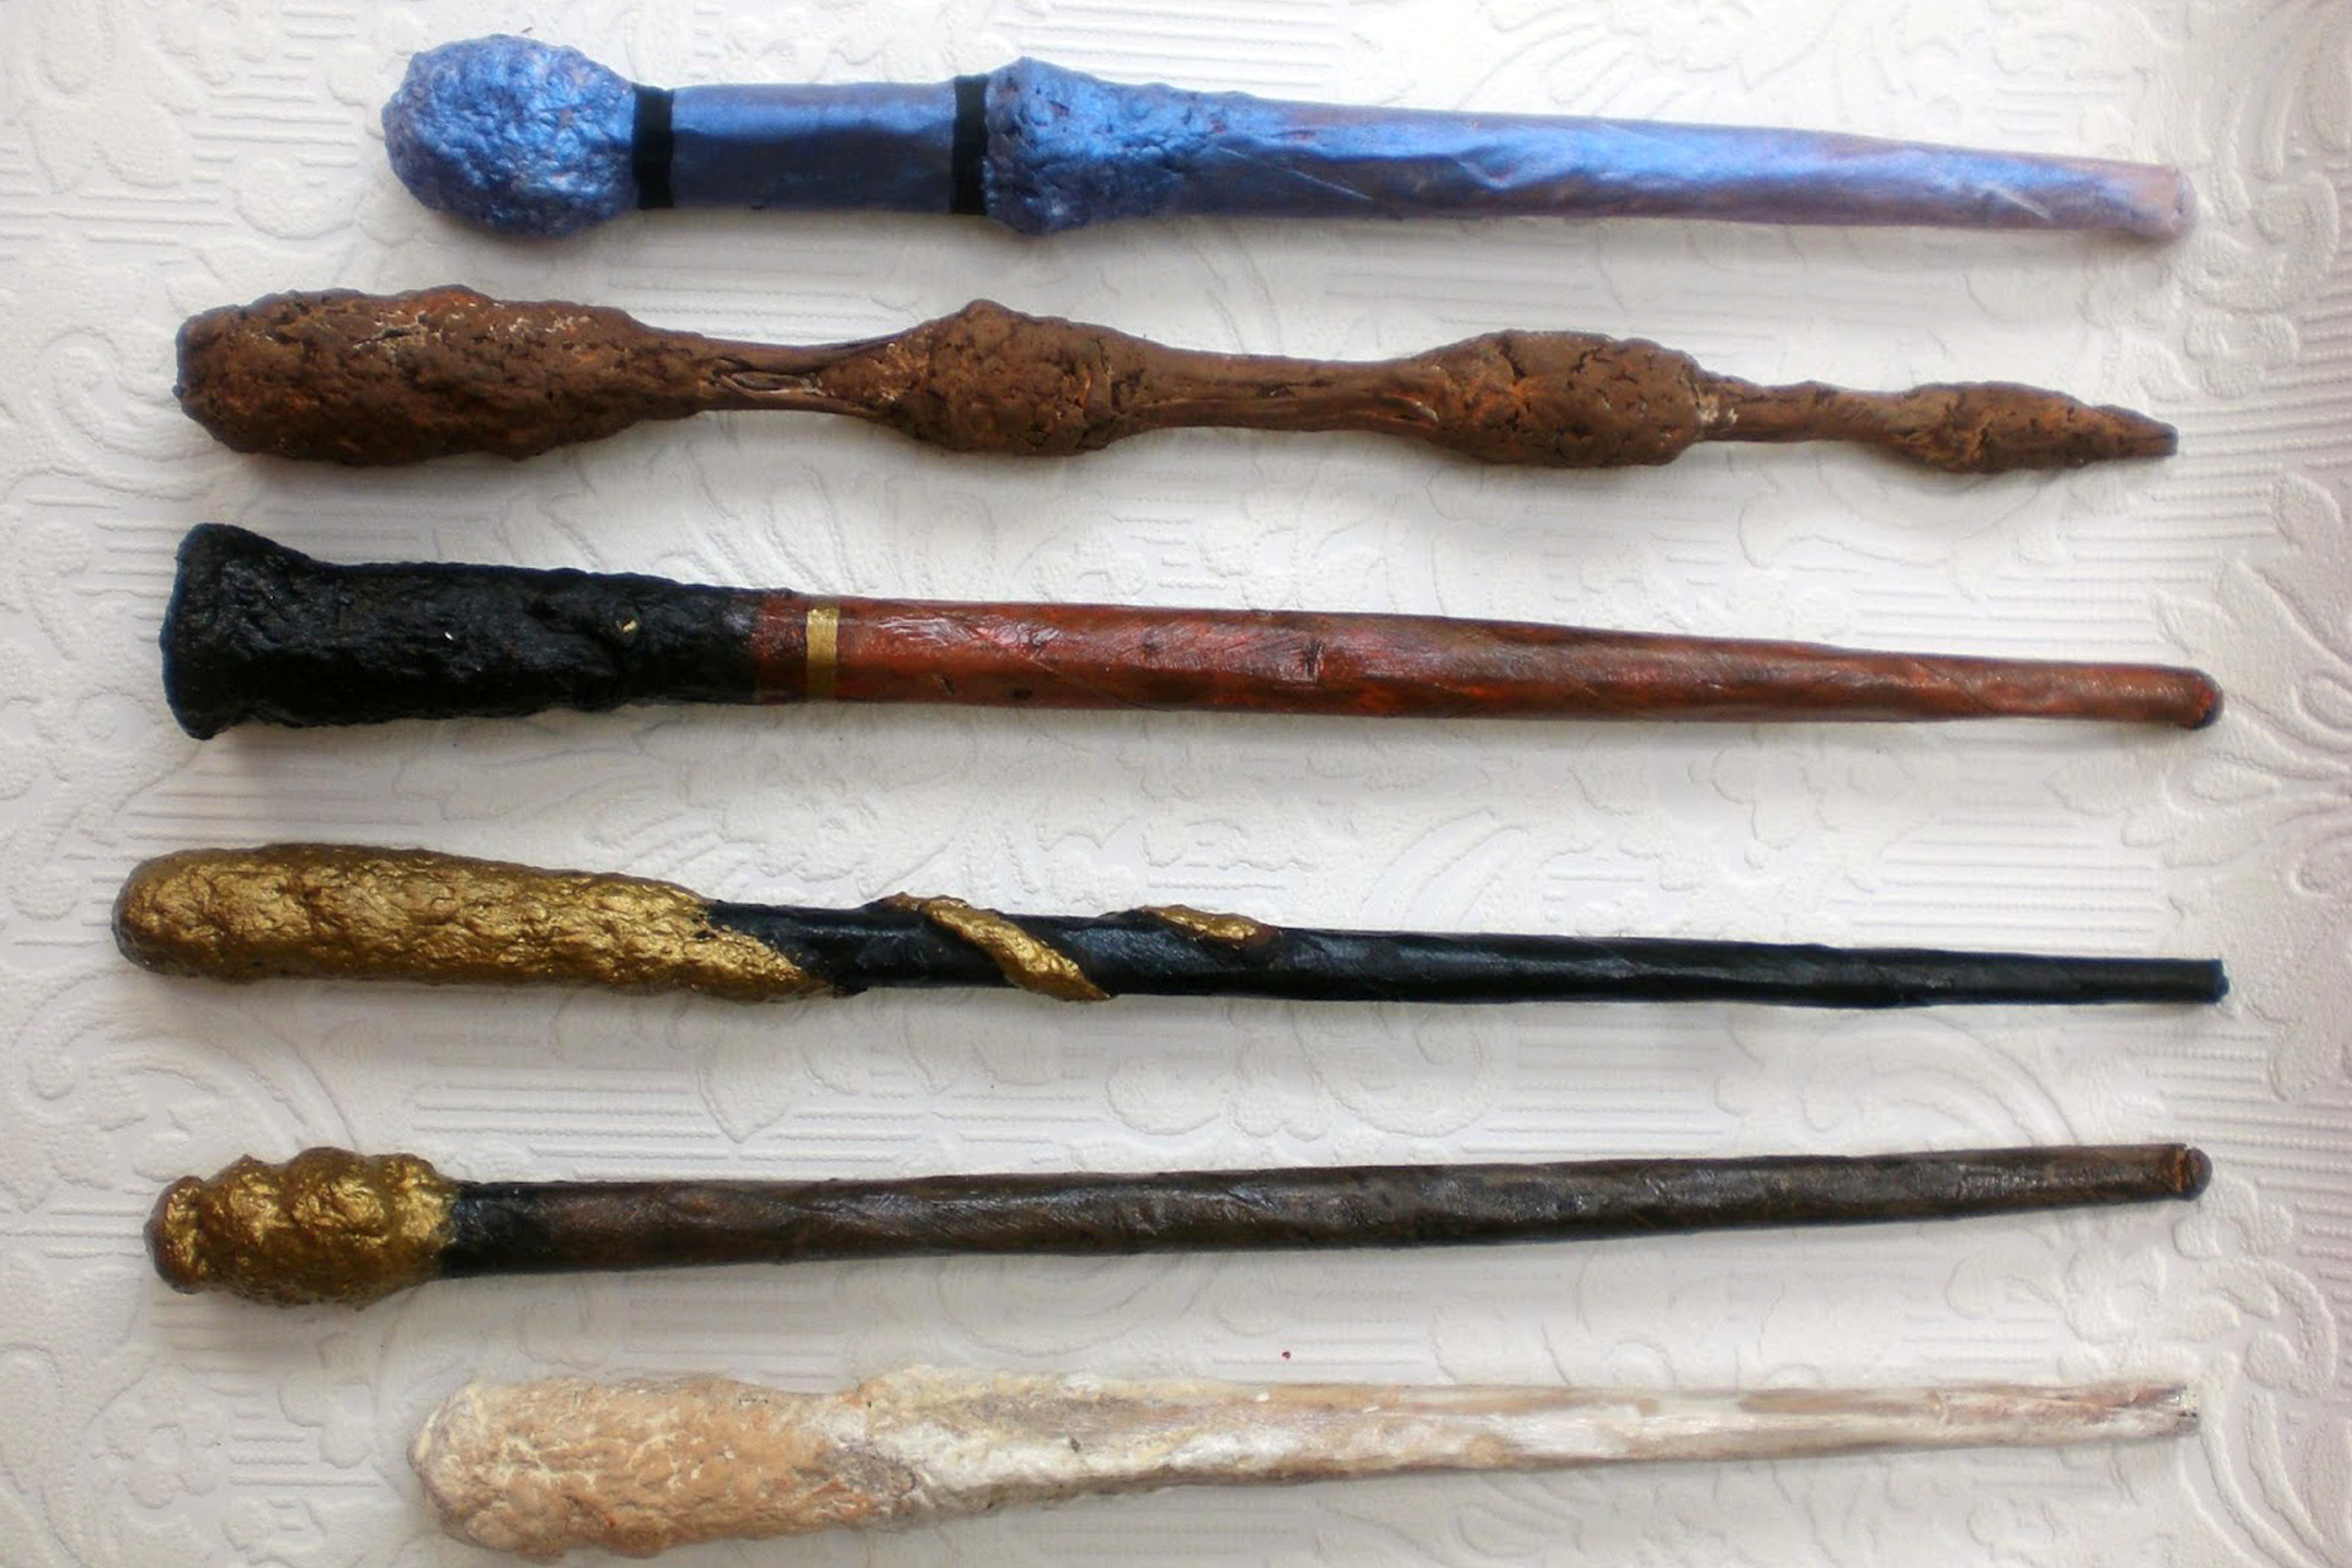
About this activity
Make a magic wand from a wooden dowel or stick, decorate it with paint, ribbons, and beads, and practice safe crafting skills.
What you need
Step by step
- 1
Step 1
Lay out all your materials on a clear table so you can reach everything easily.
- 2
Step 2
Sand the dowel gently to smooth any rough spots or splinters.
- 3
Step 3
Wipe the dowel with your hand or a dry cloth to remove sanding dust.
- 4
Step 4
Paint the dowel with a base color using your paintbrush.
- 5
Step 5
Wait until the base paint is completely dry before touching it.
- 6
Step 6
Add fun designs or stripes with other paint colors or markers.
- 7
Step 7
Wait until the design paint is dry so it won’t smudge.
- 8
Step 8
Cut ribbons to the lengths you want for the wand tails.
- 9
Step 9
Thread large-hole beads onto one end of each ribbon and tie a knot to keep them from falling off.
- 10
Step 10
Put a small dab of craft glue on the top end of the wand where you want the ribbons to sit.
- 11
Step 11
Press the knotted ribbon ends onto the glue spot and hold them in place until the glue begins to set.
- 12
Step 12
(Optional) Brush a thin coat of clear sealer over the wand to protect the paint and let it dry completely.
- 13
Step 13
Share a photo of your finished magic wand and tell the story of its powers on DIY.org
Fun facts
How do you make a magic wand from a wooden dowel or stick?
To make a magic wand, start with a wooden dowel or a smooth stick about 12–18 inches long. Sand any rough spots and trim the ends. Paint a base coat and let it dry. Add decorations such as ribbons, beads, sequins, or foam shapes using craft glue or low‑temperature hot glue (adult-only). Wrap the handle with ribbon for grip, finish with a clear sealant or glitter glue, and allow everything to dry before play.
What materials do I need to make a magic wand with paint, ribbons, and beads?
You’ll need a wooden dowel or sturdy stick, sandpaper, acrylic paints and brushes, craft glue and optional low‑temperature hot glue (adult use), scissors, ribbons, beads, sequins, felt or foam shapes, and glitter glue or clear sealant like Mod Podge. Prep materials like paper, cups for water, and wipes, plus an apron or old shirt. Natural twigs or cardboard tubes can substitute for a dowel if needed.
What ages is this magic wand activity suitable for?
This craft suits toddlers through older children with differing supervision. Ages 3–5: offer pre-cut ribbons, large beads, and glue sticks with close supervision. Ages 6–8: children can paint, thread beads, and use craft glue with an adult nearby. Ages 9+: kids can handle more detailed decorating and low-temp hot glue under supervision. Adjust complexity to fine-motor skills and always supervise scissors or heated tools.
What safety tips and creative variations are there for making magic wands?
Safety: sand rough edges, use non-toxic paints and glues, supervise scissors and hot glue, protect surfaces and clothes, and keep small beads away from very young children. Variations: use natural sticks, glow-in-the-dark or metallic paint, add bells or LED tea lights, create themed wands (fairy, wizard, holiday), or make it an educational activity by counting beads or creating color patterns. Benefits include creativity, fine-motor skills, and imaginative play.
Watch & Learn
Need help?
What can we use instead of a wooden dowel if it's not available?
If you can't find a wooden dowel, use a straight outdoor stick trimmed to wand length or a cardboard mailing tube cut to size, then sand or smooth it as in step 2 before painting.
My paint keeps smudging and the ribbons won't stay—what should I try?
Prevent smudging by waiting until the base paint (step 5) and design paint (step 7) are completely dry, and make sure the beads are knotted on the ribbon (step 10) and press the knotted ends onto the small dab of craft glue in step 11 until it sets, or use a tiny spot of hot glue with adult help for extra hold.
How can I adapt this wand project for a preschooler versus a tween?
For preschoolers, have an adult do the sanding (step 2) and pre-cut ribbons (step 9) and let them paint the base (step 4) and use big stickers instead of small beads, while tweens can thread beads themselves (step 10), create detailed painted designs (step 6), and brush on a clear sealer (optional step 12) for extra durability.
What are some ways to personalize or upgrade the finished wand?
Personalize the wand by wrapping the handle with yarn or washi tape, gluing on gems before brushing the clear sealer (optional step 12), tucking tiny battery LED fairy lights along the shaft under a thin sealer layer for glow, and then share its power story with a photo on DIY.org (step 13).