Make a LEGO® taco
Build a LEGO taco using basic bricks and plates, design fillings, decorate with colors, and learn about shapes and balance.


Step-by-step guide to make a LEGO® taco
Step 1
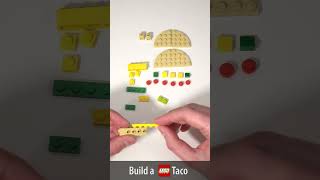
Pick the colors you want for the taco shell and the fillings.
Step 2
Gather 8 to 12 LEGO pieces you will use to build the taco shell and place them in a row beside you.
Step 3
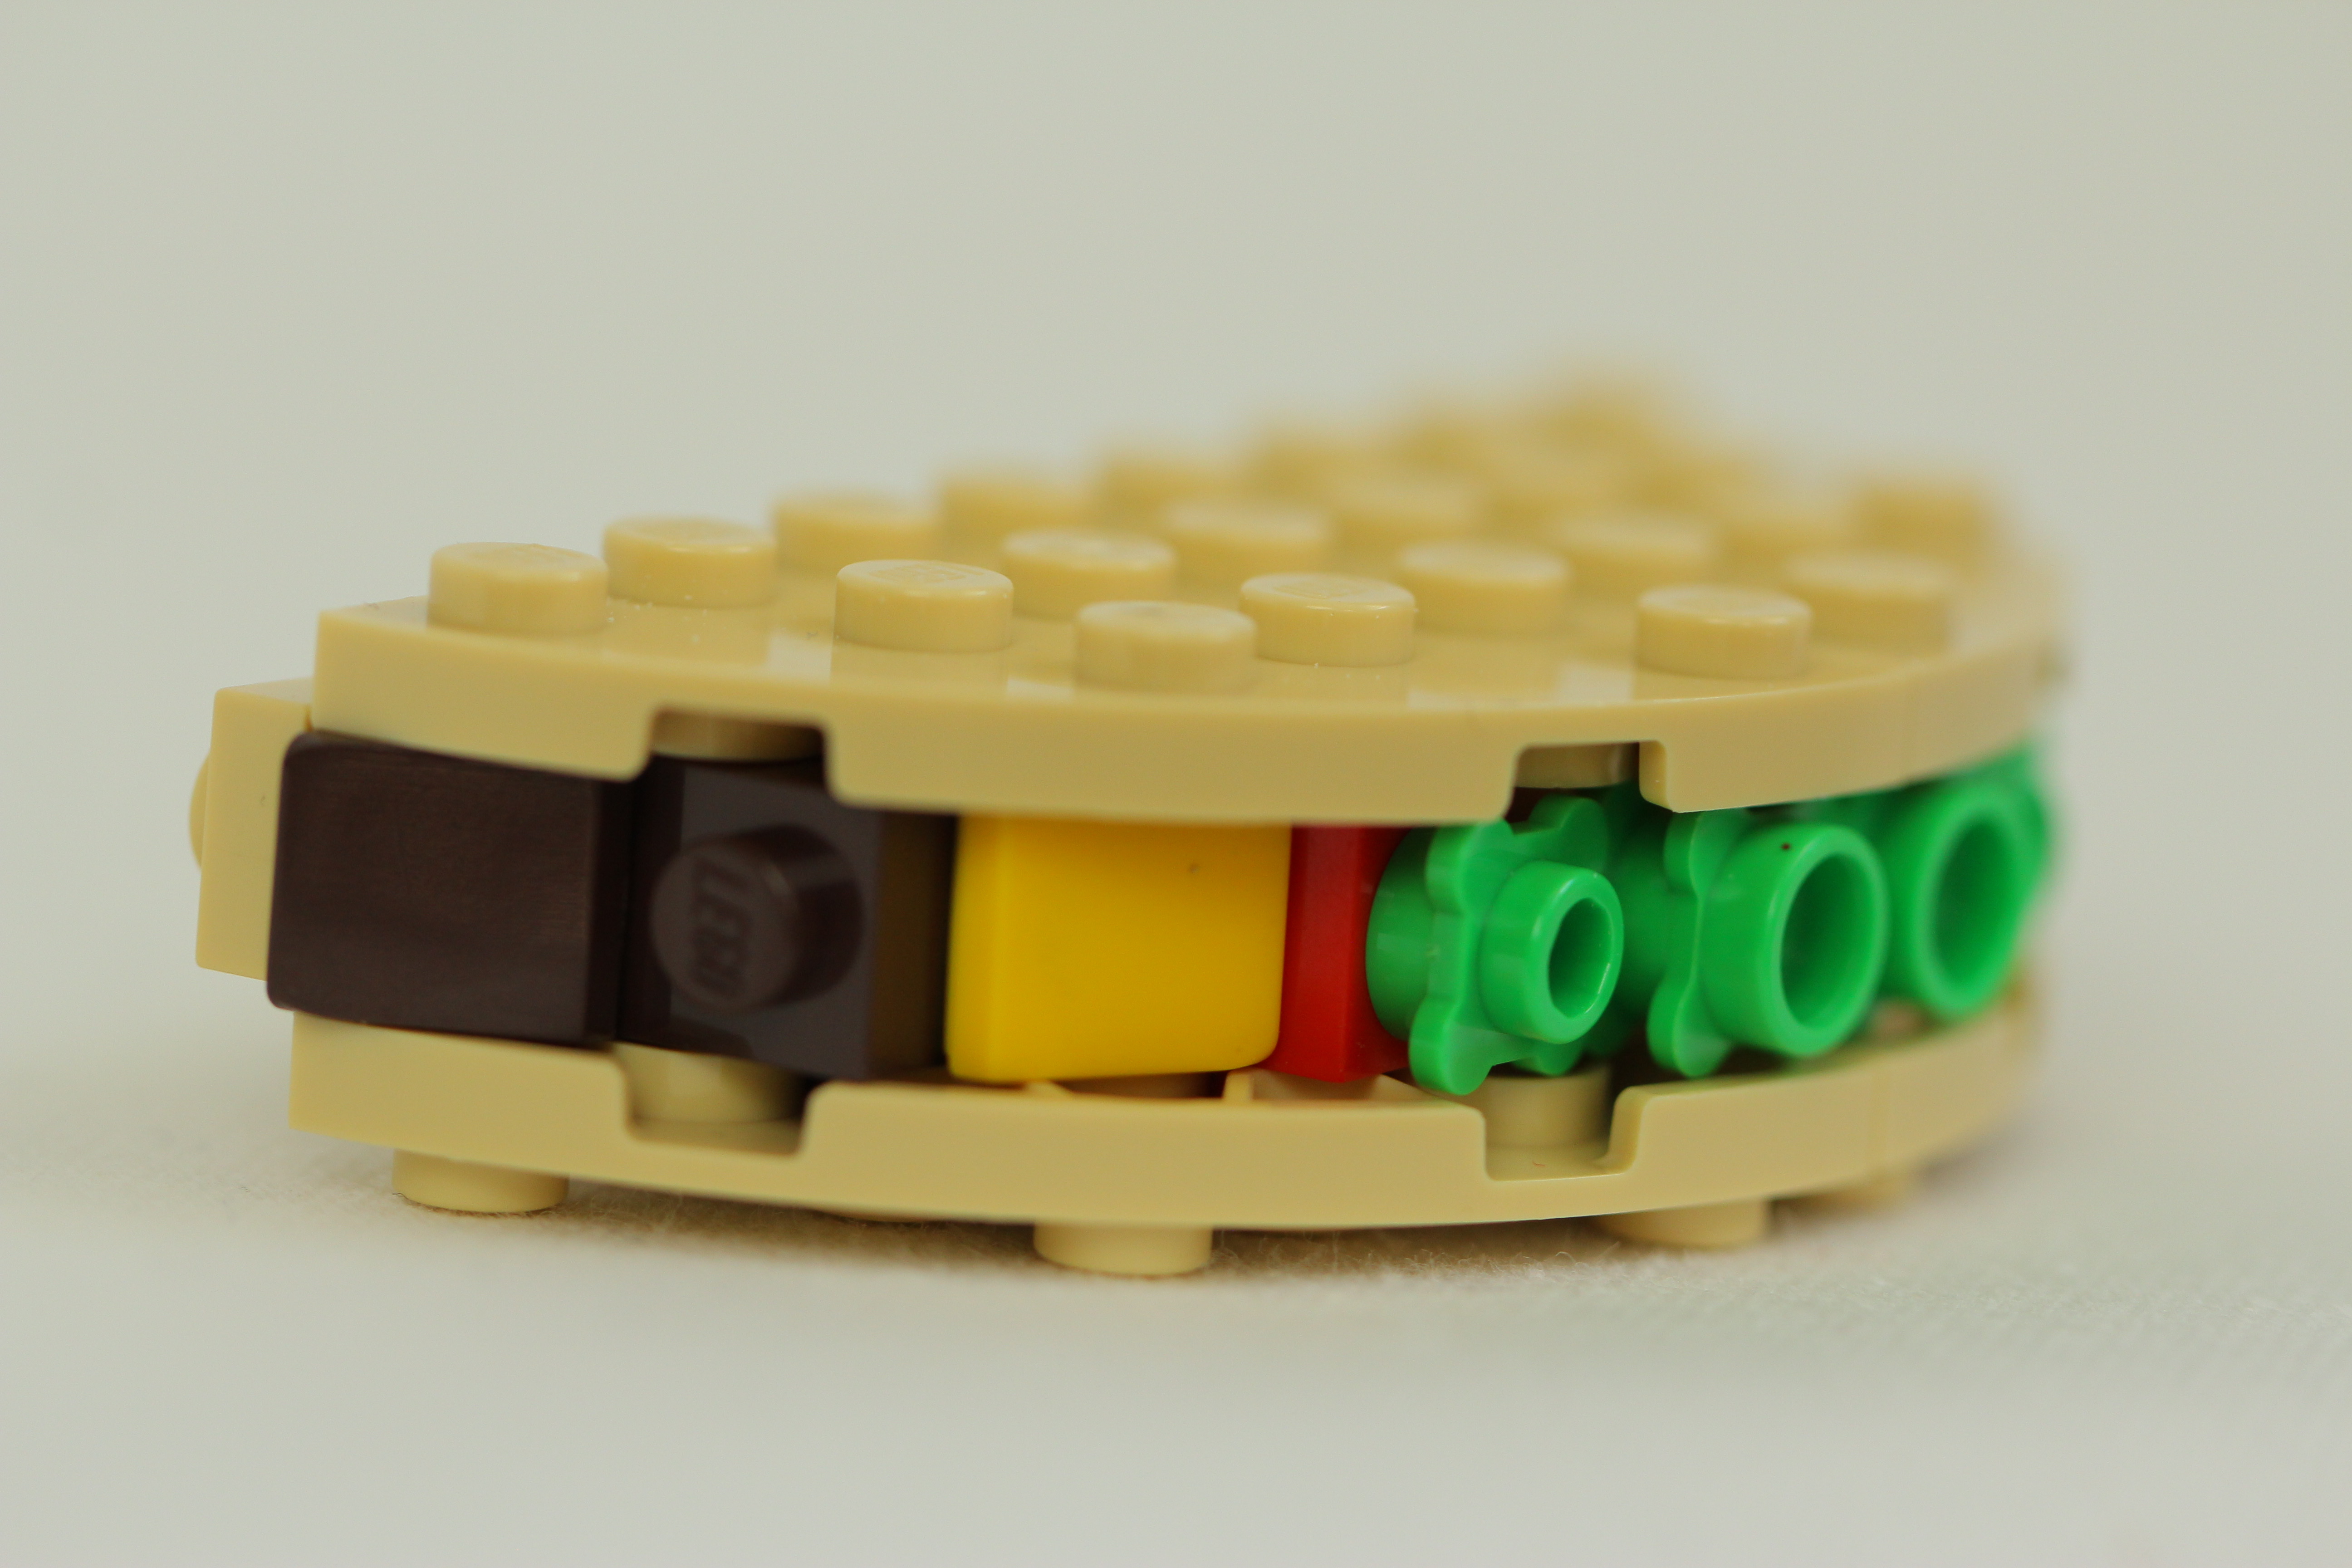
Build the taco shell by connecting flat plates and curved pieces into a shallow semi-circle.
Step 4
Strengthen the shell by adding a few flat plates across the inside so it holds its shape.
Step 5
Make tiny filling pieces by stacking studs and small slopes into little piles for lettuce cheese and tomato.
Step 6
Place the filling pieces inside the shell one at a time so they sit neatly.
Step 7
Lift the taco gently by the shell ends to see if the fillings stay inside and note if it tilts.
Step 8
Fix any wobble by moving fillings or adding a small plate under the shell to rebalance it.
Step 9
Decorate the outside of the shell with bright studs or patterned plates to make it look tasty.
Step 10
Share your finished LEGO taco on DIY.org
Help!?
What can I use if I don't have the curved pieces or small slopes listed for the shell and fillings?
Use stacked flat plates and hinge plates to form the shallow semi-circle shell and substitute 1x1 round plates or tiles for the tiny lettuce, cheese, and tomato fillings.
My taco shell keeps collapsing or the fillings fall out when I lift it—what should I try?
Strengthen the shell by adding a few flat plates across the inside as the instructions say, move or restack the filling piles to rebalance, or slide a small plate under the shell ends to prevent wobble and spilling.
How can I adapt this activity for younger children or older kids?
For younger kids use larger, fewer bricks and big studs as fillings, while older kids can follow the full 8–12 plate shell plan and make detailed tiny filling stacks with studs and small slopes and patterned decorations.
How can we extend or personalize the finished LEGO taco?
Follow the decorate step by adding bright studs or patterned plates to the outside, consider adding a hinge to make the shell openable or building a mini taco-stand diorama, then share your finished taco on DIY.org.
Watch videos on how to make a LEGO® taco
Lego taco tutorial 🌮 #lego
3 Videos
Lego taco tutorial 🌮 #lego

LEGO Friends Taco Truck (41701) Building Instructions
How to Build a LEGO Taco - #shorts / #howto
Facts about LEGO building and basic engineering
🧱 Bricks made with LEGO's 1958 stud-and-tube design still click together with today's LEGO pieces.
🌮 Tacos are so loved they have a U.S. celebration — National Taco Day — on October 4.
🎨 Humans can distinguish around one million colors, so mixing bright 'fillings' makes your taco pop!
⚖️ Your taco will stay upright if its center of mass is over its base — balance helps prevent tipping.
🧩 You can make curved taco shells from straight plates by offsetting layers step-by-step to form a rounded shape.
How do you make a LEGO® taco?
What materials do I need to build a LEGO® taco?
What ages is building a LEGO® taco suitable for?
What are the benefits of making a LEGO® taco?
