Make a geological model
Build a layered geological model using clay, sand, and small fossils to explore rock layers, erosion, and how fossils form over time.


Step-by-step guide to make a geological model
Leapfrog Geothermal Best Practice: Building a Geological Model without Well Data
Step 1
Gather all the materials listed and bring them to your work table.
Step 2
Clear a flat table area and lay down newspaper or a mat to protect the surface.
Step 3
Put the clear shallow container on the protected area to hold your model.
Step 4
Press a thick flattened layer of modeling clay into the bottom of the container to form the bedrock.
Step 5
Sprinkle a thin even layer of play sand over the clay and press lightly so it sticks.
Step 6
Roll a different color of modeling clay into a thin sheet and place it on top to make a new sediment layer.
Step 7
Press small toy fossils or shells gently into different spots between the layers to bury them.
Step 8
Add one or two more alternating thin layers of sand or clay to build up several distinct layers.
Step 9
Gently compact the whole stack by pressing with the flat side of the craft stick.
Step 10
Carefully cut away one side of the model with the plastic knife to reveal the cross-section of layers.
Step 11
Spray the top of the model lightly with the water spray bottle to simulate rain and watch for erosion.
Step 12
Brush the surface gently with the toothbrush to make small erosion channels and reveal more fossils.
Step 13
Draw and label the layers and any fossils you see on the paper using your pencil.
Step 14
Take a photo or write about your geological model and share your finished creation on DIY.org.
Help!?
What can we use if we don't have modeling clay, play sand, or a clear shallow container?
Use store-bought play-dough or a homemade salt-dough for the modeling clay (step 4), clean sandbox or aquarium sand for the play sand (step 5), and a clear plastic food container or yogurt tub as the shallow clear container so you can press and cut layers (steps 4 and 9).
What should we do if the sand keeps falling off the clay or the layers smoosh together when we press?
Lightly mist the sand with the water spray or dampen it slightly before pressing so it sticks (step 5), press new clay sheets gently and compact the stack slowly with the flat side of the craft stick (step 8) to avoid smearing, and cut the side slowly with the plastic knife (step 9) for a clean cross-section.
How can this activity be changed for younger or older kids?
For preschoolers simplify to two or three thicker layers and let them press in large toy fossils with adult help (steps 4–7), while older kids can build many thin measured layers, label each layer precisely on the paper (step 12), and write detailed observations to post on DIY.org (step 14).
How can we make the model more realistic or personal?
Add colored clay or dyed sand layers, press real shells or labeled toothpick flags into chosen layers (steps 6–8 and 12), simulate different rain intensities with timed sprays (step 11) to study erosion patterns, and take a photo to share your personalized model (step 14).
Watch videos on how to make a geological model
Easily Create 3D Geological Models with Free Software
4 Videos
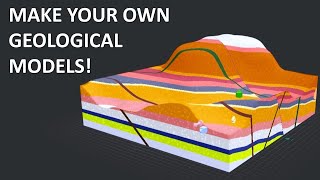
Easily Create 3D Geological Models with Free Software
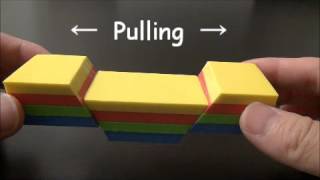
94605 Geological Faults and Folds Model
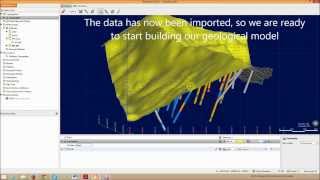
Building a geological model in Leapfrog Geo - Part 1 of 3
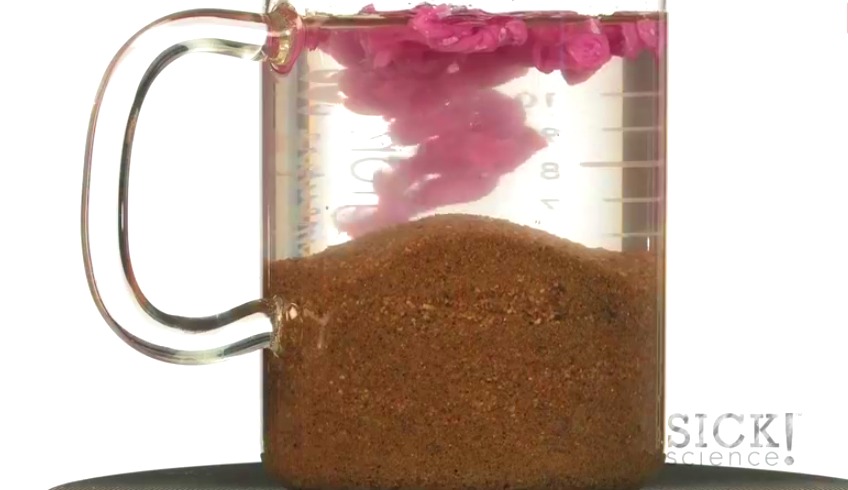
Easy Geology Science Experiments for Kids -- Rock cycle, fossils, and erosion!
Facts about geology and paleontology for kids
🧱 The Law of Superposition says younger layers sit on top of older ones — perfect for building layered clay models!
🪨 Sedimentary rocks (made from sand, silt, and clay) cover about 75% of Earth's continental surface and are where most fossils are found.
⏳ Some fossils are tiny traces of ancient microbes — the oldest known fossils are about 3.5 billion years old!
🌊 Erosion can act fast in storms or extremely slowly over millions of years, reshaping layers by moving sediment around.
🧪 Fossils often form when organisms are buried quickly and minerals replace tissues, turning them into stone through permineralization.
How do I build a layered geological model to explore rock layers, erosion, and fossils?
What materials do I need to make a clay and sand geological model with fossils?
What ages is a layered geological model activity suitable for?
What are the benefits of making a layered geological model for kids?
