Make a cloverleaf with your tongue
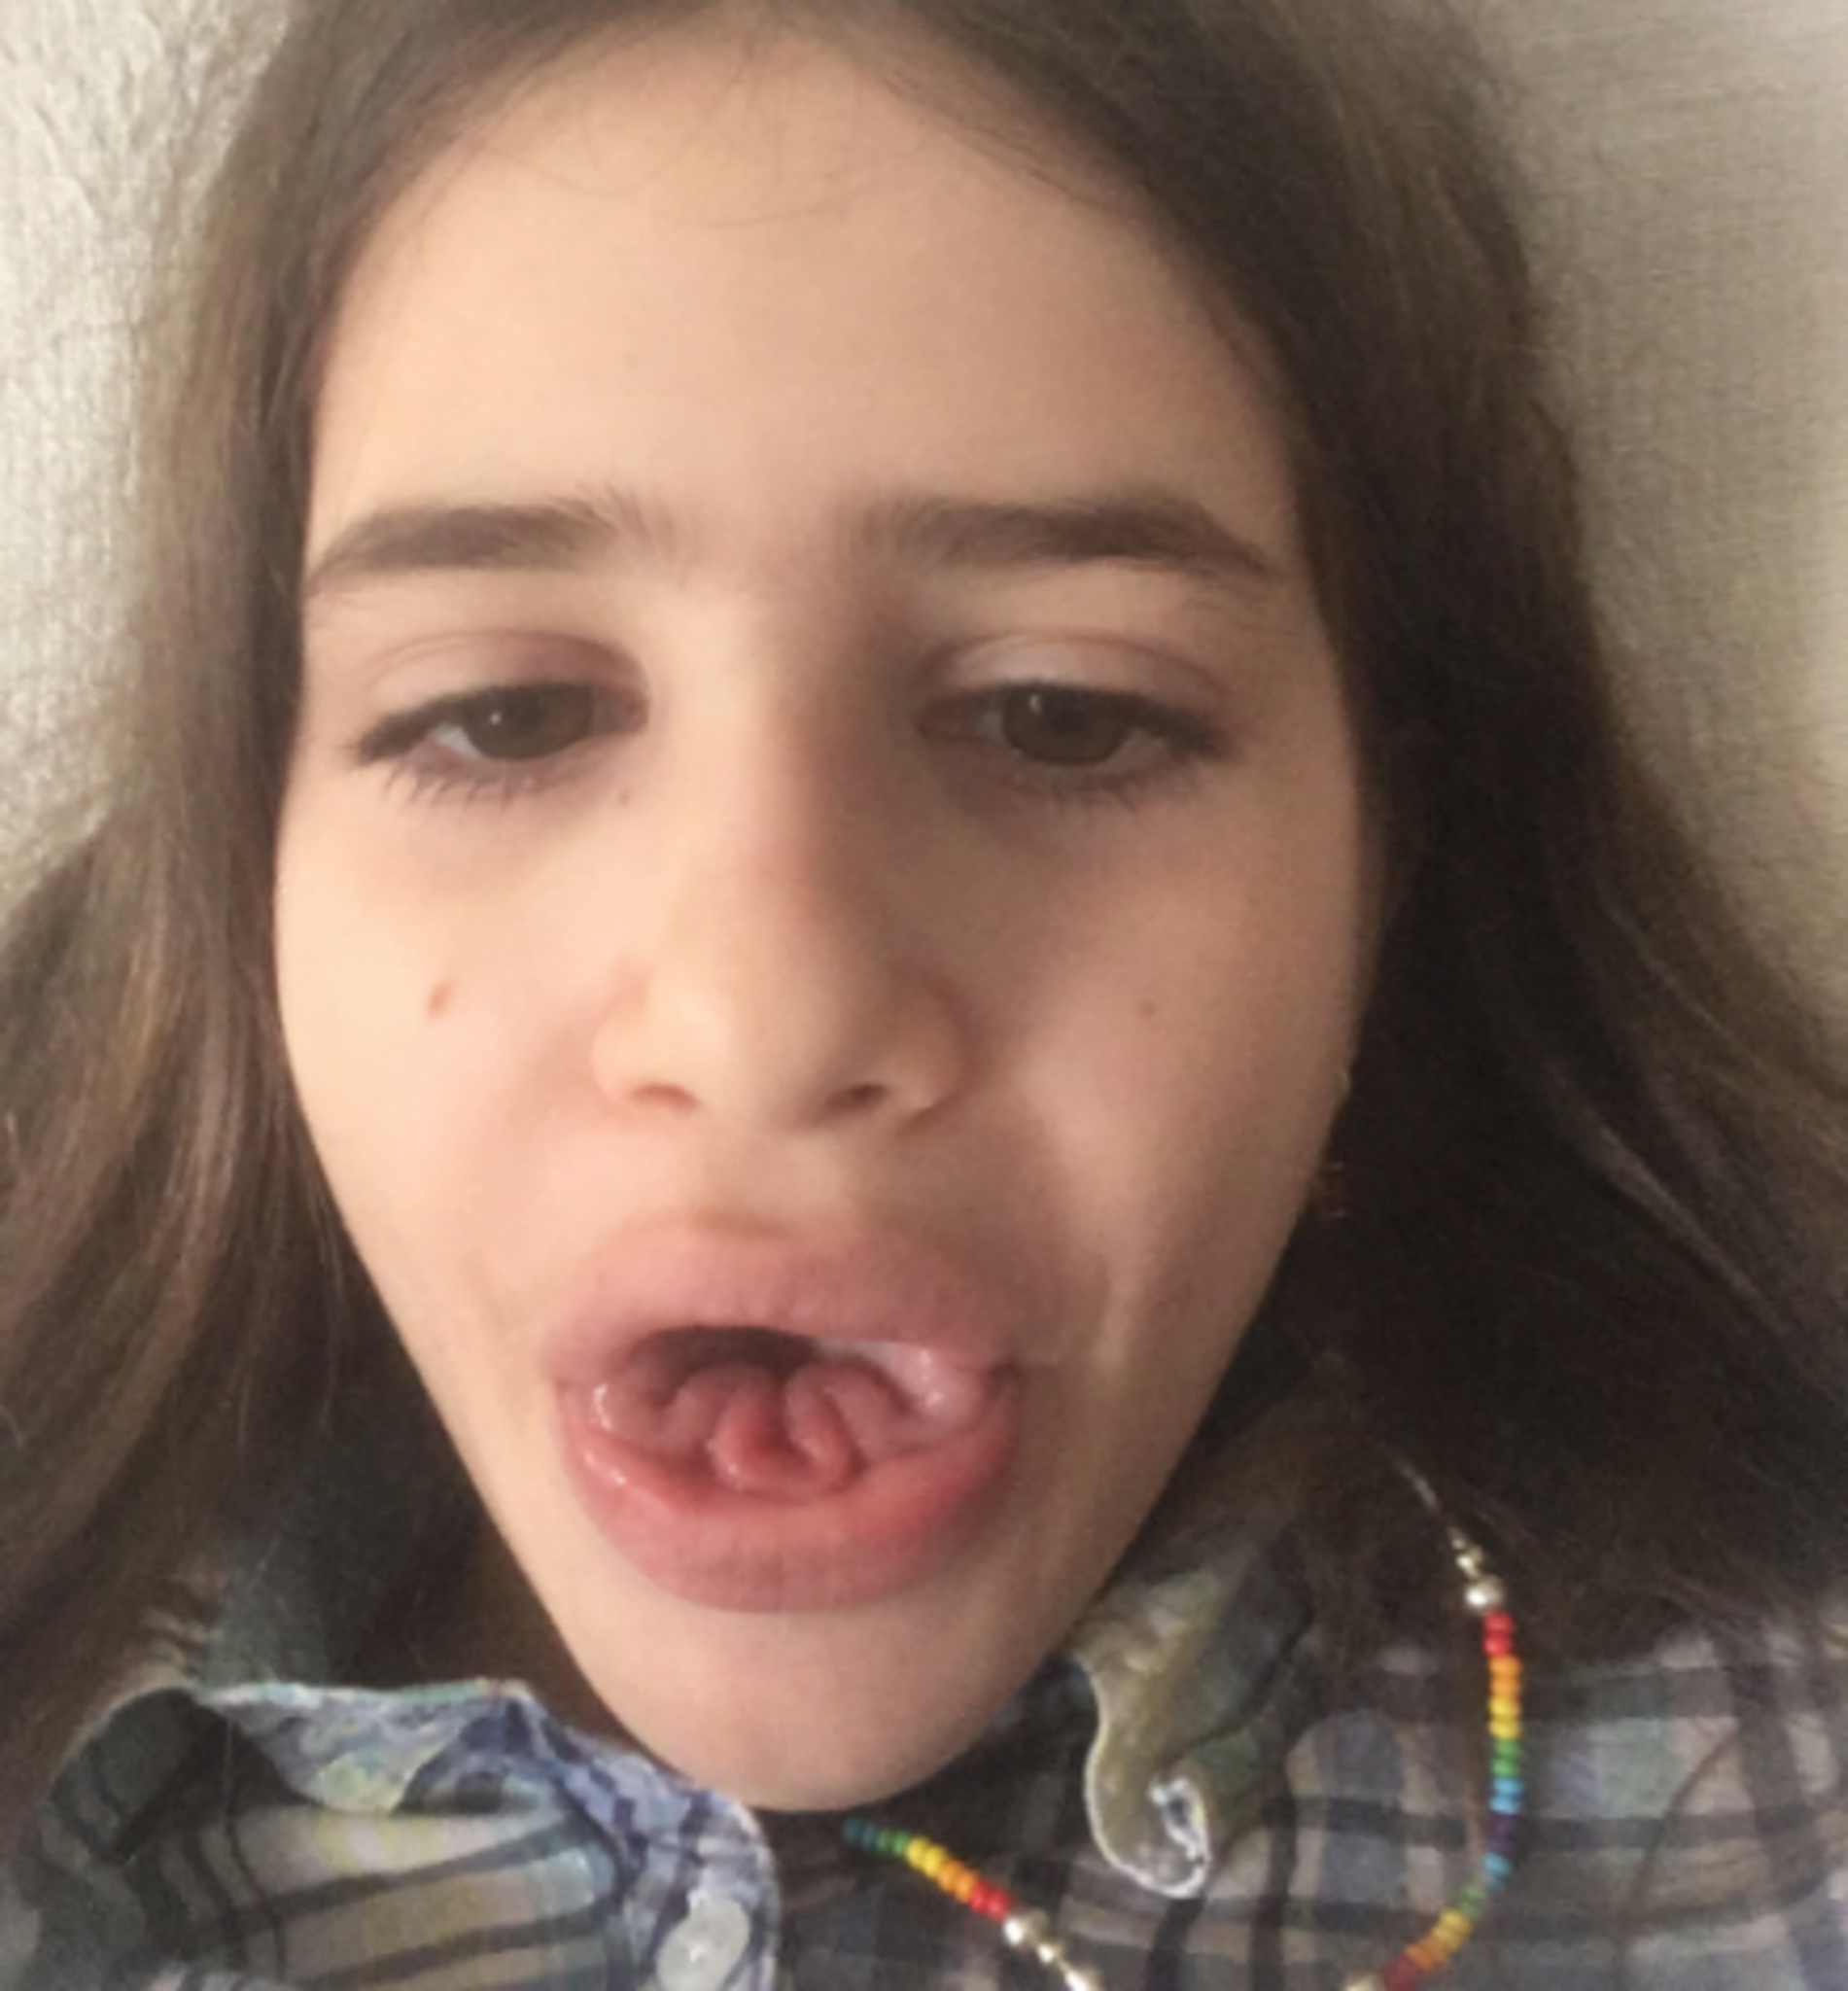
Practice tongue flexibility exercises and follow step by step tips to learn how to shape your tongue into a cloverleaf safely and patiently.
About this activity
Practice tongue flexibility exercises and follow step by step tips to learn how to shape your tongue into a cloverleaf safely and patiently.
What you need
Step by step
- 1
Step 1
Wash your hands with soap and water.
- 2
Step 2
Sit comfortably at a table.
- 3
Step 3
Place a mirror in front of you so you can see your mouth.
- 4
Step 4
Ask an adult to stay close while you practice.
- 5
Step 5
Take a small sip of water to moisten your mouth.
- 6
Step 6
Stick your tongue straight out and hold it for two seconds.
- 7
Step 7
Lift the middle of your tongue gently toward the roof of your mouth to make a small bump.
- 8
Step 8
Fold the left side of your tongue up toward the center to make a left ridge.
- 9
Step 9
Fold the right side of your tongue up toward the center so the left and right ridges meet.
- 10
Step 10
Tuck the tip of your tongue slightly under the two folded sides to form three small lobes like a cloverleaf.
- 11
Step 11
Stop and relax your tongue if you feel any soreness or discomfort.
- 12
Step 12
Share your finished cloverleaf on DIY.org.
Fun facts
How do you teach a child to make a cloverleaf with their tongue?
Start with gentle warm-ups: stick the tongue out, touch the nose and chin, and move it side to side. Use a mirror so the child can watch. Next, ask them to lift the center of the tongue while relaxing the tip, then fold the sides upward toward the middle to form three lobes. Go very slowly, praise small progress, and limit practice to short sessions (3–5 minutes). Stop if there’s pain or gagging and rest.
What materials do I need to practice tongue cloverleaf exercises?
You don’t need special tools. Helpful items include a mirror for visual feedback, a timer for short practice sessions, a clean towel, and a cup of water to rinse if needed. Make sure children have washed hands and sit comfortably. Avoid putting objects in the mouth; focus on guided movement only. Adult supervision is recommended for younger children to ensure safety and good technique.
What ages is tongue cloverleaf practice suitable for?
Most children can begin gentle oral motor exercises around ages 5–7 as control improves, but individual readiness varies. Older children and teens can try too. Supervise younger kids and keep sessions brief. If a child has medical, dental, or speech concerns, consult a pediatrician or speech-language pathologist before practicing. If the child gags, pain occurs, or progress is absent, pause and seek professional advice.
What are the benefits and safety tips for tongue cloverleaf practice?
Benefits include improved tongue flexibility, oral motor control, and fine motor awareness that can support speech and eating. It’s a low-cost, playful activity that builds patience. Safety tips: never force the tongue into position, stop if there’s pain or gagging, keep practice short and relaxed, and maintain good hygiene. If you notice persistent difficulty, pain, or unusual mouth structure, consult a healthcare or speech professional.
Watch & Learn
Need help?
What can we use instead of a mirror if we don't have one?
Use a clean reflective spoon, a compact mirror, or the front-facing camera on a phone so you can still 'Place a mirror in front of you' and watch while you 'Stick your tongue straight out'.
My child can't make the left and right ridges meet—what should we try?
Have them take another small sip of water, practice holding the tongue straight for two seconds, then gently 'Lift the middle of your tongue' before folding each side slowly so the left and right ridges can meet without soreness.
How can I adapt this activity for different ages?
For toddlers, an adult can guide the tongue to lift the middle and make one ridge while older kids can time how long they hold the full cloverleaf or try it without the mirror to increase difficulty.
How can we extend or personalize the cloverleaf activity?
After forming the cloverleaf, decorate the mirror, take a photo of your finished cloverleaf to share on DIY.org, or experiment with making bigger or smaller bumps and lobes as variations.