Make A Clip Puppet
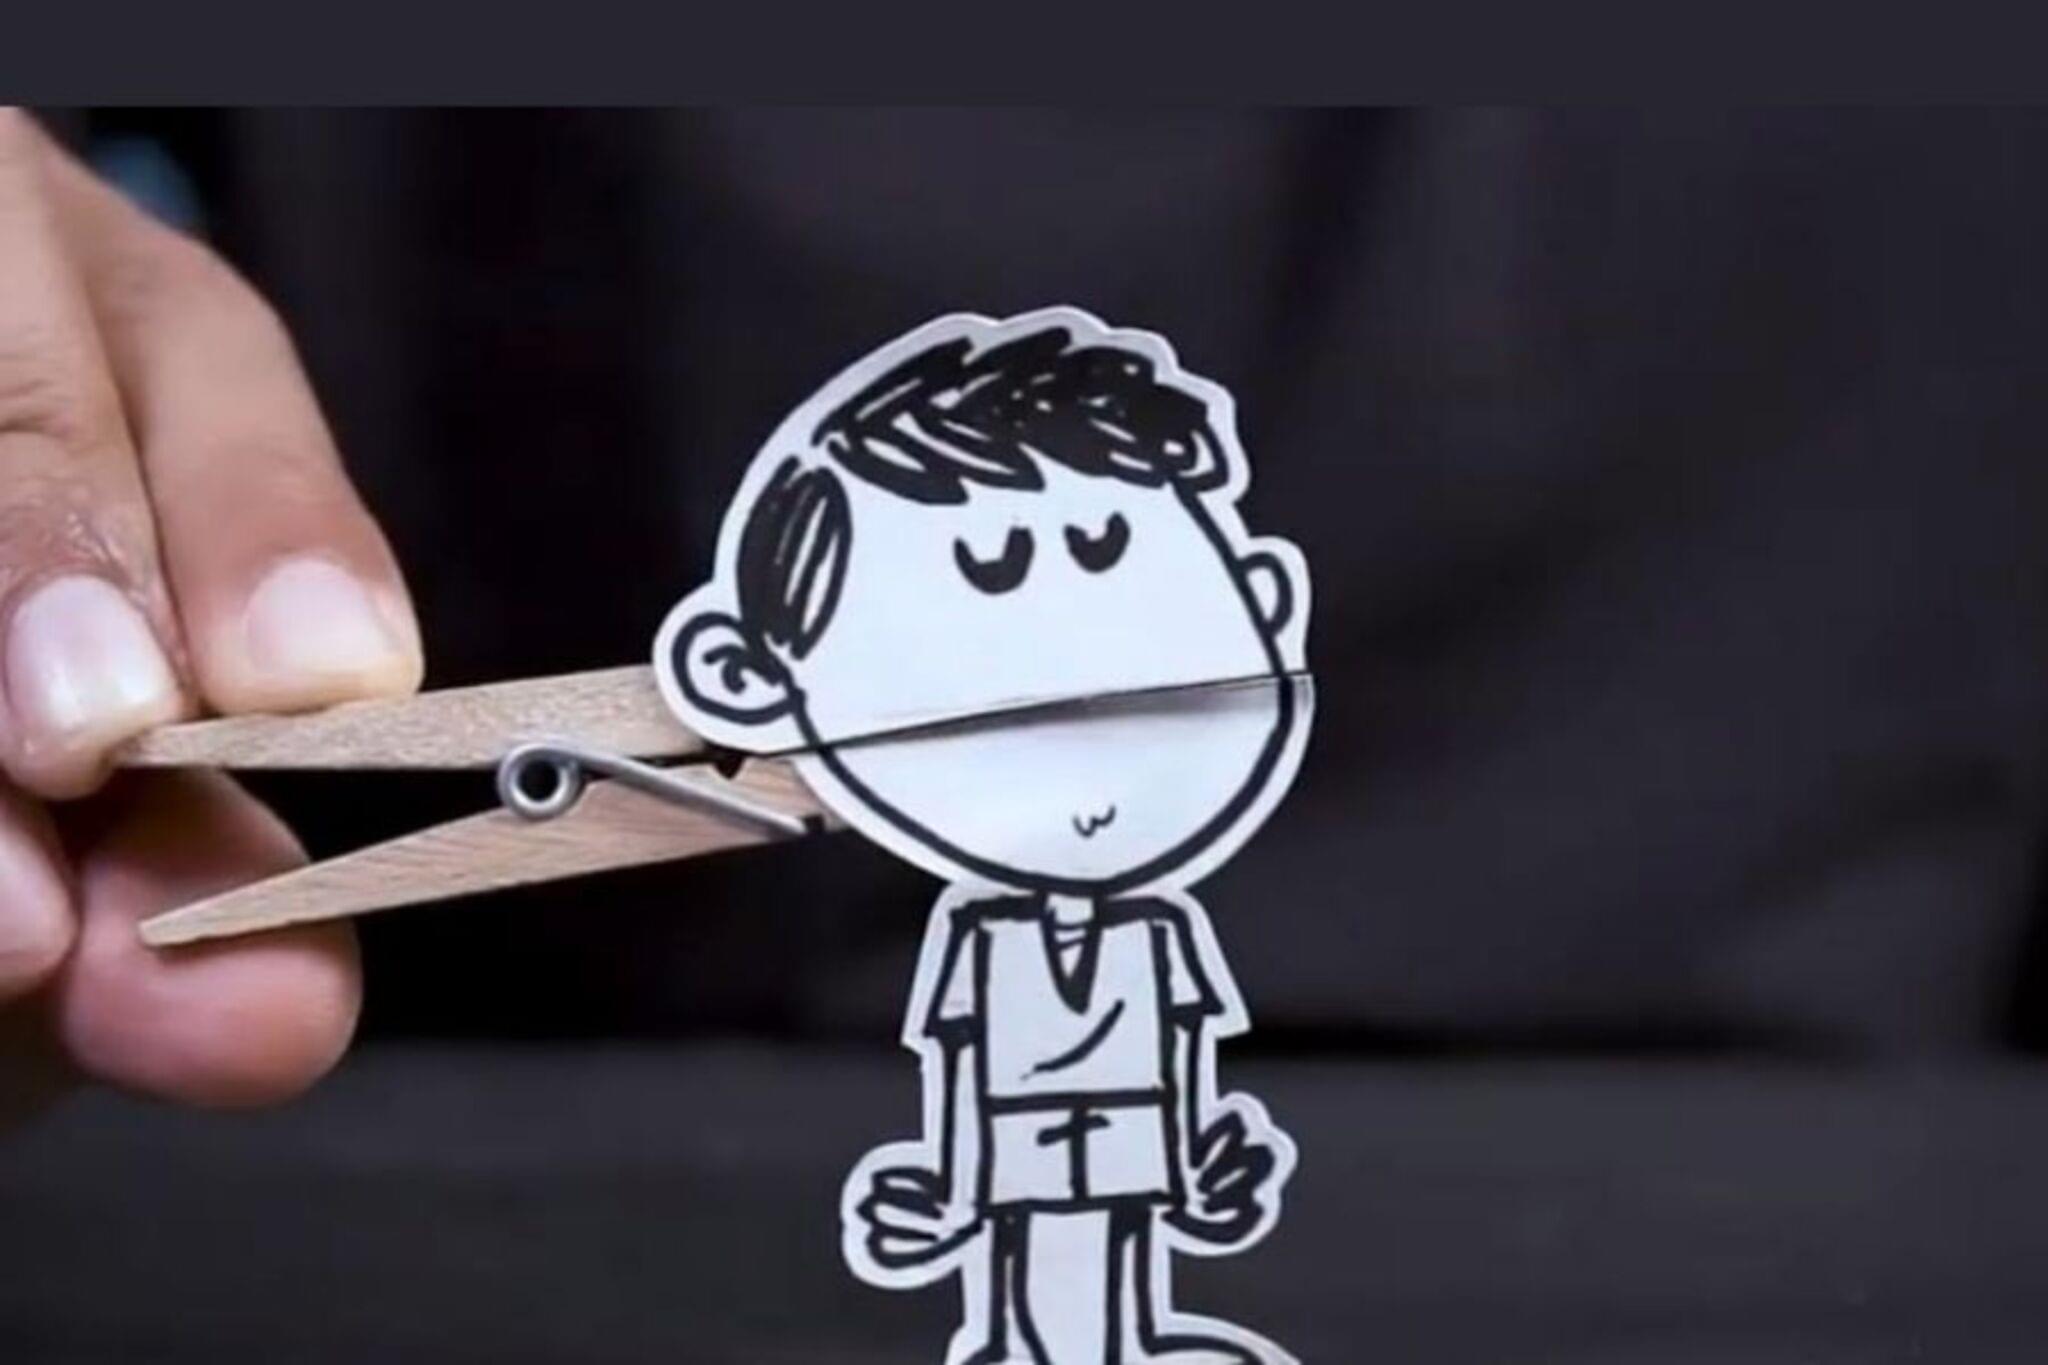
Make a clip puppet using a clothespin, paper, markers, glue, and yarn; decorate it, add movable limbs, and perform short puppet stories.
About this activity
Make a clip puppet using a clothespin, paper, markers, glue, and yarn; decorate it, add movable limbs, and perform short puppet stories.
What you need
Step by step
- 1
Step 1
Gather all the materials on a clean table so everything is ready.
- 2
Step 2
Decide what character your puppet will be and imagine how it will look.
- 3
Step 3
Draw a head and a body shape for your character on the paper with markers.
- 4
Step 4
Color and decorate the head and body with markers to give your puppet personality.
- 5
Step 5
Cut out the head and body shapes carefully with scissors.
- 6
Step 6
Cut two or four thin strips of paper for arms and legs and set them aside.
- 7
Step 7
Carefully poke a small hole at the end of each paper limb and at matching spots on the paper body.
- 8
Step 8
Cut short pieces of yarn—one for each limb—to use as connectors.
- 9
Step 9
Thread a yarn piece through a limb hole and through the matching body hole and tie a knot to secure the limb; repeat for each limb.
- 10
Step 10
Glue the paper head to the top of the clothespin so the clothespin opens like the puppet’s mouth.
- 11
Step 11
Glue the paper body to the front of the clothespin so the yarn limbs hang freely and can move.
- 12
Step 12
Let the glue dry completely before touching the puppet.
- 13
Step 13
Practice opening and closing the clothespin to make the puppet talk and gently pull the yarn to move the limbs.
- 14
Step 14
Share your finished clip puppet creation and a short puppet story on DIY.org
Fun facts
How do you make a clip puppet?
To make a clip puppet, start by choosing a wooden clothespin and sketch a character on cardstock or heavy paper. Cut out a head and body, then glue the head to the top and the body to the sides of the clothespin so the pin opens/closes like a mouth. Add movable limbs with brads or attach yarn with tape so arms and legs swing. Decorate with markers, googly eyes, yarn hair, and practice short puppet stories by pinching the clip to animate speech and movement.
What materials do I need to make a clip puppet?
You'll need wooden clothespins (one per puppet), cardstock or thick paper, scissors, school glue or tacky glue, markers or crayons, yarn for hair and joints, small brads or paper fasteners for movable limbs, tape, and optional googly eyes, stickers, and paint. Use child-safe scissors for young kids and non-toxic glue. Have a scrap paper area and a damp cloth for quick cleanups and adult help for cutting or using sharp fasteners.
What ages is the clip puppet activity suitable for?
This activity suits ages about 3–10, with adaptations. Toddlers (3–4) can glue pre-cut shapes and add stickers while supervised. Preschoolers (4–6) can decorate, glue parts, and practice simple pinching motions. School-age kids (7–10+) can cut patterns, add brad-jointed limbs, and design more detailed characters. Always supervise scissors, brads, and small pieces, and adjust tools to skill level to keep it safe and fun.
What are the benefits of making clip puppets and fun variations?
Making clip puppets builds fine motor skills, hand-eye coordination, creativity, and storytelling ability. Puppetry encourages language development, emotional expression, and cooperative play when kids perform short scenes. For variations, try seasonal costumes, use recycled cardboard or bottle caps for faces, create shadow puppet backdrops, or make group puppet shows. Limit small parts for younger children and celebrate each child's story to boost confidence and social skills.
Watch & Learn
Need help?
What can I use instead of a clothespin if I can't find one?
Use a binder clip or chip clip and glue the paper head to the top so the clip still opens like the puppet's mouth as described in the glue-the-paper-head-to-the-clothespin step.
My paper limbs keep tearing when I poke holes—how can I fix that?
Reinforce the limb and matching body holes with a small piece of clear tape or use a hole punch before threading the yarn so the yarn doesn't tear the paper when you tie the knots.
How can I adapt the steps for a 3-year-old versus a 10-year-old?
For a 3-year-old, pre-cut the head and body shapes, pre-poke or punch the limb holes, and let them color and stick on decorations, while a 10-year-old can draw detailed designs, cut their own shapes, and replace yarn connectors with brads for stronger movable joints.
How can we make the puppet more durable or personalized after finishing it?
Glue the paper head and body onto thin cardboard before cutting, paint or decorate the clothespin, add googly eyes or fabric clothing, and build a small cardboard stage to rehearse and then share the puppet story on DIY.org.