Make a Banana Plushie with DIY Star MrsWoof
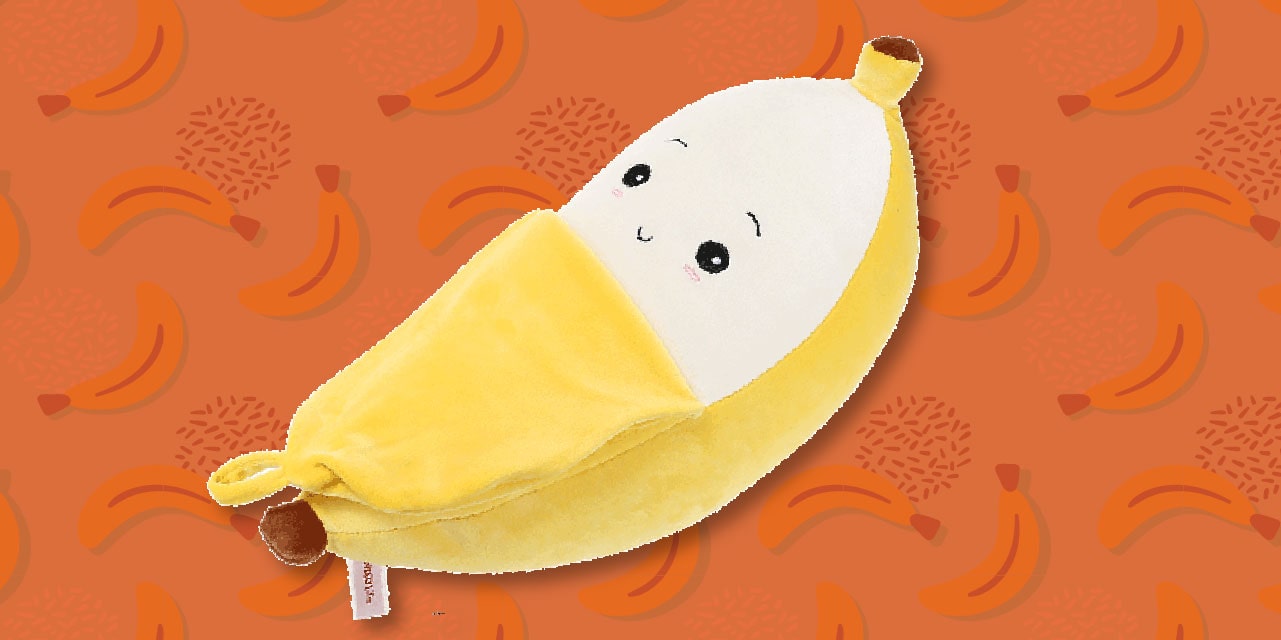
Create a soft banana plushie using fabric, stuffing, and simple hand-sewing or glue techniques, then add a star-themed MrsWoof face and details.
About this activity
Create a soft banana plushie using fabric, stuffing, and simple hand-sewing or glue techniques, then add a star-themed MrsWoof face and details.
What you need
Step by step
- 1
Step 1
Gather all the Materials Needed and lay them out on a clean table.
- 2
Step 2
Decide whether you will hand-sew your plushie or use fabric glue to join pieces.
- 3
Step 3
Cut a banana-shaped template from a sheet of paper.
- 4
Step 4
Trace the paper template onto the yellow fabric twice and cut out the two banana pieces.
- 5
Step 5
Place the two yellow fabric pieces together with the right sides facing each other.
- 6
Step 6
Join the edges of the banana pieces using your chosen method and leave about a 3 cm gap for stuffing.
- 7
Step 7
Turn the banana right side out through the gap.
- 8
Step 8
Stuff the banana with polyfill until it is soft and plump.
- 9
Step 9
Close the gap with small hand stitches or a dab of fabric glue.
- 10
Step 10
Cut a small brown stem from the brown felt.
- 11
Step 11
Attach the brown stem to the narrow top of the banana with a few stitches or glue.
- 12
Step 12
Cut a star shape from the white felt for MrsWoof.
- 13
Step 13
Decorate the white star with MrsWoof’s face and star details using fabric markers or small stitches.
- 14
Step 14
Sew or glue the decorated MrsWoof star onto the banana plushie.
- 15
Step 15
Share your finished Banana Plushie with DIY Star MrsWoof on DIY.org.
Fun facts
How do I make a banana plushie with a DIY Star MrsWoof face?
To make a Banana Plushie with DIY Star MrsWoof, draw a simple banana template and cut two identical banana shapes from soft fabric (fleece or cotton). With right sides together, sew or hot-glue around edges leaving a gap to turn. Turn right-side-out, stuff evenly, and hand-stitch the opening closed. Cut star-shaped felt pieces for the MrsWoof face, glue or sew them on, and add embroidered eyes, mouth, and cheek details. Finish with decorative stitching or tiny fabric paint accents.
What materials do I need to make a Banana Plushie with DIY Star MrsWoof?
You'll need soft fabric (fleece, cotton, or felt), polyester stuffing, a banana template, matching thread and needle or fabric glue, small felt pieces for stars and facial features, fabric-safe glue, fabric scissors, pins or clips, a fabric marker or chalk, and optional embroidery floss or non-toxic fabric paint. For safety, replace buttons or plastic eyes with embroidered features for young children, and have an adult handle hot glue, needles, and scissors.
What ages is the Banana Plushie DIY Star MrsWoof activity suitable for?
This activity suits different ages with proper supervision. Toddlers (2–4) can join sensory play and stick felt shapes with an adult. Preschoolers (4–6) enjoy cutting large prepped shapes and simple gluing. Elementary kids (6–10) can try hand-stitching basic seams and detailing. Preteens (10+) can design custom patterns and advanced embroidery. Always supervise needle use, scissors, and hot glue, and adapt tasks so younger children do safe, age-appropriate parts.
What safety tips, benefits, and creative variations are there for the Banana Plushie DIY Star MrsWoof craft?
Making a banana plushie promotes fine motor skills, creativity, and emotional play as kids design MrsWoof’s star face. Safety tips: avoid small parts for under-threes, use embroidery or felt instead of buttons, supervise needles and hot glue, and choose non-toxic stuffing and paints. Variations include mini keychain bananas, different fruit shapes, glow-in-the-dark fabric, reversible faces, or adding pockets. Encourage color choices and storytelling to boost language skills while crafting togeth
Watch & Learn
Need help?
What can we use if we don't have yellow fabric, polyfill, or fabric markers?
Use an old yellow T-shirt or cotton pillowcase cut into the traced banana pieces, replace polyfill with clean pillow stuffing or scrap fabric stuffed through the 3 cm gap, and decorate MrsWoof's white felt star with permanent markers or simple embroidered stitches if fabric markers aren't available.
My banana keeps turning out lumpy or the seam opens—what should we do?
If stuffing creates lumps or the seam around the 3 cm gap gaps, enlarge the opening slightly, add polyfill in small even amounts while smoothing with your fingers, and reinforce the edges with small basting stitches or a thin line of fabric glue before final closure.
How can we adapt this activity for different ages?
For toddlers let them trace the paper template and press glued edges while an adult does the cutting and stitching, for school-age kids have them sew the gap and attach the brown felt stem and MrsWoof star, and for older kids challenge them to hand-sew the whole plushie and add embroidery or patterned fabric choices.
How can we personalize or enhance the banana plushie beyond the basic steps?
Personalize it by using patterned or textured yellow fabric, adding a small safety rattle or pocket inside before closing the 3 cm gap, embroidering extra details on MrsWoof's white star or attaching tiny buttons (age-appropriate) to the face, and sewing a loop into the brown felt stem for hanging before sharing on DIY.org.