Level Up Your Art: Draw Mario Bros
Draw Mario and Luigi step-by-step using simple shapes, pencils, and color markers. Practice proportions, expressions, and character poses to level up your art.

Drawing Apps
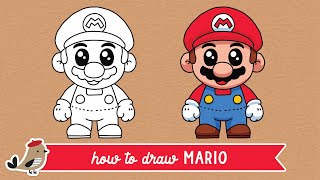
Step-by-step guide to draw Mario and Luigi
How to Draw Super Mario Bros. Characters | Step by Step Drawing Tutorials | Game Character Drawing
Step 1
Find a clean flat surface and lay out your materials so everything is easy to reach.
Step 2
Lightly draw two large ovals for the heads spaced apart so there is room for bodies.
Step 3
Draw a light vertical line and a horizontal eye line across each head to help place the face.
Step 4
Sketch two rounded rectangles under the heads for the torsos and make Luigi’s rectangle a bit taller.
Step 5
Add simple stick arms and cylinder legs to each body to choose a fun pose.
Step 6
Use the face guidelines to draw big round eyes a large round nose and a curvy mustache on each character.
Step 7
Draw their hats with a curved brim and small ears on each side of the heads.
Step 8
Sketch the overall straps and round buttons over the torsos to create their outfits.
Step 9
Smooth and adjust the shapes so the heads bodies and arms look well balanced.
Step 10
Erase the light construction lines so only the clearer final sketch remains.
Step 11
Trace your final lines with a black marker to make bold outlines.
Step 12
Colour Mario with red for his hat and shirt and blue for his overalls and colour Luigi with green for his hat and shirt and blue for his overalls while colouring skin and hair appropriately.
Step 13
Add small shadows with a darker marker and highlights with a lighter colour to make them pop.
Step 14
Sign your name and add the date in a corner to show your artwork is finished.
Step 15
Take a photo of your finished Mario and Luigi drawing and share your creation on DIY.org.
Help!?
What can I use if I don't have a black marker or colored markers?
If you don't have a black marker to "trace your final lines," use a dark pencil or black ballpoint pen for bold outlines and substitute colored pencils, crayons, or watercolor for the red/green/blue on Mario and Luigi and for shadows and highlights.
My drawing looks messy when I erase construction lines or smudges—how can I fix that?
Keep the initial ovals and construction lines very light with a hard pencil, wait for the black marker ink to dry before erasing, and use a clean or kneaded eraser to gently remove the light construction lines so only the clearer final sketch remains.
How can I adapt this activity for different ages?
For preschoolers, pre-draw the two large ovals and rounded rectangles and let them color with fat crayons, elementary kids can follow every step including face guidelines and tracing with a black marker, and older kids can refine poses when they "smooth and adjust the shapes" and add advanced shading with darker markers and highlights.
How can we make the drawing more unique or advanced?
Personalize by changing outfit colors or adding props, create a background or action pose from the "choose a fun pose" step, increase contrast with stronger shadows and lighter highlights, then sign and date before photographing to share on DIY.org.
Watch videos on how to draw Mario and Luigi
How to Draw Mario - Step by Step Drawing Tutorial
4 Videos
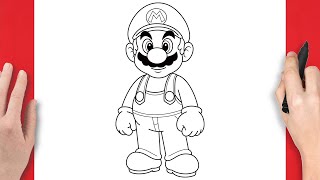
How to Draw Mario - Step by Step Drawing Tutorial
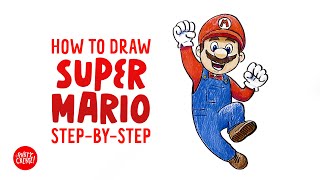
How To Draw Mario Step-By-Step | Drawing Super Mario Brothers Movie for Kids
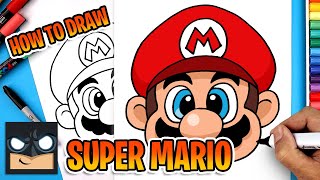
How to Draw Super Mario (Step by Step)
How To Draw Mario From Super Mario Bros | Easy Drawing For Kids
Facts about character drawing for kids
🎮 Mario first appeared in the 1981 arcade game Donkey Kong, where he was called "Jumpman."
👬 Luigi was created as Mario's taller, thinner brother to give players a different-proportioned character for two-player games.
🎨 Many iconic characters (like Mario) are built from simple shapes — circles, ovals, and rectangles — which makes step-by-step drawing easy for beginners.
🧑🔧 Mario was originally a carpenter in Donkey Kong before becoming a plumber in later games.
🧢 Mario's hat and mustache were added so his face would be clear in tiny, low-resolution sprites — a great reminder to focus on bold, recognizable features when drawing.
How do I teach my child to draw Mario and Luigi step-by-step?
What materials do I need to draw Mario and Luigi with my child?
What ages is this 'Level Up Your Art: Draw Mario Bros' activity suitable for?
What are the benefits of drawing Mario and Luigi with my child?
