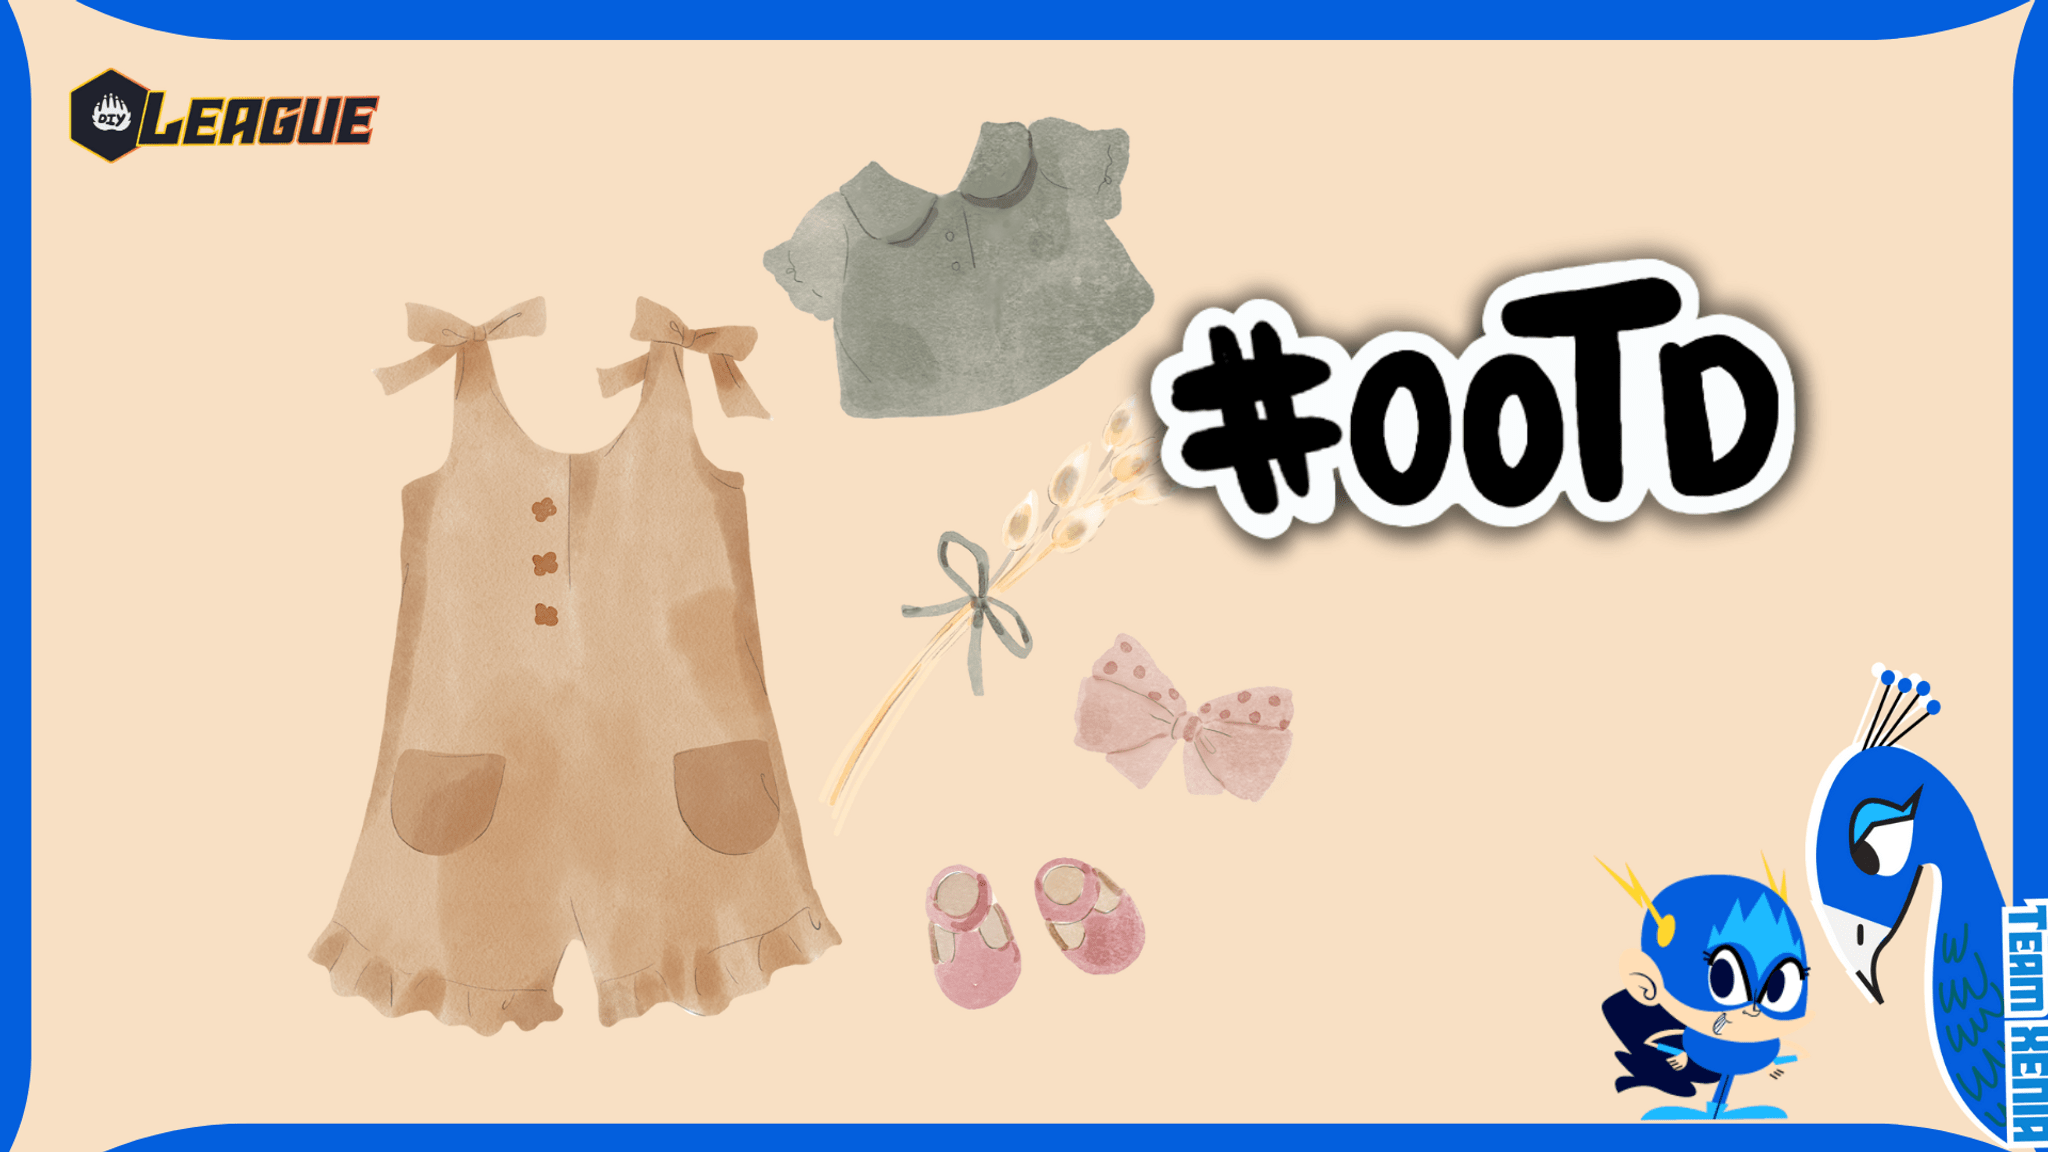
Let DIYers Pick Your OOTD
Make a DIY outfit spinner from cardboard, markers, and a paper fastener; add clothing choices and spin to let DIYers pick your OOTD.


Step-by-step guide to Let DIYers Pick Your OOTD
EASY Pattern to make kids dress! | diy dress 3-5 years old
Step 1
Gather all your materials and set them on a flat table so everything is ready.
Step 2
Place the bowl or cup upside down on the cardboard and trace around it with your pencil to make a big circle.
Step 3
Cut out the cardboard circle carefully with scissors.
Step 4
Fold the cardboard circle in half and then fold it in half again to make a small crease at the center.
Step 5
Unfold the circle and use your ruler and pencil to draw straight lines from the center to the edge to divide the circle into even wedges.
Step 6
In each wedge draw and label one clothing choice for your OOTD spinner using your marker.
Step 7
Color and decorate each wedge with markers and glue or tape on any extra decorations.
Step 8
Draw an arrow shape on a scrap piece of cardboard to be the spinner pointer.
Step 9
Cut out the cardboard arrow with scissors.
Step 10
Make a small hole in the center of the circle at the crease using the tip of your pencil or a hole punch (ask an adult to help if needed).
Step 11
Make a small hole at the base of the arrow where it will attach to the circle.
Step 12
Place the arrow on top of the circle lining up the two holes so the arrow can spin.
Step 13
Push the paper fastener through the arrow and the circle and spread the fastener ends flat on the back so the arrow spins freely.
Step 14
Give your spinner a few test spins and then share your finished OOTD spinner on DIY.org.
Help!?
What can I use if I don't have a paper fastener or a hole punch?
Use a small screw and nut or a plastic brad from a craft kit as a paper fastener substitute and make the holes with the tip of your pencil like the step that says 'make a small hole at the center.'
My arrow won't spin freely or keeps wobbling—what should I check?
If the arrow sticks after you push the paper fastener through, make sure the two holes are aligned, trim and spread the fastener prongs flat on the back as the instructions say, and loosen the fastener slightly so the arrow can turn freely.
How can I adapt the activity for younger or older kids?
For younger kids have an adult pre-cut the cardboard circle and pre-draw wedges or use stickers for clothing choices, while older kids can add more wedges with a ruler, attach fabric swatches, or write full outfit coordinates when they 'draw and label one clothing choice.'
How can we personalize or extend the finished OOTD spinner?
Glue photos or cut-outs of your real clothes onto each wedge, add sequins or fabric scraps during the 'color and decorate each wedge' step, and laminate the circle for durability before sharing on DIY.org.
Watch videos on how to Let DIYers Pick Your OOTD
13 EASY DIY CLOTHING HACKS FOR KIDS
4 Videos
13 EASY DIY CLOTHING HACKS FOR KIDS
Easy pattern to make kids dress// diy dress 2-3 years old//no pattern//sewing
EASY DIY APPLE COSTUME | HALLOWEEN TODDLER KID OUTFIT TUTORIAL. Simple basic No pattern instructions
DIY Gathered Dress for Girls / Toddlers + Free PDF pattern
Facts about DIY fashion and paper crafts for kids
👗 OOTD stands for “outfit of the day” and is a super-popular tag people use to share what they wore on social media.
🧷 A split pin (paper fastener) has been used in crafts and office work for decades to create moving joints in paper projects.
📦 Cardboard's strength comes from its corrugated middle layer, which makes it lightweight but sturdy—perfect for DIY spinners.
🎯 Spinners and random selectors are a fun, fair way to make decisions — teachers and game makers use them to add surprise.
🎨 Swapping one accessory or color can totally change an outfit's vibe—styling is a small-change, big-impact trick designers love.
How do you make a DIY outfit spinner to let DIYers pick your OOTD?
What materials do I need to make a cardboard outfit spinner?
What ages is the DIY outfit spinner suitable for?
What are safety tips, benefits, and fun variations for the outfit spinner?
