Learn Embossed Foil Art
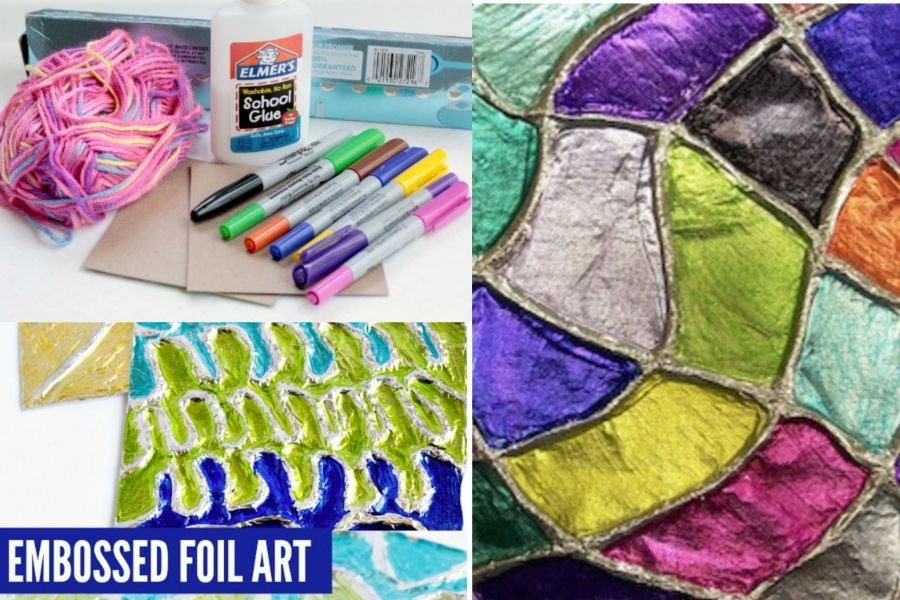
Make embossed foil artwork by tracing a design, pressing patterns onto foil over cardboard, and decorating the shiny textured picture using safe tools.


Step-by-step guide to make embossed foil art
Step 1
Gather all the materials listed and set them on a clear table.
Step 2
Cut the cardboard to the size you want your artwork to be.
Step 3
Place your paper design centered on top of the cardboard.
Step 4
Lay a sheet of aluminum foil shiny side up over the paper design.
Step 5
Smooth the foil flat with your hands so it lies closely over the paper.
Step 6
Tape the foil edges to the back of the cardboard so the foil cannot move.
Step 7
Trace the main outlines of your design through the foil using the ballpoint pen with firm but gentle pressure.
Step 8
Press details into the foil by using the blunt stylus or the pen tip to make raised lines and shapes.
Step 9
Create background textures by pressing dots and short lines into open areas with the stylus.
Step 10
Gently smooth any small wrinkles in the foil using the soft cloth.
Step 11
Carefully lift the foil from the cardboard to check the embossed design for areas you want to deepen.
Step 12
Color or paint your embossed foil artwork to highlight raised areas and add bright details.
Step 13
Trim any extra foil from the edges with scissors for a neat finish.
Step 14
Share your finished creation on DIY.org
Help!?
What can I use if I don't have aluminum foil, tape, or a blunt stylus?
Replace aluminum foil with heavy-duty baking foil or thin craft metal sheets, use masking or painter's tape to secure the foil edges to the back of the cardboard, and press details with the rounded end of a paintbrush, a wooden skewer, or the back of a ballpoint pen as a blunt stylus.
Why does the foil tear or wrinkle when I trace, and how can I fix it?
If the foil tears or wrinkles while you trace the main outlines with the ballpoint pen, re-tape all foil edges to the back of the cardboard, use gentler pressure or a fresh sheet of heavy-duty foil, and smooth wrinkles with the soft cloth before re-pressing details.
How can I adapt this embossing project for preschoolers versus tweens?
For preschoolers, give pre-cut cardboard, a simple bold paper design, and a plastic stylus or blunt crayon while an adult tapes the foil, whereas tweens can trace detailed patterns with the ballpoint pen, use the blunt stylus for textures, and paint with acrylics after embossing.
How can I make my embossed foil artwork more special or long-lasting?
Enhance the finished piece by coloring or painting to highlight raised areas, trimming extra foil neatly, mounting the trimmed foil on colored cardstock or in a frame, and sealing painted sections with clear varnish before sharing on DIY.org.
Watch videos on how to make embossed foil art
Art Activity for Kids: Embossed Foil Art by ABCmouse.com
4 Videos
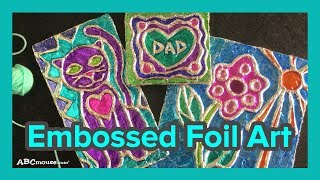
Art Activity for Kids: Embossed Foil Art by ABCmouse.com
Lesson Two: Foil Embossing Art
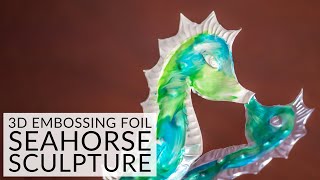
How to Teach a Simple Embossing Foil Art Lesson | 3D Seahorse Sculpture
Foil Embossing Tutorial // Steps 1 to 2: Drawing, Repousse, & Chasing
Facts about foil crafts and embossing
🛠 Repoussé (metal embossing) has been used for thousands of years to decorate jewelry, armor, and ceremonial objects!
✨ Household aluminium foil can be only a few micrometres thick, which helps it take and show tiny embossed details.
📦 Corrugated cardboard began being used for packaging in the late 19th century and makes a great sturdy backing for foil art.
🎨 Embossed foil reflects light differently from each angle, so the same design can look magical when you tilt it.
🖍 You can emboss safely at home with simple tools like a dull pencil, the rounded end of a paintbrush, or a toothpick for fine lines.
How do I make embossed foil art with my child?
What materials do I need for embossed foil artwork?
What ages is embossed foil art suitable for?
What are the benefits, safety tips, and variations for embossed foil art?
