Invent and Draw Your Own Creature!
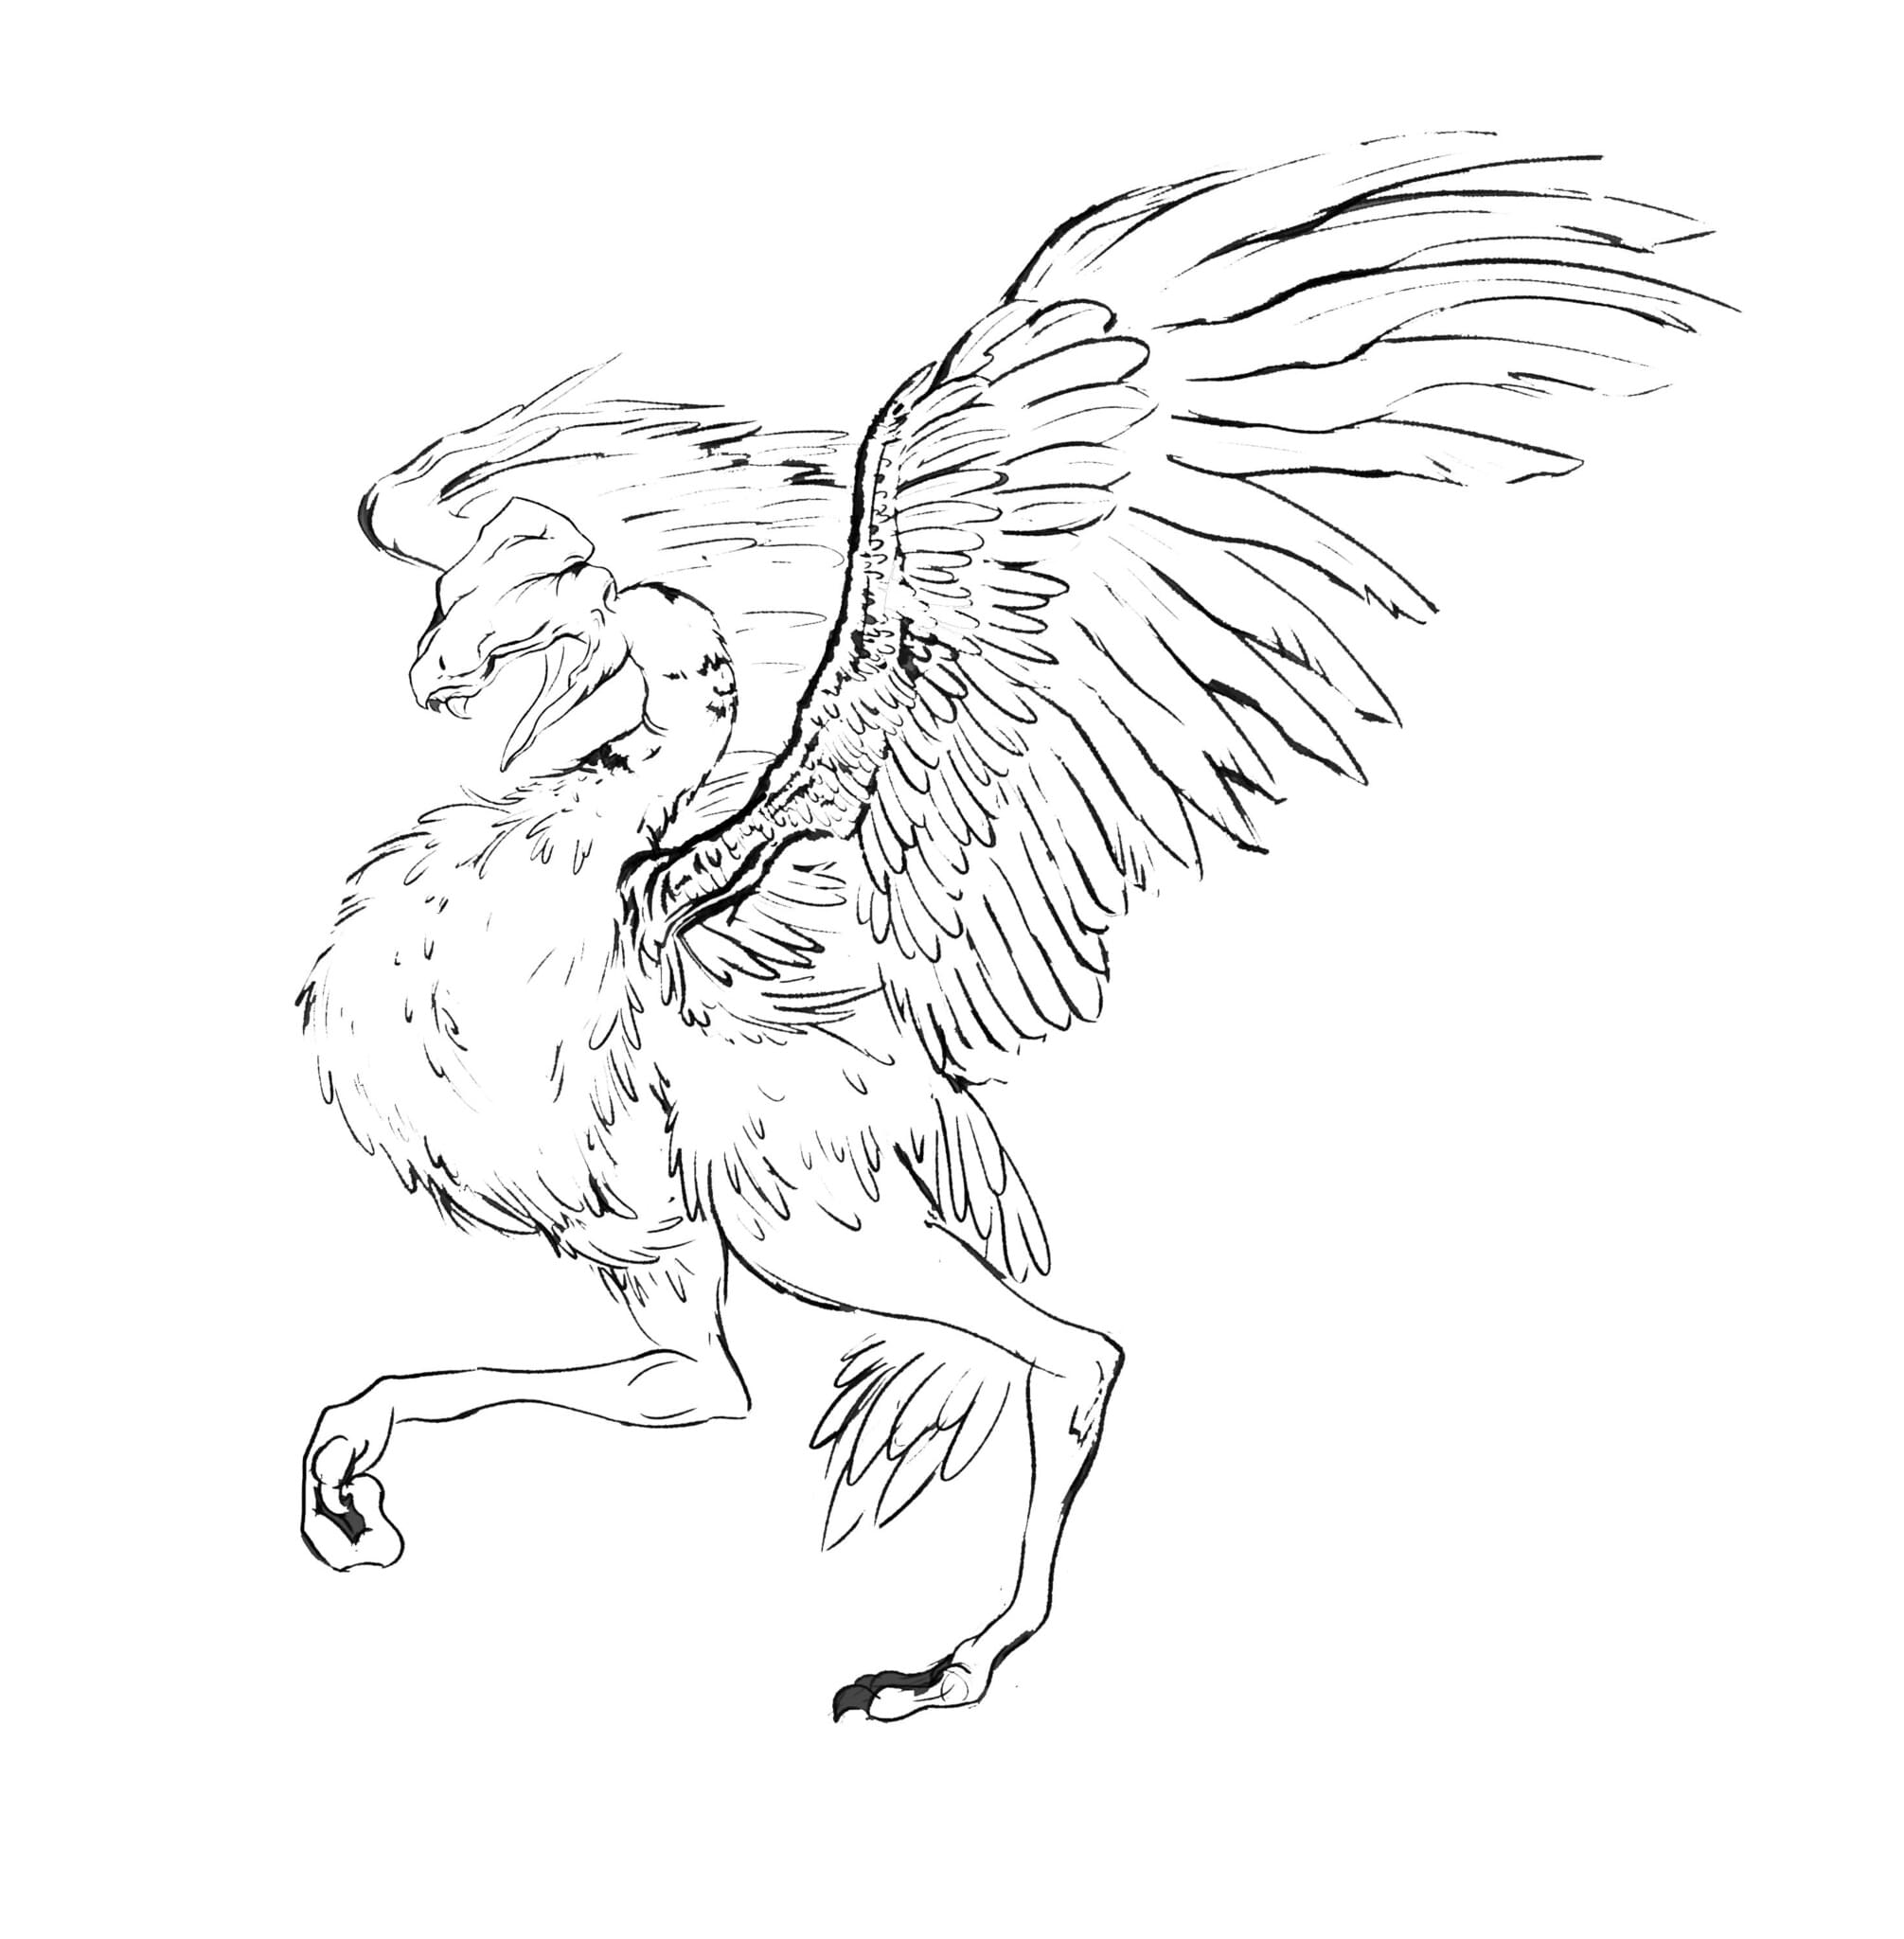
Invent and draw your own creature using pencils and colors, decide its habitat, abilities, and diet, then label parts and tell its story.
About this tutorial
Invent and draw your own creature using pencils and colors, decide its habitat, abilities, and diet, then label parts and tell its story.
What you need
Instructions
- 1
Step 1
Gather your materials and find a comfy place to draw.
- 2
Step 2
Decide where your creature lives such as land water or air.
- 3
Step 3
Decide how big and tall your creature is like tiny as a mouse or huge as a house.
- 4
Step 4
Make three small thumbnail sketches of different body shapes or poses.
- 5
Step 5
Pick your favorite thumbnail sketch from the three you drew.
- 6
Step 6
On a clean sheet draw a larger outline of your chosen thumbnail with your pencil.
- 7
Step 7
Add details like eyes claws wings tails fur or scales to your outline.
- 8
Step 8
Decide what your creature eats and how it gets its food.
- 9
Step 9
Draw the food or the mouth/tools your creature uses to eat near the creature.
- 10
Step 10
Think of one or two special abilities or powers your creature has.
- 11
Step 11
Label important body parts and abilities on your drawing using a black pen.
- 12
Step 12
Color your creature and a little bit of its habitat with your coloring materials.
- 13
Step 13
Write a short 2 to 4 sentence story about your creature that includes its habitat diet and an adventure.
- 14
Step 14
Share your finished creature drawing and story on DIY.org
Fun facts
How do I guide my child to invent and draw their own creature step-by-step?
To invent and draw your own creature, start by brainstorming with your child: pick a habitat, special abilities, and diet. Have them sketch simple shapes to block in the body, then refine outlines and add unique features like extra limbs or patterns. Label body parts and write one-sentence notes about each feature. Color and add textures, then ask your child to tell the creature’s story—where it lives, how it eats, and what makes it special.
What materials do I need to invent and draw my own creature?
You’ll need plain drawing paper or a sketchbook, pencils (HB and softer for shading), a good eraser, and colored pencils, markers, or crayons for color. Add a ruler and a fine-tip pen for labeling, plus sticky notes or index cards for planning habitat and diet. Optional items: reference pictures, stickers, watercolors, scissors and glue for mixed-media. Choose child-safe, washable supplies for younger kids.
What ages is the invent-and-draw-your-own-creature activity suitable for?
This activity fits ages roughly 3–12 with different supports. Preschoolers (3–5) enjoy simple shapes, colors, and assisted labeling. Ages 6–8 can plan habitats, add features, and write short descriptions. Ages 9–12 can design complex abilities, detailed diets, and longer stories or diagrams. Supervise scissors, paints, or small parts and adapt prompts to the child’s attention span and fine-motor skills.
What are the benefits of inventing and drawing your own creature?
Inventing and drawing creatures boosts creativity, storytelling, and vocabulary while strengthening fine motor skills from sketching and coloring. Choosing habitat, diet, and abilities teaches planning and basic biology ideas. Labeling parts supports reading and science words; making up abilities encourages problem-solving and imagination. Doing the activity together also builds confidence, communication skills, and gives parents a fun way to connect art with nature or science topics.
Watch & Learn
Need help?
What can I use if I don't have a black pen or coloring materials listed in the instructions?
If you don't have a black pen use a dark pencil or fine-tip marker to label important body parts and abilities, and if you lack crayons or markers use colored pencils, watercolor, or collage scraps to color your creature and a bit of its habitat.
My large outline on the clean sheet doesn't look like my chosen thumbnail—how can I fix it?
When your larger outline doesn't match the thumbnail, lightly draw a simple grid on both the thumbnail and the clean sheet or trace the thumbnail on a window to copy key points, then adjust proportions with an eraser before adding details like eyes, wings, or claws.
How can I adapt this activity for different ages?
For younger kids skip the three thumbnails and draw directly on the clean sheet with big simple shapes and stickers, while older kids can make careful thumbnail studies, add labeled anatomical details and special abilities with a black pen, and write a longer 2–4 sentence adventure story including habitat and diet.
How can we extend or personalize the creature after coloring and labeling it?
Turn your finished colored and labeled drawing into a small diorama or puppet by cutting the creature from cardstock, adding fabric or glued-on fur/scales for texture, placing a bit of its habitat behind it, and then photograph or video the scene to share on DIY.org.