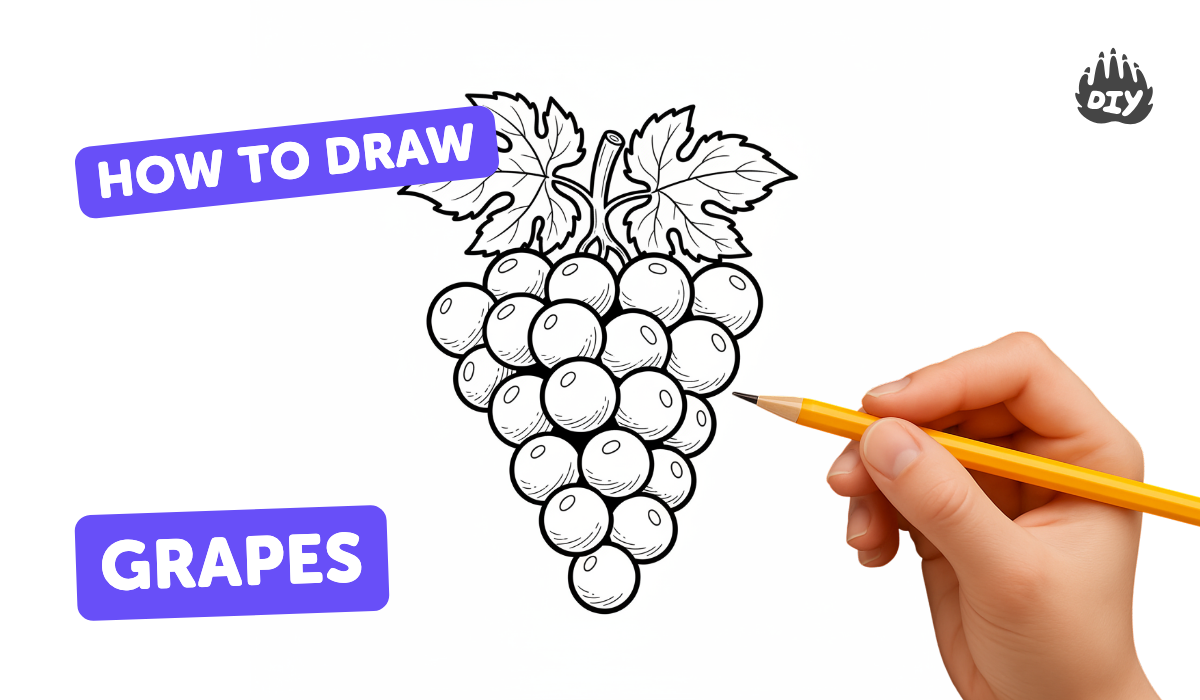
How to draw grapes - a free grapes drawing guide
Draw a realistic bunch of grapes using circles, shading, and highlights. Practice proportion, light direction, and joining stems to create depth.

Drawing Apps
Get inspired with these


Instructions
Easy Grape Drawing Tutorial for Kids: Step-by-Step Guide
Step 1
Put your drawing paper on a flat table.
Step 2
Place your pencil eraser sharpener and blending tool within reach.
Step 3
Lightly draw a large faint oval to mark the overall shape of the grape bunch.
Step 4
Lightly sketch overlapping circles inside the oval to make individual grapes.
Step 5
Draw a short curved stem at the top connecting to a few grapes.
Step 6
Erase the outer oval guideline so only the grapes and stem remain.
Step 7
Choose a light source direction and lightly draw a small arrow outside the bunch to remember it.
Step 8
Shade the side of each grape opposite the arrow using light pencil strokes.
Step 9
Darken the tiny gaps and contact points between touching grapes to create cast shadows.
Step 10
Use the eraser to lift a small round highlight on the light side of some grapes.
Step 11
Gently blend the shaded areas with your tissue or blending stump to smooth transitions.
Step 12
Add final darker accents to edges and shadow areas to increase three dimensional depth.
Step 13
Share your finished grape drawing on DIY.org.
Help!?
What can we use instead of a blending stump if we don't have one?
If you don't have a blending stump, use a clean tissue, a cotton swab, or even your fingertip to gently blend the shaded areas as described in the 'Gently blend the shaded areas with your tissue or blending stump' step.
My grapes look flat—which step should I fix and how?
If the grapes look flat after the 'Shade the side of each grape opposite the arrow' step, darken the tiny gaps and contact points per 'Darken the tiny gaps and contact points between touching grapes,' lift small round highlights with the eraser, and then blend gently to add three-dimensional depth.
How can I change the activity for different ages?
For younger kids simplify by drawing large non-overlapping circles and coloring them instead of detailed shading, while older children can follow every step including shading, darkening gaps, lifting highlights, and adding final darker accents for realism.
How can we extend or personalize the grape drawing activity?
To enhance the activity, add leaves and a background, experiment with colored pencils or watercolor over your shaded grapes, or draw several different-sized bunches and then share your finished grape drawing on DIY.org.
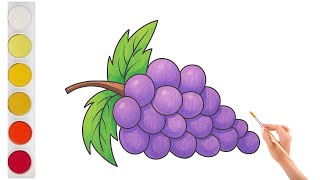
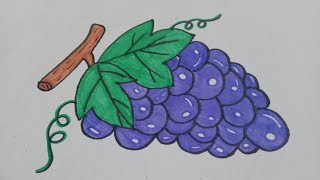
Related videos
How to Draw Grapes | Step-by-Step Drawing Tutorial for Kids | Learn to Draw Grapes
4 Videos

How to Draw Grapes | Step-by-Step Drawing Tutorial for Kids | Learn to Draw Grapes
How to draw a grapes easy step by step// Fruit drawing for kids// Easy drawing// Kids Art
How to Draw Grapes | Easy Step-by-Step Tutorial for Beginners & Kids
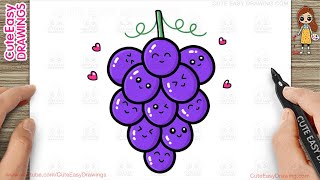
How to Draw a Cute Grapes Simple & Easy for Kids
Fun Facts
🍇 There are over 8,000 grape varieties around the world — that means your drawn bunch can look totally unique!
✏️ Graphite pencils are graded (H = harder/lighter, B = softer/darker) — artists pick 2B–6B for rich shading and HB for fine lines.
🎨 Chiaroscuro is an art technique that uses strong light-and-dark contrast to make flat shapes appear three-dimensional.
🔆 A tiny bright spot called a specular highlight makes a grape look shiny — leaving that spot white creates instant realism.
🔍 Drawing from a real bunch helps you notice subtle shapes, stem placement, and tiny shadows that make the whole sketch believable.
How do you draw a realistic bunch of grapes using pencil and shading?
What materials do I need to draw realistic grapes as a child?
What ages are suitable for learning to draw realistic grapes?
What are the benefits of practicing realistic grape drawing with shading?
