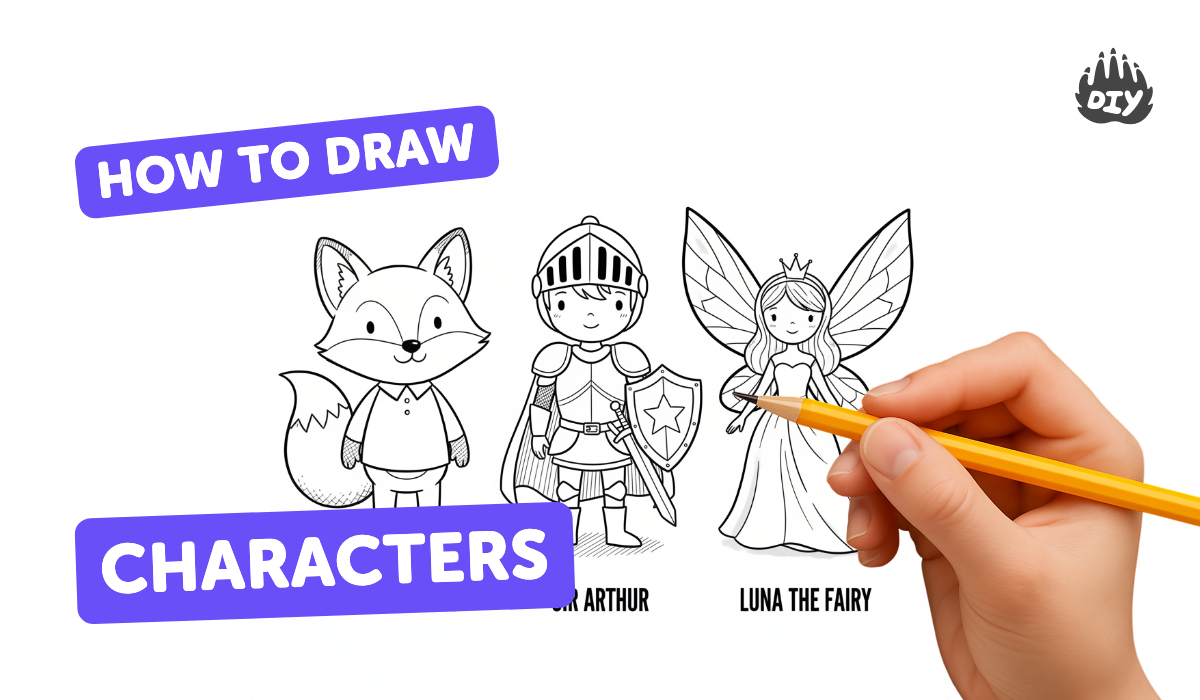
How to draw characters - a free characters drawing guide
Draw three original characters using basic shapes, proportions, and expressions. Practice step-by-step sketching, inking, and simple shading to bring each character to life.

Drawing Apps
Get inspired with these


Instructions
How to draw Simple Cartoon Characters step by step for Beginners | Tips and Tricks
Step 1
Gather all your materials and find a flat clean workspace to draw on.
Step 2
Lightly sketch three base figures by drawing a head circle a body oval and simple stick-limb lines for each character to set pose and space.
Step 3
Draw a vertical center line and a horizontal eye line inside each head to help place the facial features.
Step 4
Block in body volumes by adding simple shapes like a torso cylinder and hip oval to each figure.
Step 5
Change the size and shape of heads and bodies so each character has a different silhouette.
Step 6
Draw eyes nose and mouth along the guidelines to give each character a unique expression.
Step 7
Add hair clothing and small accessories to make each character look original and different.
Step 8
Refine the pencil outlines by darkening the final shapes and cleaning up messy lines.
Step 9
Ink the cleaned-up pencil outlines carefully with your black pen.
Step 10
Wait until the ink is completely dry so it won’t smudge.
Step 11
Erase the remaining pencil construction lines gently without rubbing the ink.
Step 12
Add simple pencil shading to areas that would be in shadow to show form.
Step 13
Gently blend the shaded areas with a tissue or cotton swab to smooth the tones.
Step 14
Color your characters with your coloring materials and add small highlights by lifting color lightly with the eraser if you want.
Step 15
Share your three finished characters on DIY.org
Help!?
What can we use instead of the black pen, tissue, or cotton swab if we don’t have them?
Use a fine-tipped permanent marker or dark gel pen for the 'Ink the cleaned-up pencil outlines' step, and substitute a soft piece of tissue or your fingertip or a folded scrap of paper for blending the 'pencil shading' if you don’t have a cotton swab.
My ink keeps smudging and my construction lines look messy—how can I fix that?
Prevent smudging by following the 'Wait until the ink is completely dry' step before erasing, use a light hand for the initial sketches so the 'Erase the remaining pencil construction lines' step is easier, and place a clean scrap sheet under your drawing hand while inking.
How can I adapt this activity for younger kids or older kids?
For younger children simplify the 'Lightly sketch three base figures' and 'block in body volumes' steps to big circles and ovals and let them color with crayons, while older kids can spend more time refining 'pencil shading', 'inking', and adding detailed accessories and varied silhouettes.
How can we extend or personalize our three characters after finishing the basic steps?
Extend the project by creating a short scene or mini-comic that shows the three characters interacting and use the 'add hair, clothing and small accessories' step to give each character unique props, costumes, or backstory details.
Related videos
How To Draw Stitch From Lilo And Stitch
4 Videos
How To Draw Stitch From Lilo And Stitch
How to Draw Peppa Pig - Step by Step Video Lesson
Learn to Draw You FAVORITE Cartoon Characters | Easy Drawing for Kids | Pocket Preschool
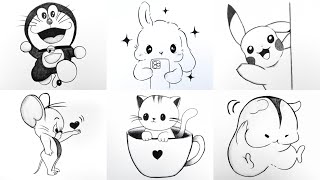
6 Cute Cartoon Characters Drawing ✏️ | Easy Pencil Sketch Step by Step | Beginners Tutorial
Fun Facts
🎨 Many character designers start by blocking shapes (circles, squares, triangles) to build personality quickly.
🙂 Basic facial expressions like happiness, sadness, and anger are recognized across cultures — great for making emotions read immediately.
✏️ Gesture drawing sessions are often very short (about 30 seconds to 2 minutes) to capture movement and energy.
🧍♂️ Classic human proportions put an adult at about 7–8 heads tall; making the head larger gives a character a cuter, childlike look.
🖋️ Inking can be done with traditional nibs and brushes or digital pens — it finalizes lines and helps characters pop off the page.
How do I draw three original characters step-by-step?
What materials do I need to draw three characters?
What ages is this character-drawing activity suitable for?
What are the benefits of drawing original characters with kids?
