How to draw candy - a free candy drawing guide
Draw various candies using simple shapes, shading, and color. Create a bright, finished candy illustration confidently showcasing your drawing skills.


Drawing Apps
Get inspired with these


Instructions
How to Draw a Cute Easy Chocolate Candy / Toffee for Kids Step by Step
Step 1
Lightly draw three simple candy shapes on your paper using your pencil such as a circle a wrapped rectangle with twisted ends and an oval.
Step 2
Add wrapper lines and simple details to each candy like stripes twists or a little wrapper bow.
Step 3
Draw small curved shapes where you want shiny spots on each candy to mark highlights.
Step 4
Trace the final outlines details and highlight shapes with your black marker or pen.
Step 5
Let the ink dry for a minute so it won’t smudge.
Step 6
Erase the pencil lines carefully leaving only the inked drawing.
Step 7
Choose colors for each candy and test a tiny swatch on scrap paper.
Step 8
Fill each candy with a flat base color using your coloring materials.
Step 9
Add a darker shade along one side or where the candy curves to create shadow.
Step 10
Gently blend the darker shade toward the center to soften the shadow for a rounded look.
Step 11
Keep the highlight shapes white or very lightly color them with a white pencil to make them shine.
Step 12
Draw a soft shadow under each candy with a gray or brown pencil to ground them on the page.
Step 13
Add fun details like polka dots stripes sprinkles or wrapper patterns to decorate your candies.
Step 14
Share your finished candy illustration on DIY.org
Help!?
What can I use instead of a black marker if I don't have one?
If you don't have a black marker, trace the final outlines and highlight shapes with a dark ballpoint pen, a fine-tip dark brown felt marker, or a soft dark colored pencil and follow the instruction to let the ink or pigment dry briefly before erasing.
My ink smudged when I erased the pencil—what should I do differently?
To avoid smudging when you erase pencil lines after tracing, wait longer than the suggested minute for the ink to dry, hold the paper steady, and use a soft eraser with light dabbing motions while keeping the black outlines intact.
How can I adapt the steps for different ages?
For younger children, simplify step 1 by drawing larger shapes and pre-drawing wrapper lines for them to trace and color, while older kids can follow steps 8–11 to add darker shading, gentle blending, and precise highlights for a more realistic look.
How can we enhance or personalize the candy drawings after finishing the basic steps?
Extend the activity by adding creative wrapper patterns from step 12 (polka dots, stripes, sprinkles), using a white gel pen to brighten the highlight shapes before coloring, scanning the finished candies to make stickers, and sharing the result on DIY.org as suggested.
Related videos
How to Draw a Cute Chocolate Candy Simple & Easy for Kids
4 Videos
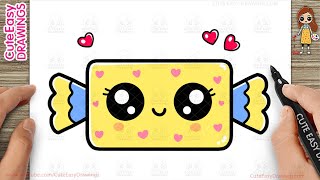
How to Draw a Cute Chocolate Candy Simple & Easy for Kids
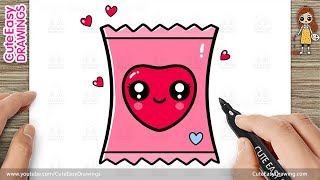
How to Draw a Cute Candy with Heart Face - Easy Kawaii Chocolate Drawing for Kids Step by Step
HOW TO DRAW A CUTE CANDY EASY STEP BY STEP || CARTOON DRAWING
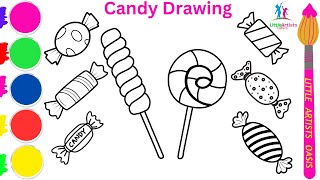
How to Draw Little Candies with step by step | Easy Candy Drawing for beginners
Fun Facts
🍭 Americans eat about 22 pounds of candy per person each year — that's a lot of sweet sketches to draw!
🍫 The Aztecs used cacao beans as a form of currency, long before chocolate became candy bars.
🎨 Many artists begin drawings by blocking in simple shapes (circles, ovals, rectangles) to build a candy's form.
🌈 Using complementary colors (opposites on the color wheel) makes candy colors pop and look extra bright.
✍️ Consistent shading with one light source is a quick trick to make flat candy shapes appear three-dimensional.
How do you draw candy step-by-step?
What materials do I need to draw candy?
What ages is drawing candy suitable for?
What are the benefits of drawing candy?
