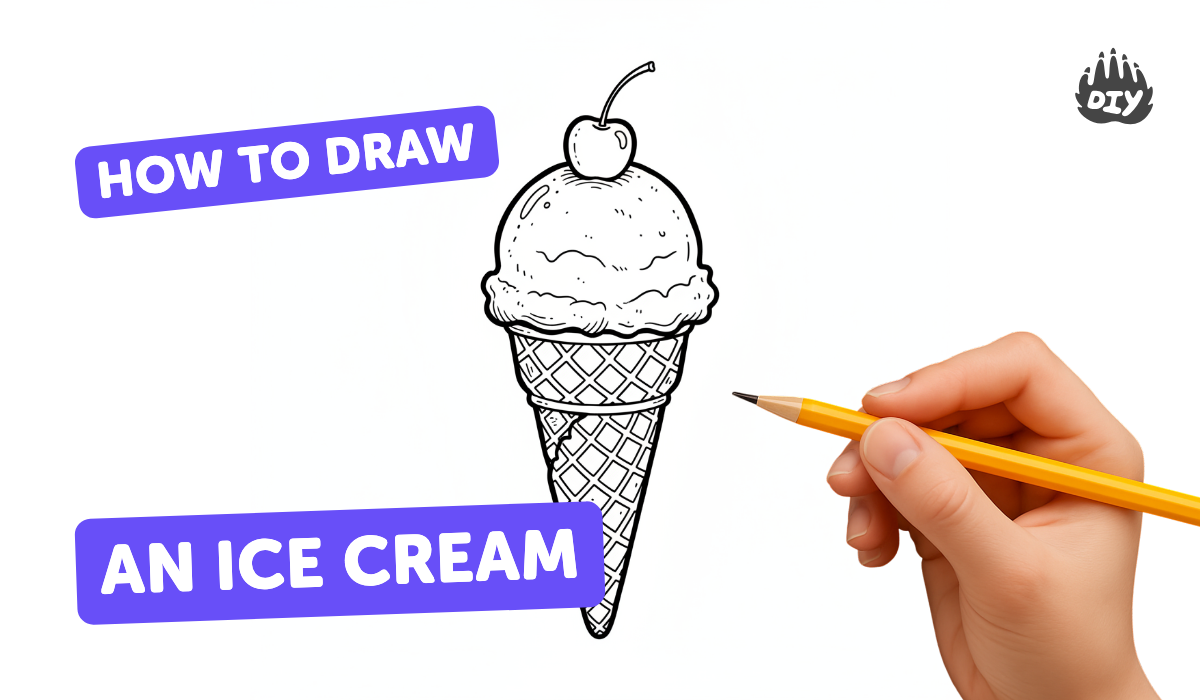
How to draw an ice cream - a free ice cream drawing guide
Draw a colorful ice cream cone using pencil, markers, and simple shapes. Practice step-by-step shading, proportion, and adding sprinkles safely.

Drawing Apps
Photos of colorful ice cream cone examples


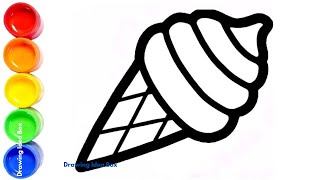
Step-by-step guide to draw a colorful ice cream cone
How To Draw A Cute Ice Cream Cone
Step 1
Lay your paper on a flat surface so it won’t move while you draw.
Step 2
Lightly draw an upside-down triangle near the bottom of the page for the cone.
Step 3
Lightly draw a large semicircle or dome on top of the triangle for the ice cream scoop.
Step 4
Draw a light vertical guideline down the middle to help keep the cone and scoop centered.
Step 5
Use your eraser to remove any extra guideline bits you don’t need anymore.
Step 6
Draw diagonal lines across the cone in a criss-cross pattern to make the waffle texture.
Step 7
Add a little drip shape or wavy top edge on the scoop to make it look melty and fun.
Step 8
Shade the bottom curve of the scoop lightly with your pencil to show a soft shadow.
Step 9
Shade one side of the cone lightly with pencil to give the cone some depth.
Step 10
Trace over your final pencil lines with the fine-tip black marker to make the drawing stand out.
Step 11
Color the cone with a brown or tan marker using even strokes.
Step 12
Color the scoop with a bright marker color you love using smooth strokes.
Step 13
Draw multicolored sprinkles on the scoop using short lines and tiny dots with different markers.
Step 14
Add a small white highlight on the scoop using the white gel pen or white marker to show shine.
Step 15
Take a photo of your ice cream and share your finished creation on DIY.org.
Help!?
What can I use if I don't have a white gel pen or white marker for the highlight?
If you don't have a white gel pen or white marker, use a tiny dot of white acrylic paint or gouache applied with the tip of a toothpick to add the highlight on the scoop.
My cone looks lopsided—how can I fix it before tracing with marker?
Use the light vertical guideline to compare both sides, gently erase extra guideline bits and adjust the upside-down triangle edges with your eraser so the cone is centered before tracing with the fine-tip black marker.
How can I simplify or challenge this drawing for younger or older kids?
For younger kids, skip the shading and let them color a pre-drawn cone with chunky markers, while older kids can add multiple scoops, more detailed criss-cross waffle texture, and layered pencil shading before inking.
How can we make the finished ice cream more creative before sharing on DIY.org?
Personalize your piece by drawing extra toppings like a cherry or chocolate sauce, decorate the cone pattern with hearts or stars in the criss-cross, add multicolored sprinkles, sign your name, then take a photo to share on DIY.org.
Watch videos on how to draw a colorful ice cream cone
How to Draw an ICE CREAM CONE! Easy Drawing Tutorial for Kids
4 Videos
How to Draw an ICE CREAM CONE! Easy Drawing Tutorial for Kids
How to Draw a Cute Cone Ice Cream Easy Step by Step for Kids
Easy Ice Cream Cone Art: Fun Drawing & Coloring Tutorial!
Fun Ice Cream Cone Drawing for Kids | Easy Step-by-Step Tutorial and Cone Ice-Cream Drawing Ideas
Facts about drawing and shading for kids
🍦 Ice cream-like treats date back over 2,000 years — ancient cultures enjoyed icy flavored desserts made with snow and fruit.
🍨 Vanilla is the most popular ice cream flavor in many countries, often loved for its simple, creamy taste.
✏️ Professional artists often start drawings using simple shapes (circles for scoops, triangles for cones) to get proportions right.
🎨 Pencils are great for shading and texture while markers add bold, bright color — together they make drawings pop.
🍬 Sprinkles are called "hundreds and thousands" in some places and come in dozens of colors and tiny shapes to decorate treats.
How do I guide my child step-by-step to draw a colorful ice cream cone?
What materials do I need to draw a colorful ice cream cone with my child?
What ages is this ice cream drawing activity suitable for?
What are the benefits, safety tips, and fun variations for drawing ice cream cones?
