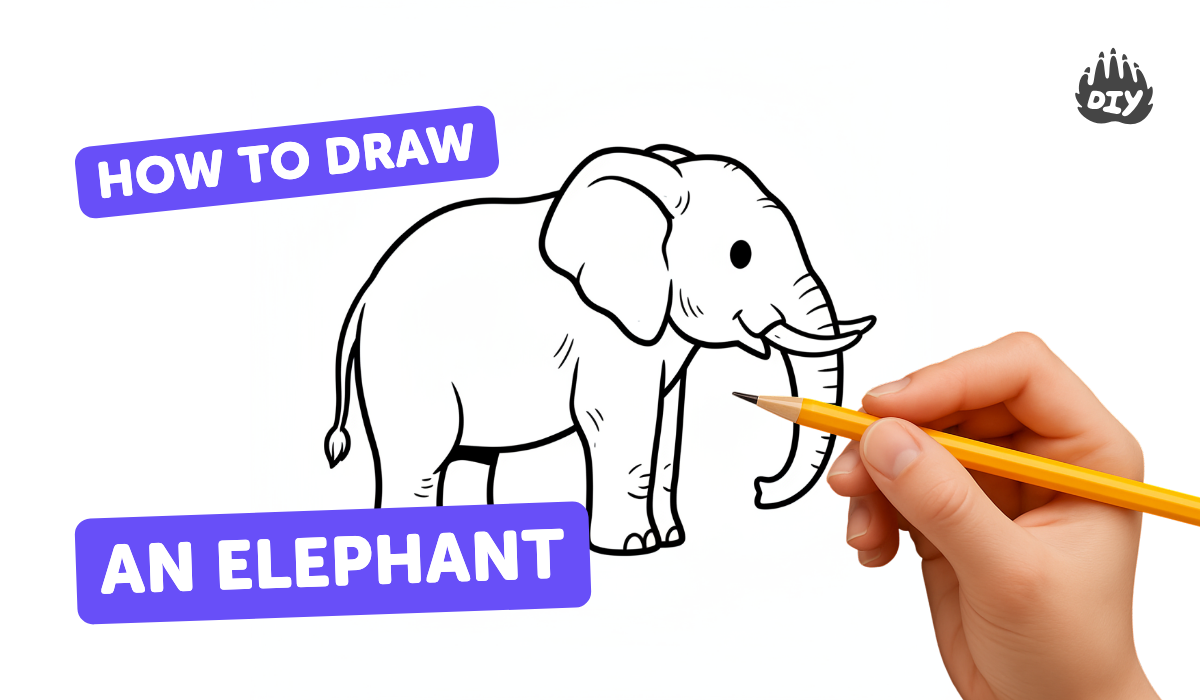
How to draw an elephant - a free elephant drawing guide
Draw a simple elephant step-by-step using basic shapes, lines, and shading. Practice proportions and techniques to create your own elephant illustration.

Drawing Apps
Get inspired with these


Instructions
How To Draw An Elephant
Step 1
Put your paper on a flat surface and get your pencil and eraser ready.
Step 2
Lightly draw a large horizontal oval in the middle of the paper for the elephant's body.
Step 3
Draw a medium circle overlapping the front of the oval for the elephant's head.
Step 4
Draw a straight or slightly curved guideline from the front of the head down to show where the trunk will go.
Step 5
Draw a long curved tube shape along the guideline to make the trunk.
Step 6
Draw two big floppy ear shapes on each side of the head like rounded triangles or semicircles.
Step 7
Draw two small circles on the head for the eyes.
Step 8
Draw a short curved line under the eyes to make the mouth.
Step 9
Draw two small curved tusks near the base of the trunk if you want tusks.
Step 10
Draw four thick legs under the body with rounded feet touching the ground.
Step 11
Draw a thin tail with a little tuft at the end sticking out from the back of the body.
Step 12
Erase any extra guidelines and smooth the lines to clean up your drawing.
Step 13
Add simple shading under the belly inside one ear and along one side of the trunk to show volume.
Step 14
Color your elephant using light and darker tones to match your shading.
Step 15
Share your finished elephant on DIY.org
Help!?
What can we use if we don't have a pencil, eraser, or drawing paper from the instructions?
If you don't have a pencil or eraser, use a light-colored colored pencil or a soft wax crayon to lightly sketch the large horizontal oval, head circle and trunk guideline on printer or scrap paper so you can redraw cleaner lines and smooth them later.
My trunk or ears look odd—what step most likely went wrong and how do I fix it?
If the trunk or ears look misplaced, redraw the straight or slightly curved guideline from the front of the head and then sketch the long curved tube for the trunk and the floppy ear shapes along the head edge, erasing extra guidelines and smoothing lines to make them flow naturally.
How can I change the activity for different ages?
For younger kids simplify by tracing or stamping the large horizontal oval and head circle and adding basic eyes and a short curved mouth, while older kids can refine leg proportions, add small curved tusks, apply the shading under the belly and inside one ear, and use layered light and darker tones when coloring.
What are simple ways to make the drawing more creative or advanced after finishing the basic elephant?
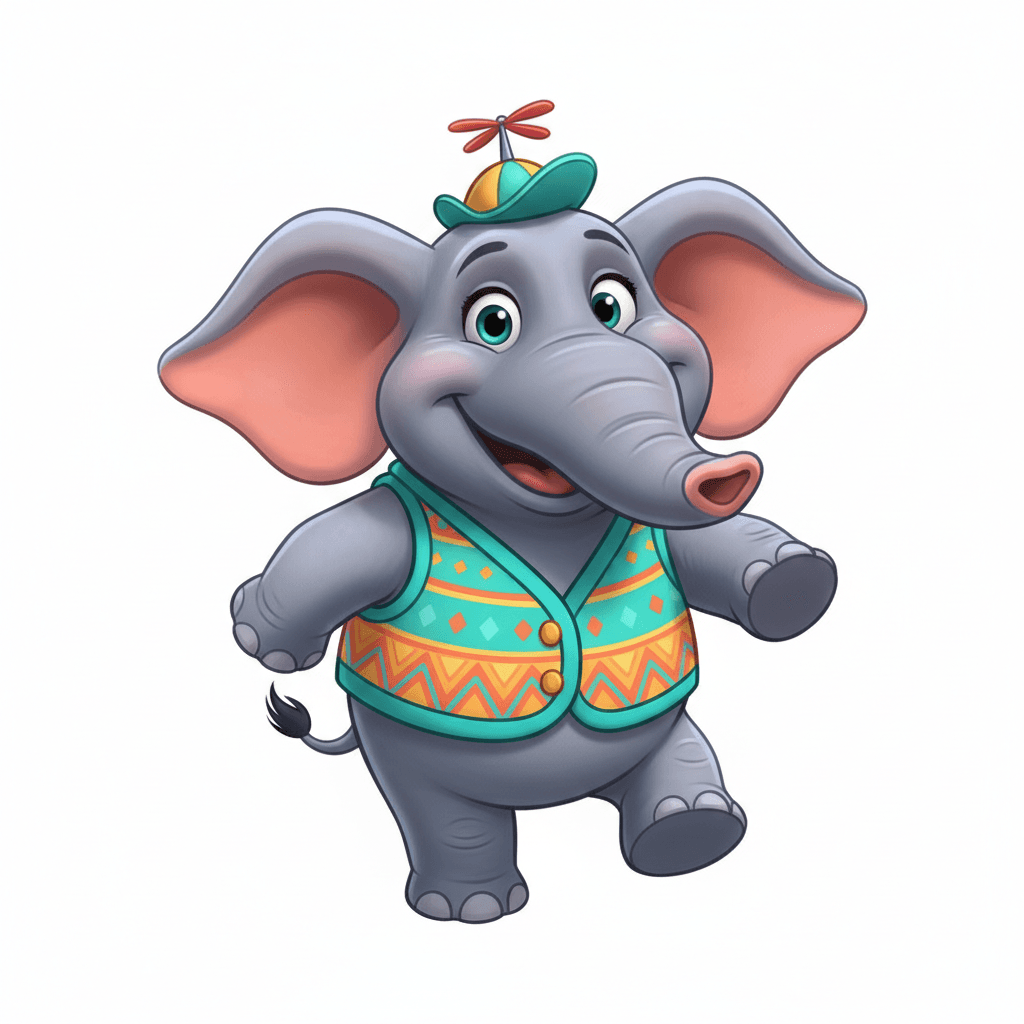
To enhance the drawing, add a savannah background, decorate the elephant with patterns or a blanket, deepen the shading along one side of the trunk and under the belly, try watercolor or colored pencil for light and darker tones, and then share your finished elephant on DIY.org.
Related videos
How to Draw an Elephant Step by Step? - Drawing with ChuChu - ChuChu TV Drawing Lessons for Kids
4 Videos
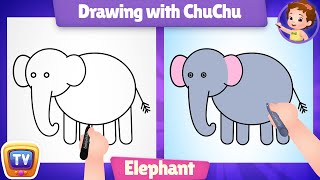
How to Draw an Elephant Step by Step? - Drawing with ChuChu - ChuChu TV Drawing Lessons for Kids

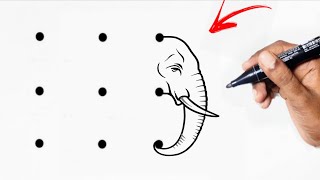
How to Draw an Elephant easy | Step by step Drawing for kids🐘
Easy Elephant Drawing: A Step-by-Step Guide for Beginners
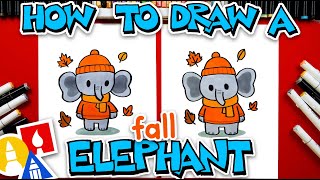
How To Draw An Elephant Dressed For Fall
Fun Facts
🐘 African bush elephants are the largest land animals — adults can weigh around 6,000 kg (6 tonnes).
✏️ Many artists start animal drawings by blocking the body into simple shapes (circles, ovals, rectangles) to get proportions right.
🎨 Shading techniques like chiaroscuro turn flat outlines into the illusion of three-dimensional volume.
📏 An elephant's trunk can be over 2 meters long — treat it as a flexible cylinder when sketching movement.
🧠 Elephants have strong memories and social intelligence — giving your drawing a facial expression can tell a whole story.
How do I draw a simple elephant step-by-step?
What materials do I need to draw a simple elephant?
What ages is this elephant drawing activity suitable for?
What are the benefits of drawing elephants with kids?
