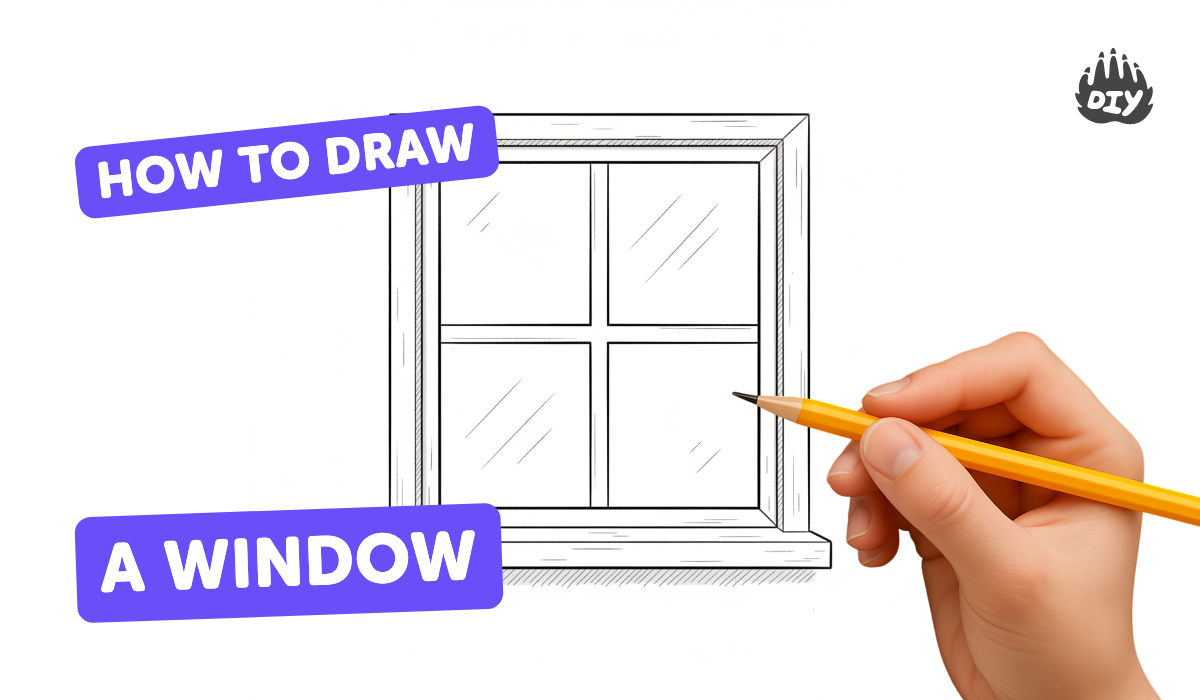
How to draw a window - a free window drawing guide
Draw a window with frame, four panes, and simple curtains using ruler and pencils. Practice measuring, straight lines, and basic shading.

Drawing Apps
Get inspired with these


Instructions
Easy Drawing And Painting Tutorials For Beginners 🎨🖌️
Step 1
Put your drawing paper in portrait orientation on a flat table.
Step 2
Measure and lightly mark four corner points 3 cm in from each paper edge to set where the window will sit.
Step 3
Use your ruler and pencil to connect the four marks and draw a large rectangle for the window frame.
Step 4
Draw a second rectangle about 1 cm inside the first rectangle all the way around to show the frame thickness.
Step 5
Use your ruler to draw a straight vertical line down the center of the inner rectangle to split the window into left and right halves.
Step 6
Use your ruler to draw a straight horizontal line across the center of the inner rectangle to make four panes.
Step 7
Draw a curved curtain outline along the left side from the top of the frame down toward the middle of the window.
Step 8
Draw a matching curved curtain outline along the right side from the top of the frame down toward the middle.
Step 9
Add several short curved lines on each curtain to show folds.
Step 10
Shade one side of each curtain fold with light pencil strokes to make the fabric look 3D.
Step 11
Lightly shade each of the four glass panes with soft horizontal or diagonal strokes to suggest glare.
Step 12
Erase any extra construction marks and stray pencil dots so your drawing looks tidy.
Step 13
Trace over and darken the final outlines of the frame panes and curtains to make them stand out.
Step 14
Take a photo of your finished window drawing and share your creation on DIY.org.
Help!?
What can I use if I don't have a ruler, special drawing paper, or a camera to share on DIY.org?
Use a straight edge like a hardcover book or cereal box to connect the four 3 cm marks and draw the rectangles, substitute plain printer paper in portrait orientation for the drawing paper, and use any phone or tablet camera to photograph the finished drawing for DIY.org.
My lines look wobbly or the panes aren't even—how do I fix that?
If your rectangle or center lines are uneven, lightly erase and remeasure the four corner marks 3 cm from the edges, realign your ruler to redraw the outer and inner rectangles (keeping the inner 1 cm inside), then redraw the vertical and horizontal pane lines so they meet at the center before erasing construction marks.
How can I adapt this window drawing activity for younger or older kids?
For younger children, pre-draw the outer rectangle and have them add the curtain outlines, fold lines, and simple shading with crayons, while older kids can measure the 3 cm and 1 cm precisely, refine curtain folds with light and dark pencil strokes, and add realistic shading to the four glass panes before tracing final outlines.
How can we enhance or personalize the finished window before sharing it?
Enhance the drawing by sketching a scene behind the four panes (a tree, house, or sky), add colored pencil or watercolor to the glass and curtains, glue a small fabric scrap onto a curtain for texture, then darken the final outlines and take a photo to upload to DIY.org.
Related videos
Fun & Easy Drawing Tutorial For Beginners
4 Videos
Fun & Easy Drawing Tutorial For Beginners
Easy Drawing And Painting Tutorials For Beginners
![Paint 3D - Tutorial for Beginners in 11 MINUTES! [ FULL GUIDE 2024 ]](https://img.youtube.com/vi/qSlnR0RGuio/mqdefault.jpg)
Paint 3D - Tutorial for Beginners in 11 MINUTES! [ FULL GUIDE 2024 ]
![Paint 3D - Tutorial for Beginners in 10 MINUTES! [ COMPLETE ]](https://img.youtube.com/vi/U3aZigT14vk/mqdefault.jpg)
Paint 3D - Tutorial for Beginners in 10 MINUTES! [ COMPLETE ]
Fun Facts
🪟 The word "window" comes from Old Norse vindauga, which literally means "wind eye".
📏 Most school rulers are 30 cm (12 in), so you can practice both metric and imperial measuring at once.
🧵 Thick curtains not only block light — they also help muffle sound and keep rooms warmer.
✏️ Hatching and cross-hatching are simple shading tricks: more overlapping lines make a darker tone.
📐 Using a ruler makes rectangles precise — people spot mismatched panes much faster than small color differences.
How do I draw a simple window with a frame, four panes, and curtains?
What materials do I need to draw a window activity?
What ages is this window drawing activity suitable for?
What are the benefits and safety tips for this window drawing exercise?
