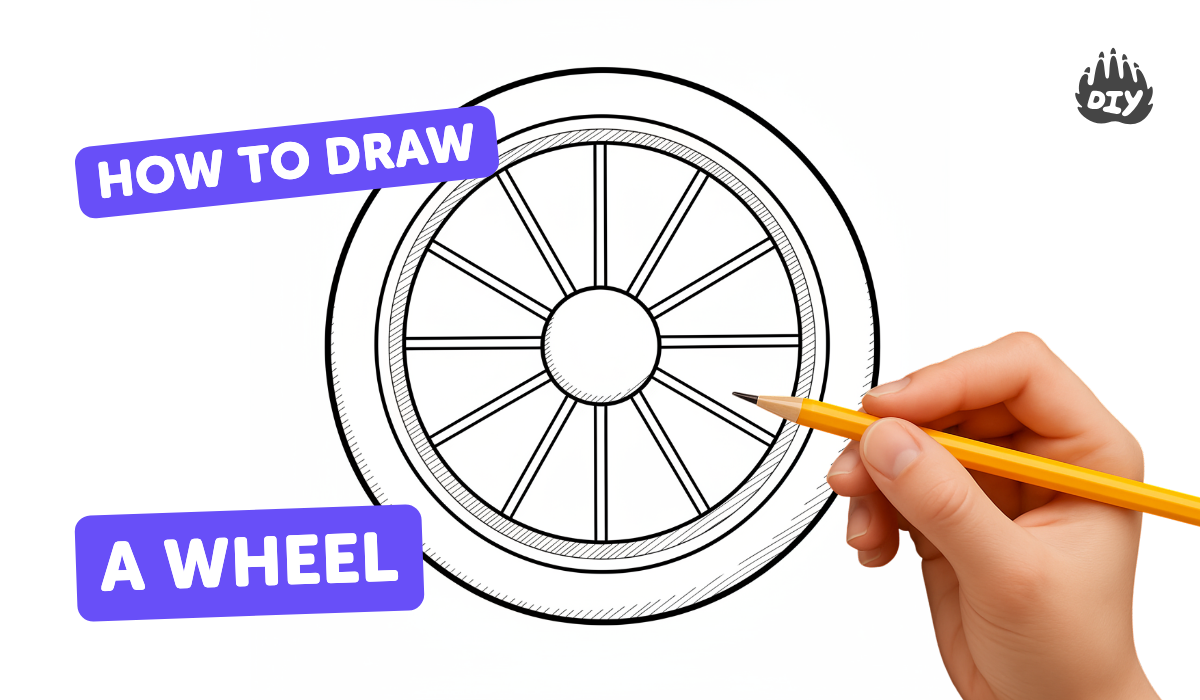
How to draw a wheel - a free wheel drawing guide
Draw a realistic wheel using circles, spokes, and shading. Practice measuring, centering, and creating depth to understand basic shapes and symmetry.

Drawing Apps
Get inspired with these


Instructions
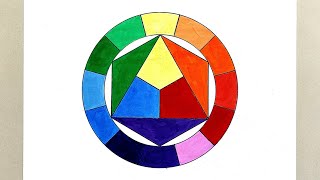
How to Draw a Simple Color Wheel - Color Theory
Step 1
Gather all your materials and put them on a clear workspace so you are ready to start.
Step 2
Fold the paper in half vertically and press a clear crease.
Step 3
Fold the paper in half horizontally and press a clear crease.
Step 4
Open the paper and put a small dot where the two creases cross to mark the center.
Step 5
Place a round object or set your compass on the center dot and trace a large circle for the tire.
Step 6
Use a slightly smaller round object or adjust the compass and trace a second circle inside the first to form the rim edge.
Step 7
Draw a small circle at the center dot to make the hub.
Step 8
Lightly measure the outer rim and mark eight evenly spaced points around the circle for the spokes.
Step 9
Use your ruler to draw straight lines from the hub to each of the eight marks to create the spokes.
Step 10
Draw a thin curved line just inside the rim circle to show the rim’s thickness and give the wheel depth.
Step 11
Decide which direction your light is coming from (for example top-left) so you know where to shade.
Step 12
Shade the side of the tire and the underside of the rim that is opposite the light using gentle pencil strokes to make the wheel look 3D.
Step 13
Erase crease lines and any stray construction marks so your wheel looks clean.
Step 14
Darken the final important outlines with your pencil so the wheel stands out.
Step 15
Share your finished wheel drawing on DIY.org
Help!?
What can we use instead of a compass or round objects to draw the tire, rim, and hub?
If you don't have a compass, trace a large cup or bowl for the tire, a smaller lid or jar for the rim, and a pencil eraser or bottle cap for the hub.
My spokes aren't evenly spaced—how do I fix them so the wheel looks balanced?
Refold the paper along the vertical and horizontal creases to mark exact quarters, then divide each quarter in half to place the eight evenly spaced marks before drawing spokes with your ruler as in the instructions.
How can I adapt the activity for different age groups?
For younger kids, skip measuring and let them trace big objects and draw four wide spokes with help on the creases, while older kids can precisely mark eight points, add rim thickness and practice the step-by-step shading for 3D depth.
What are easy ways to enhance or personalize the finished wheel drawing?
Add tire tread along the outer circle, draw lug nuts around the hub, place highlights opposite your shaded side, color the wheel, then darken final outlines and share the finished drawing on DIY.org.
Related videos
How to draw a WHEEL step by step / drawing car tire easy
4 Videos
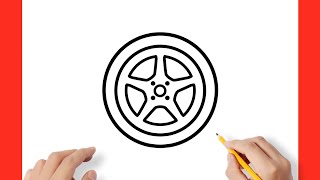
How to draw a WHEEL step by step / drawing car tire easy
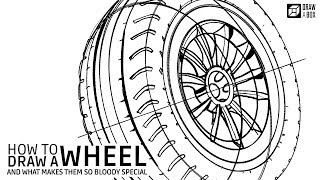
How to Draw a Wheel
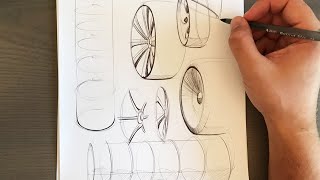
How to Draw Ellipses and Wheels - 3 Simple Key Steps
Color Wheel | Color Wheel Design || How to draw Color Wheel Circle | The Color Circle | Learn & Art
Fun Facts
🔴 A circle's circumference equals π times its diameter — that's why pi helps you size wheels and rims.
🧭 A compass or a piece of string with a pencil makes perfect concentric circles so your wheel stays centered.
🚲 Many bicycle wheels use 32 or 36 tensioned spokes to keep the rim strong and light.
🖌️ Shading with one light source (a bright highlight and a softer shadow) can turn a flat circle into a round-looking tire.
🔁 Wheels are rotationally symmetric — that symmetry helps them roll smoothly and look balanced from every angle.
How do I draw a realistic wheel step by step?
What materials do I need to draw a realistic wheel?
What ages is drawing a realistic wheel suitable for?
What are the benefits of drawing realistic wheels for children?
