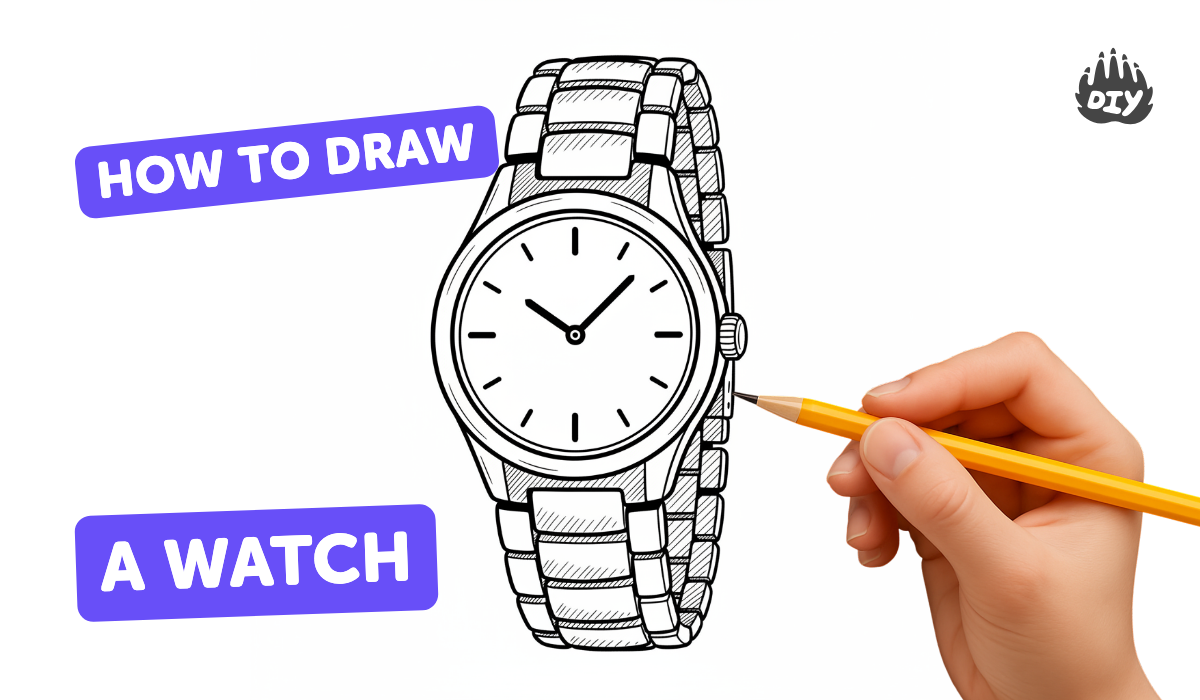
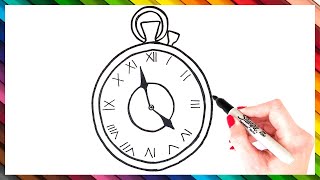
How to draw a watch - a free watch drawing guide
Sketch simple shapes, place numbers evenly, draw hour and minute hands, and add a strap while practicing measuring and symmetry. You will draw a watch.

Drawing Apps
Get inspired with these


Instructions
How To Draw A Smartwatch
Step 1
Place your paper flat on the table so it will not move while you draw.
Step 2
Find and lightly mark the center point of where you want the watch face using your ruler and pencil.
Step 3
Put the compass point on the center or place a round object and trace around it to draw a large circle for the watch face.
Step 4
Draw a slightly smaller circle inside the first circle to make the watch rim.
Step 5
Use your ruler to lightly mark the top bottom left and right points on the rim for 12 6 9 and 3.
Step 6
Measure and mark the eight remaining positions evenly between those four points so you have twelve marks around the circle.
Step 7
Write the numbers 1 to 12 next to each mark making sure they are evenly spaced and upright.
Step 8
Draw small short tick marks between the numbers to show the minute marks.
Step 9
Draw a short thicker hour hand from the center pointing to the hour you choose.
Step 10
Draw a longer thinner minute hand from the center pointing to the minute you choose.
Step 11
Add a small dot or circle at the center to hold the hands together.
Step 12
Draw a small rectangle on the side of the watch face to make the crown (the little knob).
Step 13
Draw one strap piece as a long rectangle centered on the top of the watch face.
Step 14
Draw a matching strap piece the same size centered on the bottom so the watch looks balanced and symmetrical.
Step 15
Share your finished watch drawing on DIY.org.
Help!?
What can I use if I don't have a compass or ruler?
If you don't have a compass or ruler, use a cup or coin to trace the watch face (step 3) and a book edge or strip of cardboard as a straightedge to lightly mark the 12, 3, 6, and 9 points (step 5).
My circle or numbers look uneven—what should I do?
Tape the paper to the table, re-find and lightly mark the center (step 2), use a stable round object or steady compass for the circle (step 3), and use a protractor or fold-and-bisect method to measure the eight remaining positions evenly around the rim (step 5).
How can I adapt this activity for younger or older kids?
For younger children, simplify by tracing a plate for the face and using sticker numbers so they only add a thick hour hand, while older kids can add the small minute tick marks, precisely mark all twelve positions, and draw thinner detailed hands with a labeled crown (steps 3, 6, 9, 10–11).
What are some ways to enhance or personalize the watch drawing?
Decorate and color the straps and rim, write a brand or design on the face, and make the hands functional by punching the center dot and attaching them with a brass brad so they rotate before sharing your finished watch on DIY.org (steps 12, 13, center dot step, final step).
Related videos
How to Draw a Clock | Clock Drawing Easy | Watch Drawing For Kids
4 Videos
How to Draw a Clock | Clock Drawing Easy | Watch Drawing For Kids
W for Watch Drawing for Kids | Easy Step by Step Watch Drawing and Coloring
How to Draw Apple Watch | Learn to draw Smart Watch - Easy
How To Draw A Pocket Watch Step By Step - Pocket Watch Drawing EASY
Fun Facts
⌚ The wristwatch became popular during World War I because soldiers needed to check the time quickly without using pocket watches.
🕰️ An analog clock usually has three hands—hour, minute, and second—each moving at a different speed.
🔢 A clock face divides a circle into 12 equal parts; each slice is 30°, which is a handy measuring trick for placing numbers evenly.
🎯 Start with a center dot and use a ruler or compass to get symmetrical number placement and perfectly straight hands.
🧵 Watch straps (called bands) come in leather, metal, fabric, and rubber—great for adding personality to your drawing!
How do you draw a watch?
What materials do I need to draw a watch?
What ages is drawing a watch suitable for?
What are the benefits and variations of drawing a watch?
