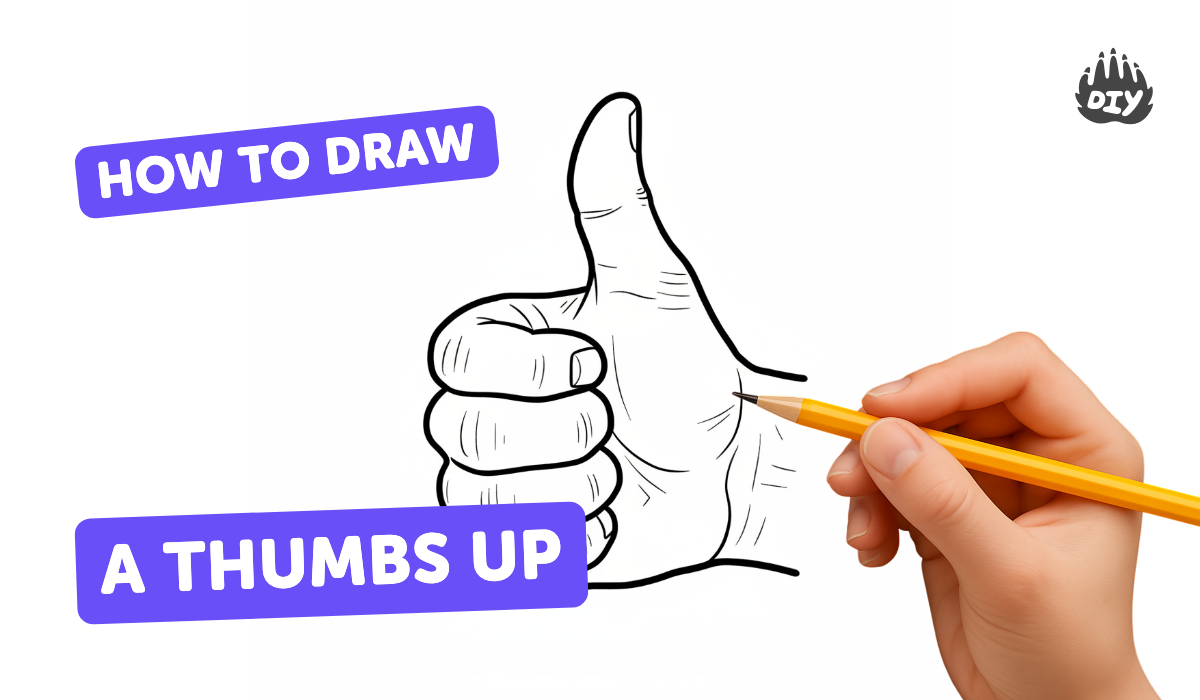
How to draw a thumbs up - a free thumbs up drawing guide
Draw a thumbs-up hand step by step using simple shapes and shading. Practice proportion, line control, and basic hand anatomy.

Drawing Apps
Photos of thumbs-up hand drawing examples


Step-by-step guide to draw a thumbs-up hand
How to Draw Thumbs Up | Easy Step-by-Step for Kids
Step 1
Put your paper on a flat surface and hold your pencil ready.
Step 2
Lightly draw a large rounded oval or square with rounded corners in the middle of the paper to show the body of the fist.
Step 3
Draw four short rounded rectangles side by side along the top of the fist shape to make the folded fingers.
Step 4
Draw a curved thumb shape rising up from the side of the fist like a big bent sausage pointing up.
Step 5
Add a short rectangle or cylinder at the bottom of the fist to make the wrist.
Step 6
Draw small curved lines across the top of the fingers to show the knuckle creases.
Step 7
Erase any overlapping construction lines so the fist and thumb look like one clean hand shape.
Step 8
Draw a small rounded shape on the thumb tip to suggest the thumbnail.
Step 9
Choose a light source spot on your paper and lightly mark it with a tiny dot so you remember where the light comes from.
Step 10
Shade the areas away from the light like under the thumb and between the fingers using light pencil strokes.
Step 11
Use a blending stump or cotton swab to gently smooth the shaded areas for softer shadows.
Step 12
Darken the outside outline and important creases with firmer pencil lines to finish your thumbs-up drawing.
Step 13
Take a photo and share your finished thumbs-up drawing on DIY.org
Help!?
What can we use instead of a blending stump or cotton swab if we don't have one?
If you don't have a blending stump or cotton swab for the step that says to gently smooth the shaded areas, use a clean fingertip, a folded tissue, or a soft Q‑tip to softly blend the pencil strokes.
My thumb looks wrong — how can I fix its shape so the hand looks natural?
If the 'curved thumb shape' looks too short or disconnected from the 'body of the fist', lightly erase where it meets the oval fist, check the size of the rounded oval or square base, and redraw the thumb longer and more curved using light pencil strokes before erasing overlaps and darkening outlines.
How can I change the activity for different ages so it's not too hard or too easy?
For younger kids, have them trace their own fist to make the 'large rounded oval' and skip detailed shading, while older children can add the knuckle creases, thumbnail detail, and practice the light-source shading and blending described in steps about marking the light and smoothing shadows.
How can we make the finished thumbs-up drawing more personal or show-ready?
After you 'darken the outside outline and important creases', personalize the wrist rectangle with a patterned sleeve, add color or stronger contrast to the shaded areas, and then take the photo to share your finished thumbs-up on DIY.org.
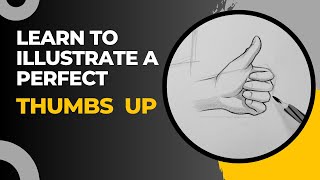
Watch videos on how to draw a thumbs-up hand
How to Draw a Thumbs Up
4 Videos

How to Draw a Thumbs Up
How to draw a Thumbs up Hand step by step Easy | Thumbs up Drawing Tutorial | Basic Drawing Lessons
HOW TO DRAW THUMBS UP 👍FOR KIDS | DRAWING, PAINTING AND COLORING #thumbsup #drawingforkids #kidsart
Thumbs Up 👍🏻 Drawing Tutorial
Facts about drawing hands for kids
👍 The human thumb is opposable: a saddle joint lets it touch the other fingers, which is why we can grip pencils and give a thumbs-up.
🖐️ Each human hand has 27 bones, plus many joints and tendons that let fingers bend and make precise shapes.
✏️ Artists often break hands into simple shapes like boxes, cylinders, and ovals to make drawing them much easier.
🎨 Gesture drawing — quick, loose sketches — is a favorite practice for capturing natural hand poses and correct proportion.
🧠 Large areas of the motor cortex are dedicated to fine hand movements, so practicing drawing improves brain–hand coordination.
How do I teach my child to draw a thumbs-up hand step by step?
What materials do we need to draw a thumbs-up hand?
What ages is drawing a thumbs-up hand suitable for?
What are the benefits of drawing a thumbs-up hand for kids?
