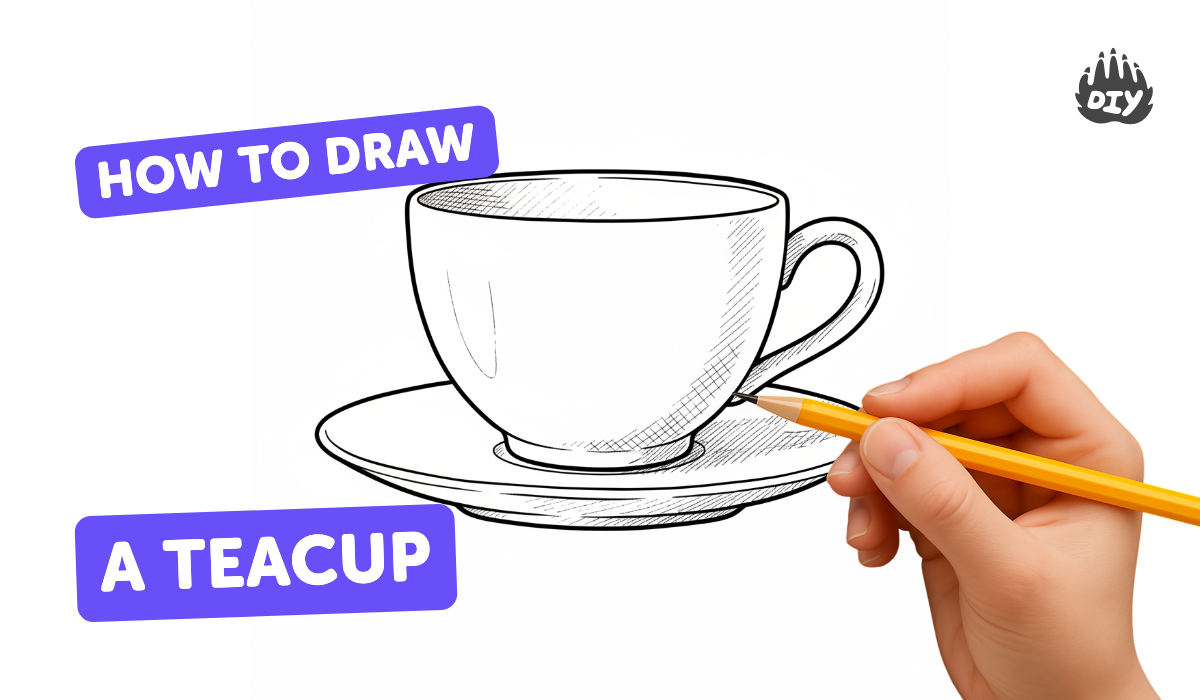
How to draw a tea cup - a free tea cup drawing guide
Draw a tea cup step-by-step with pencil and eraser, using simple shapes, shading, and patterns. Practice observation, proportion, and basic shading techniques.

Drawing Apps
Get inspired with these

Instructions
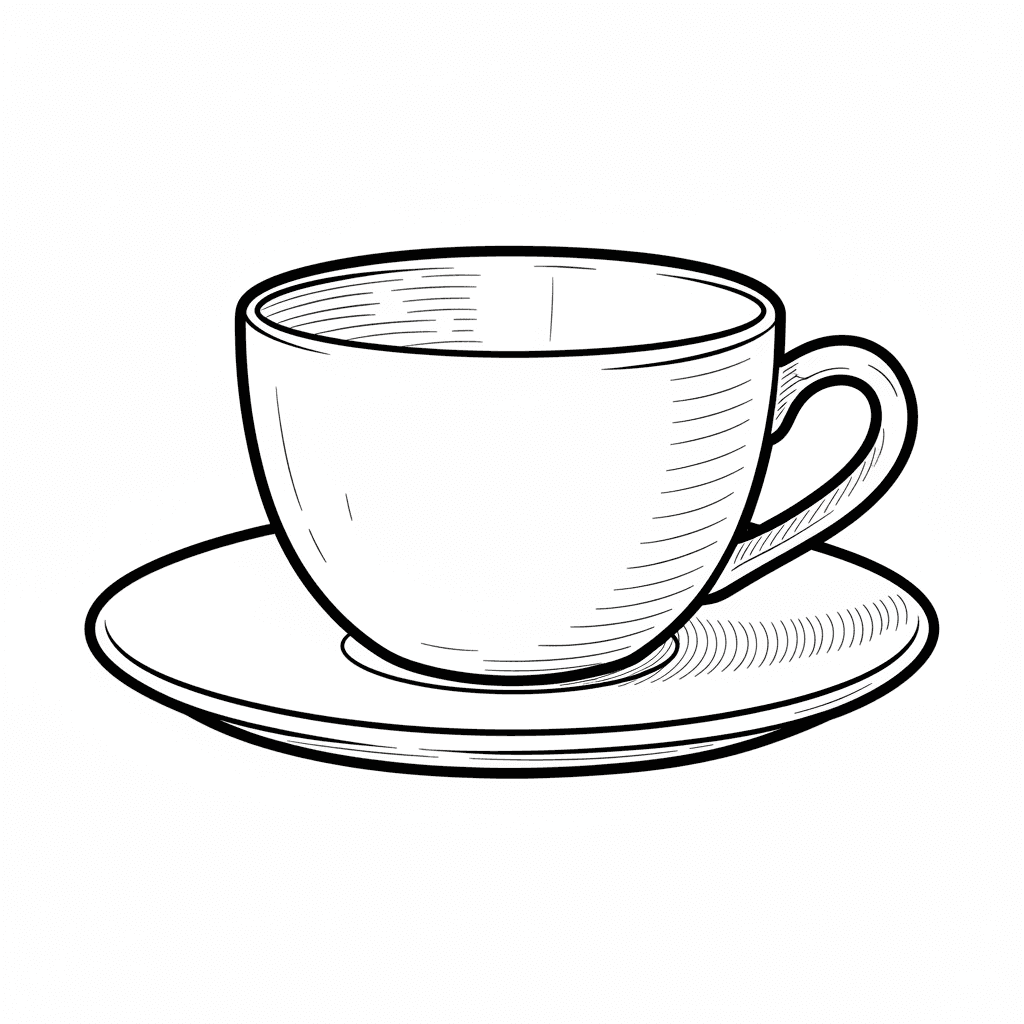
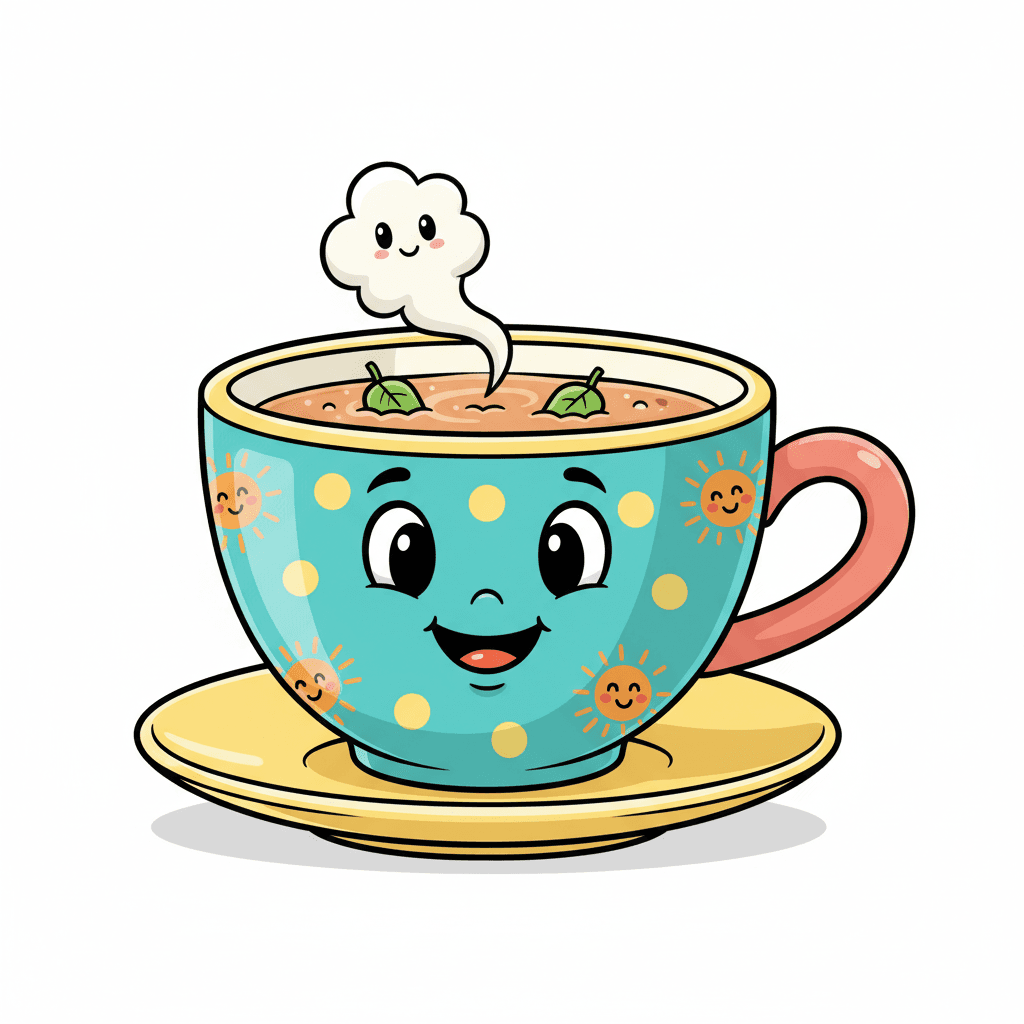
How to Draw a Cute Tea Cup Easy Step-By-Step Drawing and Coloring for Kids and Toddlers
Step 1
Place your paper on a flat surface so it won't move.
Step 2
Put your pencil and eraser next to the paper within reach.
Step 3
Lightly draw a straight horizontal line near the bottom for the table surface.
Step 4
Lightly draw an oval above the line to make the rim of the teacup.
Step 5
Draw two light vertical lines down from the left and right edges of the oval to set the cup height.
Step 6
Connect the vertical lines with a gentle curved line to form the bottom of the cup.
Step 7
Draw a smaller oval inside the first oval to show the rim thickness.
Step 8
Draw a large C-shape on one side of the cup for the handle.
Step 9
Draw a smaller C-shape inside the first C to give the handle thickness.
Step 10
Add a simple pattern on the cup like stripes dots or little flowers with light pencil lines.
Step 11
Imagine the light is coming from the top-left and shade the opposite side of the cup with gentle pencil strokes.
Step 12
Use your eraser to gently lift a thin highlight along the rim and the top of the handle.
Step 13
Erase any remaining construction lines carefully so the drawing looks clean.
Step 14
Darken the final outlines and add any tiny details you like to finish your teacup.
Step 15
Share your finished teacup drawing on DIY.org.
Help!?
What can I use if I don't have a pencil or eraser for the teacup steps?
Use a mechanical or sharpened colored pencil or a charcoal stick to draw the rim, vertical lines, and handle, and replace a rubber eraser with a kneaded or soft vinyl eraser to gently lift highlights and remove construction lines.
My oval rim and handle look uneven—how do I fix that during the drawing steps?
Lightly mark the cup center and a horizontal guide, rotate the paper while drawing the rim and C-shaped handle with short, light strokes, then carefully erase the bad lines and darken the final outlines as instructed.
How can I adapt this teacup activity for different ages?
For toddlers, pre-draw the rim oval and vertical lines and let them add a chunky handle and stickers for patterns, while older kids can follow every step and add a saucer, steam lines, and refined cross-hatched shading opposite the top-left light source.
What are simple ways to personalize or extend the finished teacup drawing?
After erasing construction lines, paint or color the cup's stripes, dots, or flowers, add a matching saucer and steam, deepen the shading on the side away from the top-left light, then darken outlines and share the finished teacup on DIY.org.
Related videos
"Easy Tea Cup Drawing for Kids | Step-by-Step Cute Cup Drawing"
4 Videos
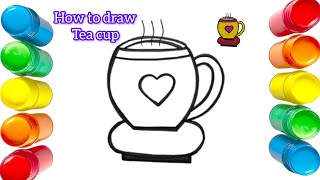
"Easy Tea Cup Drawing for Kids | Step-by-Step Cute Cup Drawing"
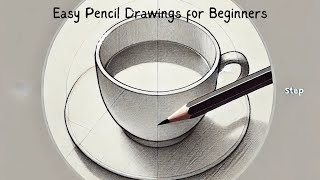
How to Draw a Tea Cup Step by Step | Easy Pencil Drawings for Beginners | Simple Drawing Tutorial
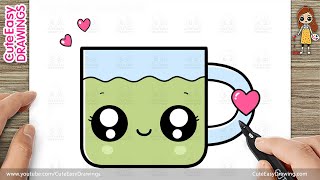
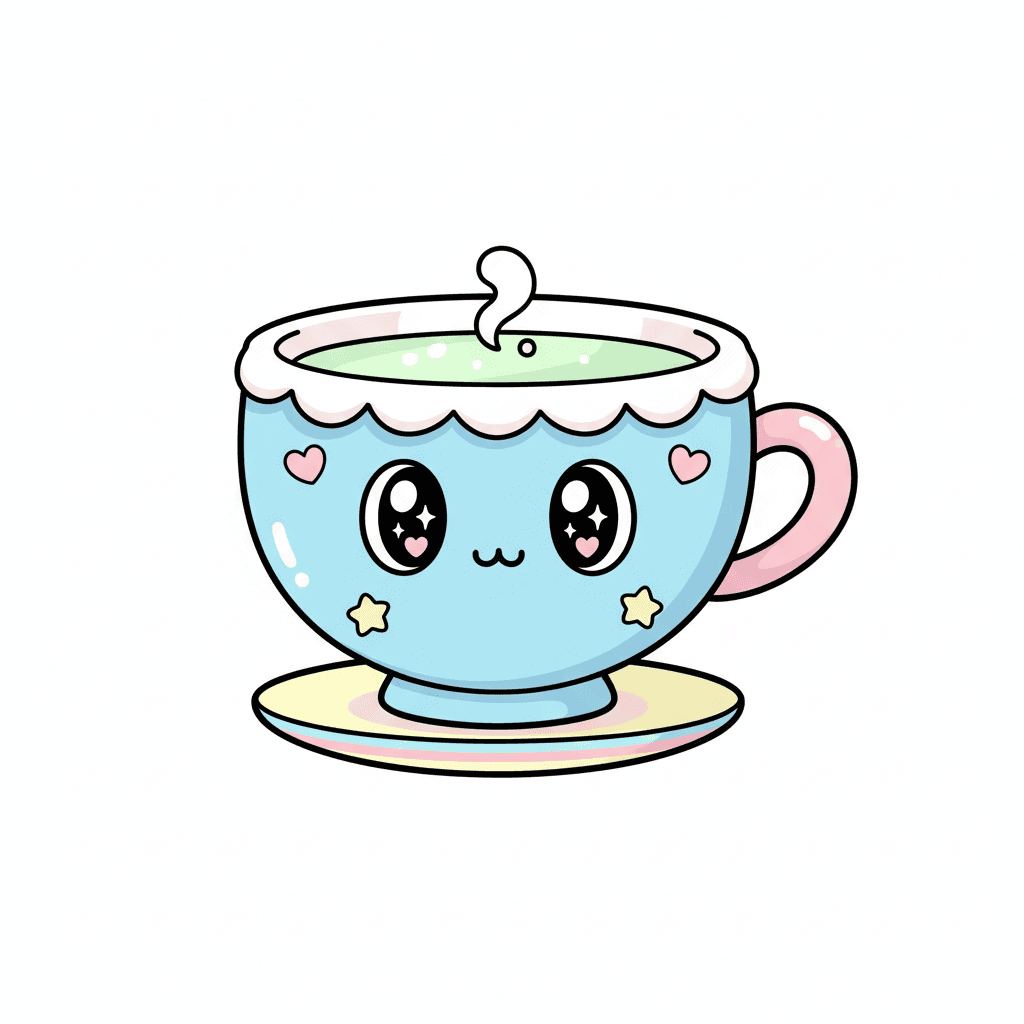
How to Draw a Cute Green Tea Cup Easy Step-By-Step Drawing and Coloring for Kids and Toddlers

How to Draw Tea Cup Step by Step (Very Easy)
Fun Facts
🍵 Teacups have been used in China for over 1,000 years — tiny cups were made to enjoy the tea's aroma.
✏️ Artists often start by sketching simple shapes (ovals and rectangles) to get a teacup's proportions right.
🎯 Drawing a centerline and a rim line helps keep your teacup symmetrical and balanced.
🔍 An eraser is a powerful drawing tool — you can lift graphite to create bright highlights on shiny cups.
🖊️ Cross-hatching (layered lines) can build soft shadows and make a flat drawing look three-dimensional.
How do I draw a teacup step-by-step with a pencil and eraser?
What materials do I need to draw a teacup with my child?
What ages is a teacup drawing activity suitable for?
What are the benefits of practicing teacup drawing for kids?
