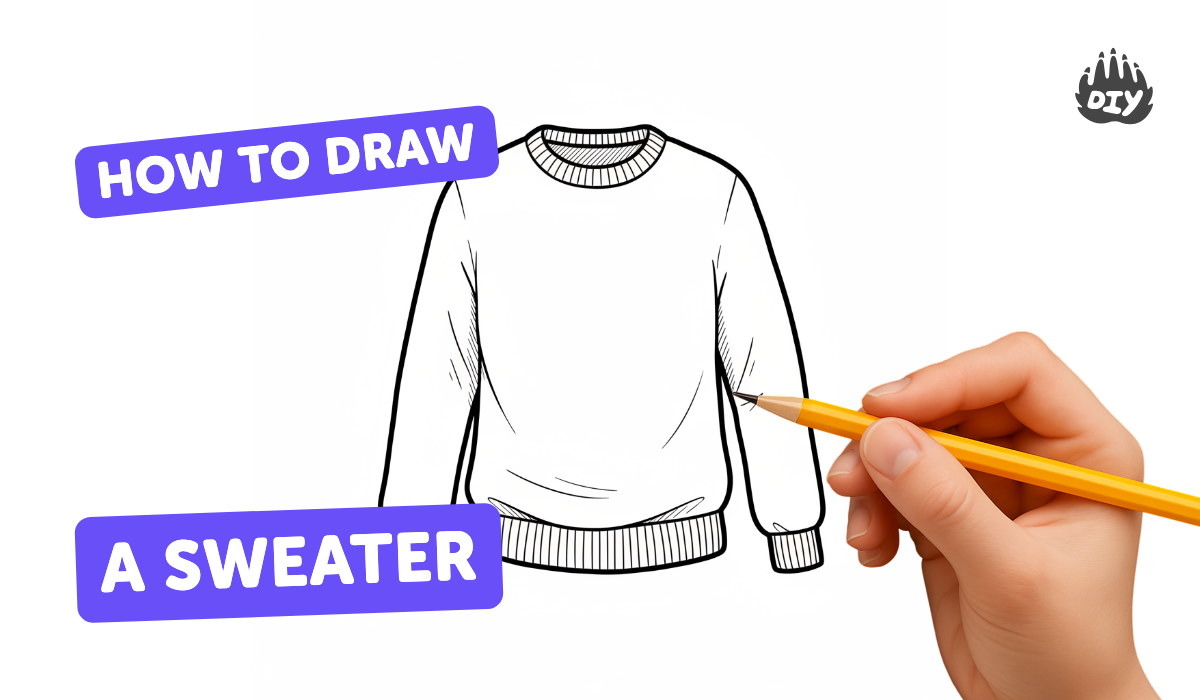
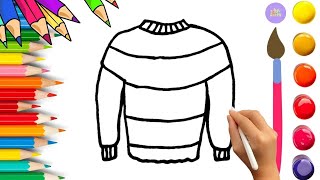
How to draw a sweater - a free sweater drawing guide
Draw a cozy sweater by sketching basic shapes, adding sleeves, patterns, and shading using pencil and colored pencils. Practice proportion, symmetry, and texture techniques.

Drawing Apps
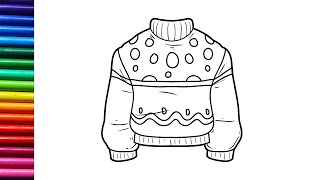
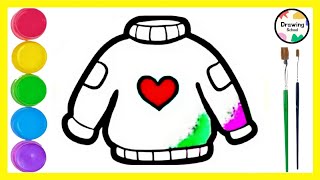
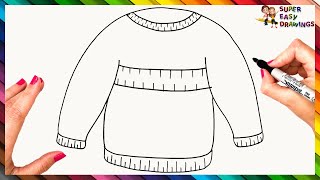
Photos of cozy sweater drawings


Step-by-step guide to draw a cozy sweater
How to Draw a Sweater | Simple & Easy for Kids
Step 1
Gather your materials and clear a flat workspace so you can draw comfortably.
Step 2
Lightly draw a vertical center guideline down the middle of your paper to help keep the sweater symmetrical.
Step 3
Sketch the basic sweater body as a wide rectangle with softly rounded shoulders and a curved bottom hem.
Step 4
Draw a neckline at the top center using a small U shape or oval for a crew neck.
Step 5
Sketch two sleeves extending from each shoulder as long tapered tubes or rectangles.
Step 6
Compare the left and right sides and erase or adjust any lines to make both sides even.
Step 7
Add ribbing by drawing several short horizontal lines at the hem cuffs and neckline.
Step 8
Choose a pattern and draw repeating shapes like stripes diamonds or zigzags across the body and sleeves.
Step 9
Add texture marks such as tiny loops short lines or gentle zigzags to suggest knitted fabric in places you want to look cozy.
Step 10
Shade areas where folds or shadows would appear using light pencil strokes to create depth.
Step 11
Color the sweater with colored pencils filling each pattern area with the colors you like.
Step 12
Erase any remaining guide lines and darken your final outlines so your drawing looks neat and finished.
Step 13
Take a photo or scan your finished cozy sweater drawing and share it on DIY.org.
Help!?
What can we use if we don't have colored pencils or a scanner?
If you don't have colored pencils or a scanner, use crayons or markers for the 'Color the sweater' step and photograph the drawing with a phone instead of scanning for the 'Take a photo or scan' step.
My sweater looks lopsided after sketching—how can I fix symmetry problems?
If the sleeves or body look uneven after 'Compare the left and right sides,' fold the paper on the vertical center guideline, trace one side lightly, then open and correct the other side before erasing the guideline.
How can I adapt this activity for different ages?
For younger kids, skip detailed 'Add texture marks' and use simple shapes and crayons to complete the rectangle and sleeves, while older children can add intricate 'pattern' repeats, finer 'shading,' and more precise 'ribbing' lines to challenge their skills.
What are some ways to make the sweater drawing more special or challenging?
To personalize and extend the activity, cut out the finished 'sweater' drawing to glue onto colored construction-paper backing, add real fabric swatches for 'texture marks,' and invent a backstory before you 'Take a photo or scan' to share on DIY.org.
Watch videos on how to draw a cozy sweater
How to draw and color sweater | Sweater drawing easy step by step for kids and toddlers
4 Videos
How to draw and color sweater | Sweater drawing easy step by step for kids and toddlers
how to draw a sweater | Drawing and colouring lessons for kids and beginners |
How To Draw A Sweater Step By Step - Sweater Drawing Easy
How To Draw cute Sweater Drawing, Painting & Coloring For Kids and Toddlers_🌈🎨
Facts about drawing clothing and texture techniques
🧶 Aran sweaters from the Irish Aran Islands use cable and diamond stitches—many patterns were symbolic and passed down through families.
✏️ Graphite pencils are graded from hard (H) to soft (B); artists often use HB for outlines and 4B–6B for darker shading.
📏 A common drawing rule is that an adult figure is about 7–8 heads tall—a handy trick to keep sweater proportions realistic.
🎨 Colored pencils were popularized in the early 20th century and can be layered or burnished to create rich, knitted textures.
🔁 Using symmetry (mirroring sleeves and patterns) and repeating stitches helps a drawn sweater look balanced and cozy.
How do you draw a cozy sweater step by step?
What materials do I need to draw a sweater?
What ages is sweater drawing suitable for?
What are the benefits and variations of drawing sweaters?
