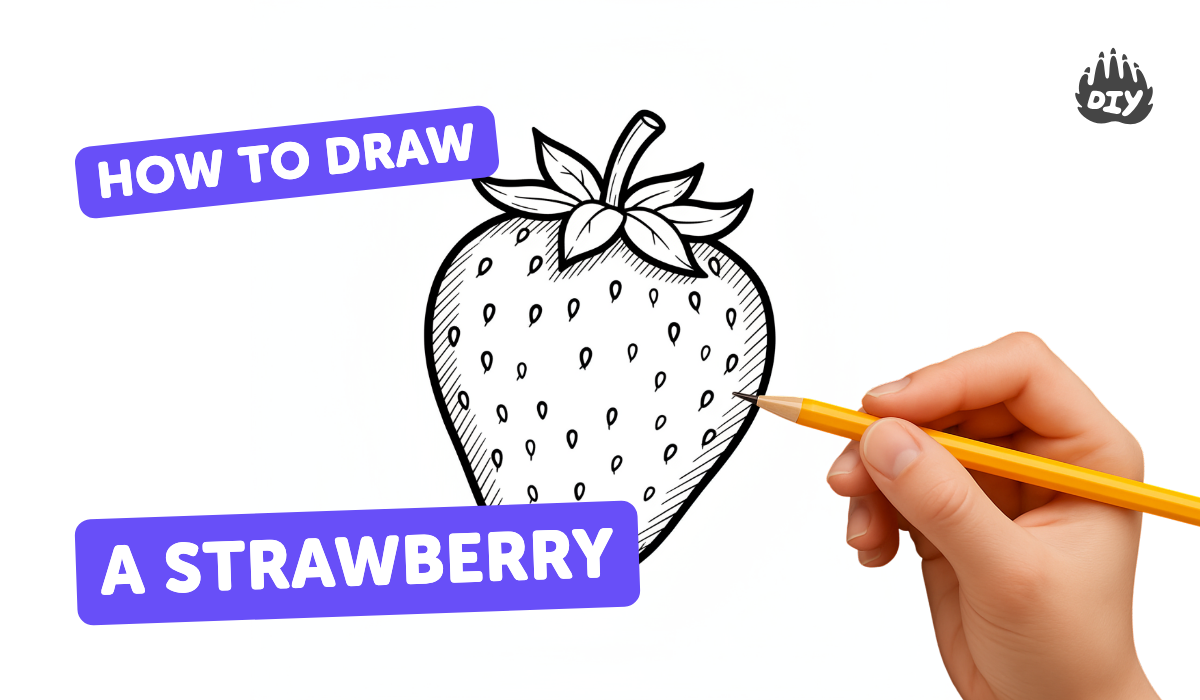
How to draw a strawberry - a free strawberry drawing guide
Draw a realistic strawberry using simple shapes, add seeds and shading, practice observation, proportions, coloring techniques, and create a finished colored illustration.

Drawing Apps
Get inspired with these


Instructions
How to Draw a Strawberry Easy - Cute Fruit
Step 1
Gather all your materials and put them on a clean flat surface.
Step 2
Place your real strawberry or photo reference where you can see it clearly.
Step 3
Look at the reference for one minute and notice the overall shape and where seeds cluster.
Step 4
Lightly draw a vertical guideline down the center of your paper to help with proportions.
Step 5
Sketch the strawberry outline around the guideline using a rounded heart or cone shape.
Step 6
Draw the leaf crown at the top with overlapping teardrop-shaped leaves.
Step 7
Add faint curved contour lines across the strawberry to guide where seeds will go.
Step 8
Draw small teardrop or oval seeds along the contour lines following your reference spacing.
Step 9
Shade the side of the strawberry that is away from the light source using soft pencil strokes.
Step 10
Darken small areas around some seeds to create the look of little dimples.
Step 11
Erase the center guideline and any stray pencil marks to clean up your drawing.
Step 12
Fill the strawberry with a light even layer of red color as a base.
Step 13
Add darker red tones near the shadowed side to give the berry depth.
Step 14
Color the leaves green using light strokes and blend gently with a tissue if needed.
Step 15
Share your finished colored strawberry illustration on DIY.org.
Help!?
What can we use if we don't have a real strawberry or red coloring materials?
If you don't have a real strawberry or red colored pencils, use a clear photo printed from a phone or tablet as your 'real strawberry or photo reference' and substitute crayons, washable markers, or watered-down red paint when you 'Fill the strawberry with a light even layer of red color as a base'.
My strawberry outline or seeds look uneven—what should we try?
If the outline or seed placement looks uneven, return to the step 'Lightly draw a vertical guideline', refine the 'Sketch the strawberry outline around the guideline', use the 'faint curved contour lines' to guide seed spacing, and erase and redraw lightly until the shape and seeds match your reference.
How can we adapt this activity for different ages?
For preschoolers, pre-draw the rounded heart shape and let them color with crayons and markers, while older kids should follow every step including 'soft pencil strokes' for shading, 'darken small areas around some seeds' for dimples, and blending the leaves with a 'tissue' to practice texture and depth.
How can we make the finished strawberry more creative or advanced?
To enhance the piece, add a background of leaves or multiple strawberries, experiment with layered red tones and highlights when you 'Add darker red tones near the shadowed side', try mixing media like colored pencil plus a light watercolor wash, and then 'Share your finished colored strawberry illustration on DIY.org'.
Related videos
How to Draw a Chocolate Covered Strawberry Easy Cute
4 Videos
How to Draw a Chocolate Covered Strawberry Easy Cute
How to Draw + Color Shopkins Strawberry Kiss step by step Cute Season 1
How To Draw Strawberry Shortcake
How To Draw Strawberry Kiss Shopkins
Fun Facts
🍓 A typical strawberry has about 200 tiny seeds (achenes) on its outer surface — perfect for counting when you draw seeds!
✏️ Artists often begin realistic drawings by blocking in simple shapes (circles, ovals, triangles) to get proportions right.
🖌️ Shading from a single light source is the easiest way to make a strawberry look three-dimensional on paper.
🔍 Botanical illustrators use magnifying tools and careful observation to capture small details like seed placement and texture.
🎨 Layering colors (light to dark) with colored pencils or watercolors helps achieve the rich reds and highlights of a ripe strawberry.
How do you draw a realistic strawberry step by step?
What materials do I need to draw and color a realistic strawberry?
What ages is drawing a realistic strawberry suitable for?
What are the benefits of practicing realistic strawberry drawing?
