How to Draw a Squishmallow
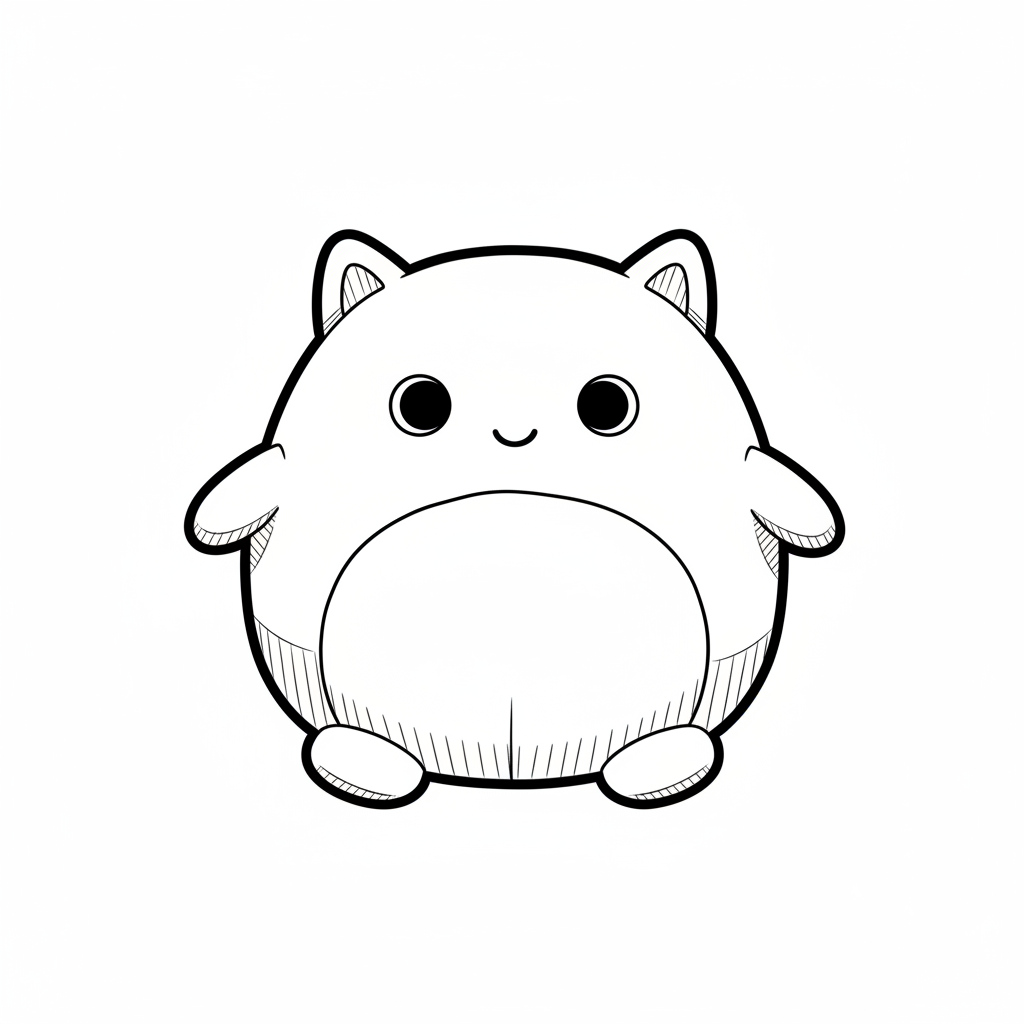
Draw a Squishmallow using simple shapes and lines, adding a friendly face and rounded body. Color, shade, and personalize it with patterns.
About this tutorial
Draw a Squishmallow using simple shapes and lines, adding a friendly face and rounded body. Color, shade, and personalize it with patterns.
What you need
Instructions
- 1
Step 1
Lay your paper on a flat surface and put your pencil and eraser next to it so they are easy to reach.
- 2
Step 2
Lightly draw a big rounded oval shape in the middle of the paper for the Squishmallow’s soft body.
- 3
Step 3
Add two small rounded ears on top of the oval by drawing little half-circles or bumps.
- 4
Step 4
Draw two round eyes spaced apart in the upper center of the face area.
- 5
Step 5
Draw a small oval or dot for the nose right between the eyes.
- 6
Step 6
Draw a simple curved smile under the nose to make a friendly expression.
- 7
Step 7
Add two short rounded arms on each side of the body using small curved shapes.
- 8
Step 8
Draw two little rounded feet at the bottom of the oval so your Squishmallow can sit.
- 9
Step 9
Add a pattern or accessory like hearts stripes polka dots a bow or a star to personalize your Squishmallow.
- 10
Step 10
Trace over your final pencil lines with the black marker or pen to make bold outlines.
- 11
Step 11
Erase any extra pencil marks and then color your Squishmallow using light and dark shades to show roundness.
- 12
Step 12
Share a photo of your finished Squishmallow on DIY.org
Get inspired
Fun facts
How do you draw a Squishmallow using simple shapes and lines?
Start by drawing a large rounded oval for the body, then add a smaller semicircle for the head area if you like. Sketch stubby rounded arms and tiny feet using simple curved lines. Draw large round eyes, a small smiling mouth, and optional nose or blush circles. Erase extra guide lines, trace with marker, and color in soft gradients and patterns to personalize. Encourage simple shading and patterns at the end.
What materials do I need to draw a Squishmallow with my child?
Basic supplies include plain paper or a sketchbook, a soft pencil (HB), a good eraser, a fine-tip black marker for outlining, and colored pencils or markers for coloring. Optional items: blending stump or cotton swab for soft shading, a ruler for symmetry, sticker eyes, stencils or printable templates, and a reference image of a Squishmallow character. A wipeable surface or smock helps contain markers.
What ages is drawing a Squishmallow suitable for?
Drawing a Squishmallow suits ages 3–12, with adult help for younger children. Toddlers (3–5) need supervision and simple shapes or tracing; early school-age kids (6–9) can follow step-by-step instructions and add color; older kids (10+) can experiment with shading, patterns, and custom characters. Adjust difficulty by offering templates or extra challenges. Always supervise small art supplies and adapt steps to each child’s attention span and skill level.
What are the benefits of drawing Squishmallows with kids?
Benefits: Drawing Squishmallows strengthens fine motor skills, hand-eye coordination, and shape recognition while encouraging imaginative play and self-expression. Following step-by-step drawing builds sequencing and focus, and coloring develops color theory and shading basics. Personalizing characters fosters storytelling and emotional expression. It’s a low-cost, screen-free activity that can be adapted for group play, classroom lessons, or quiet one-on-one bonding time between parent and chil
Watch & Learn
Need help?
What can we use if we don't have a black marker or pen for tracing?
If you don't have a black marker or pen for tracing, use a dark-colored pencil, crayon, or a thin permanent marker to trace over your final pencil lines on the paper.
My oval or ears look lopsided—how can I fix them?
If your big rounded oval or small rounded ears look uneven, lighten your initial pencil sketch and use the eraser to reshape the curves before you trace with the black marker.
How can I change this activity for younger or older kids?
For younger children, pre-draw the big rounded oval and let them add simple arms, feet, and stickers, while older kids can add detailed patterns, shading with light and dark shades, and sharper outlines.
How can we extend or personalize the Squishmallow drawing?
Extend the activity by designing matching patterns or accessories from step 9, experimenting with light and dark shades to show roundness, and sharing a photo of the finished Squishmallow on DIY.org.