How to draw a spider monkey - a free spider monkey drawing guide
Draw a spider monkey step-by-step using simple shapes, pencils, and shading. Practice proportions, facial expression, and fur texture to improve drawing skills confidently.

Drawing Apps
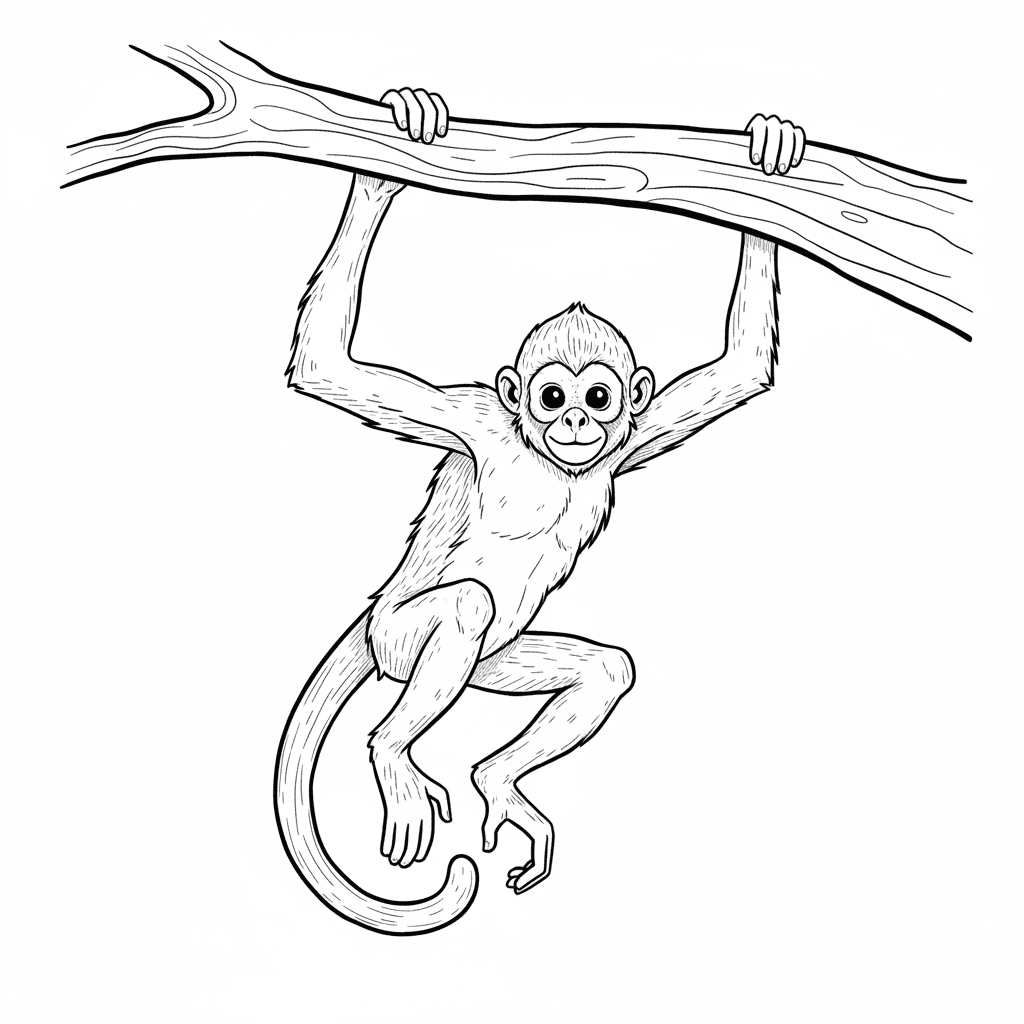
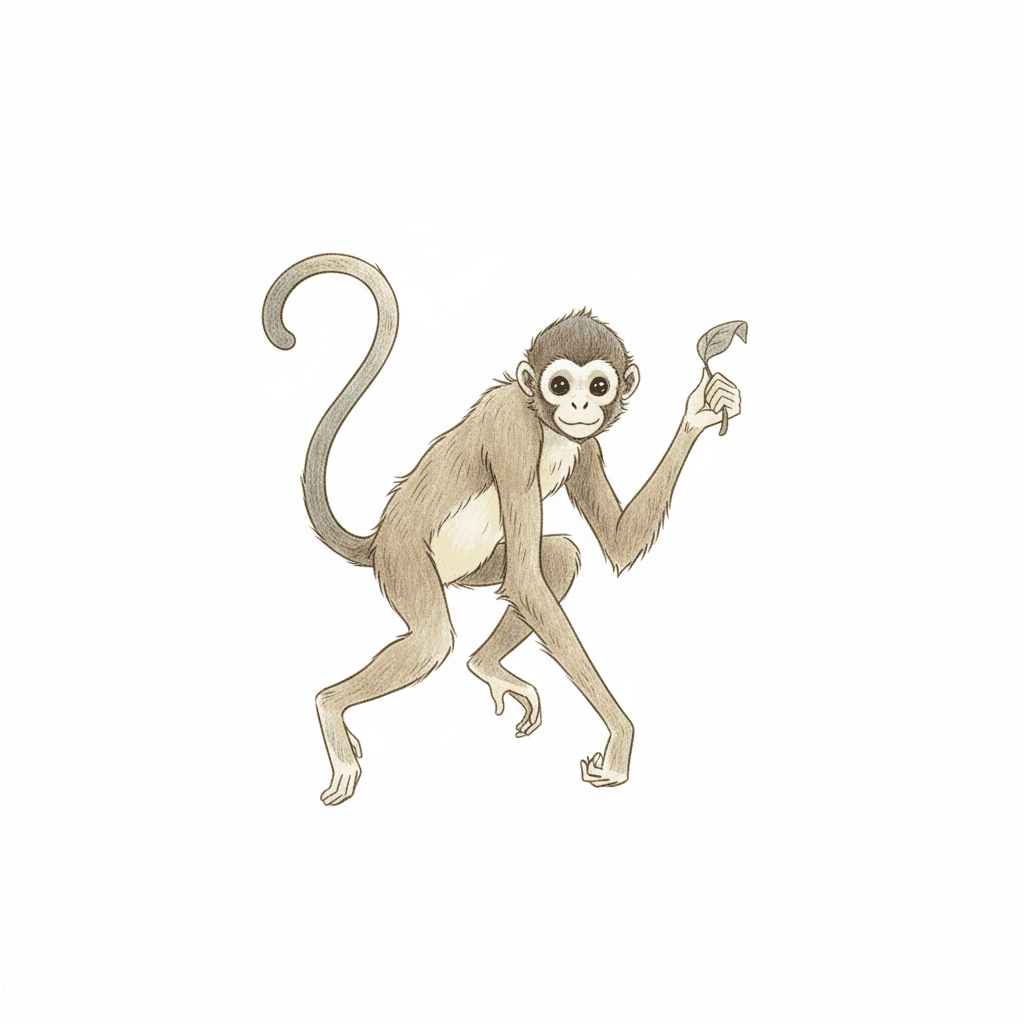
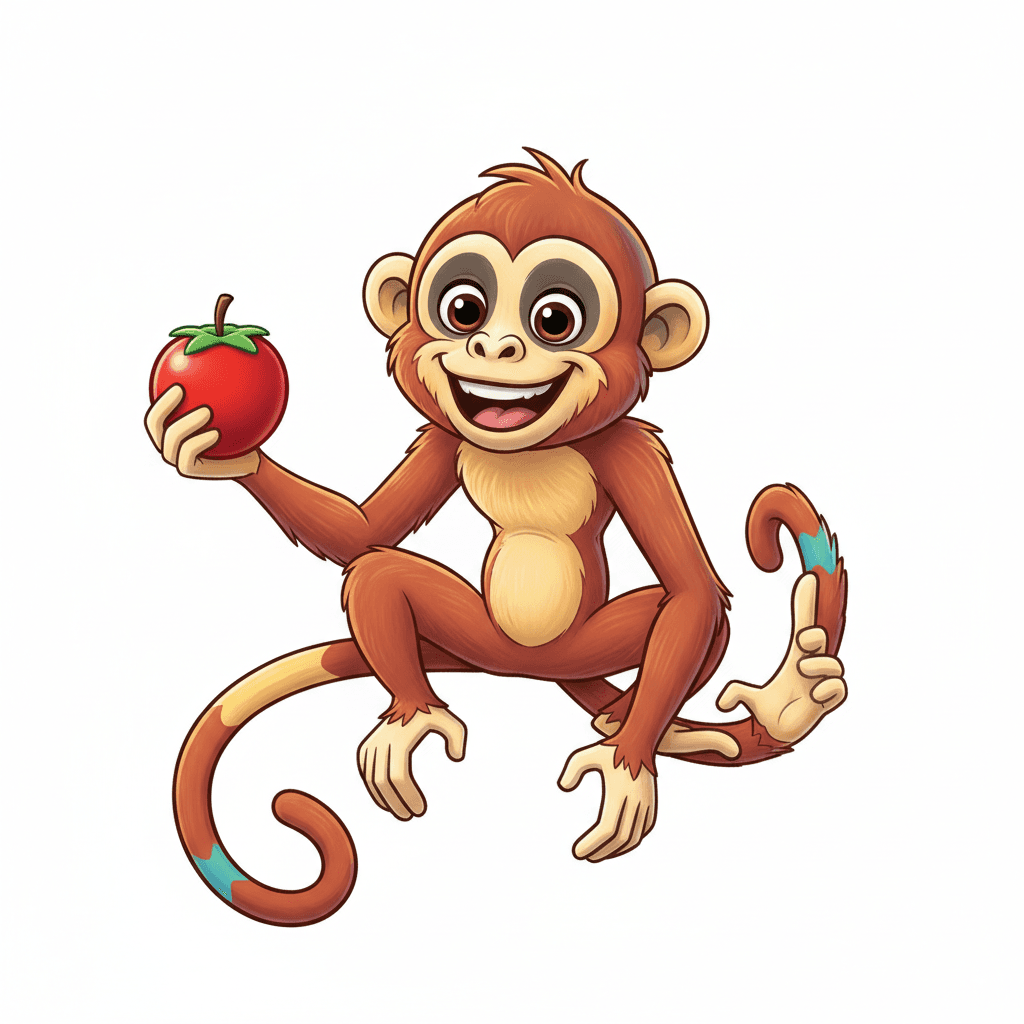
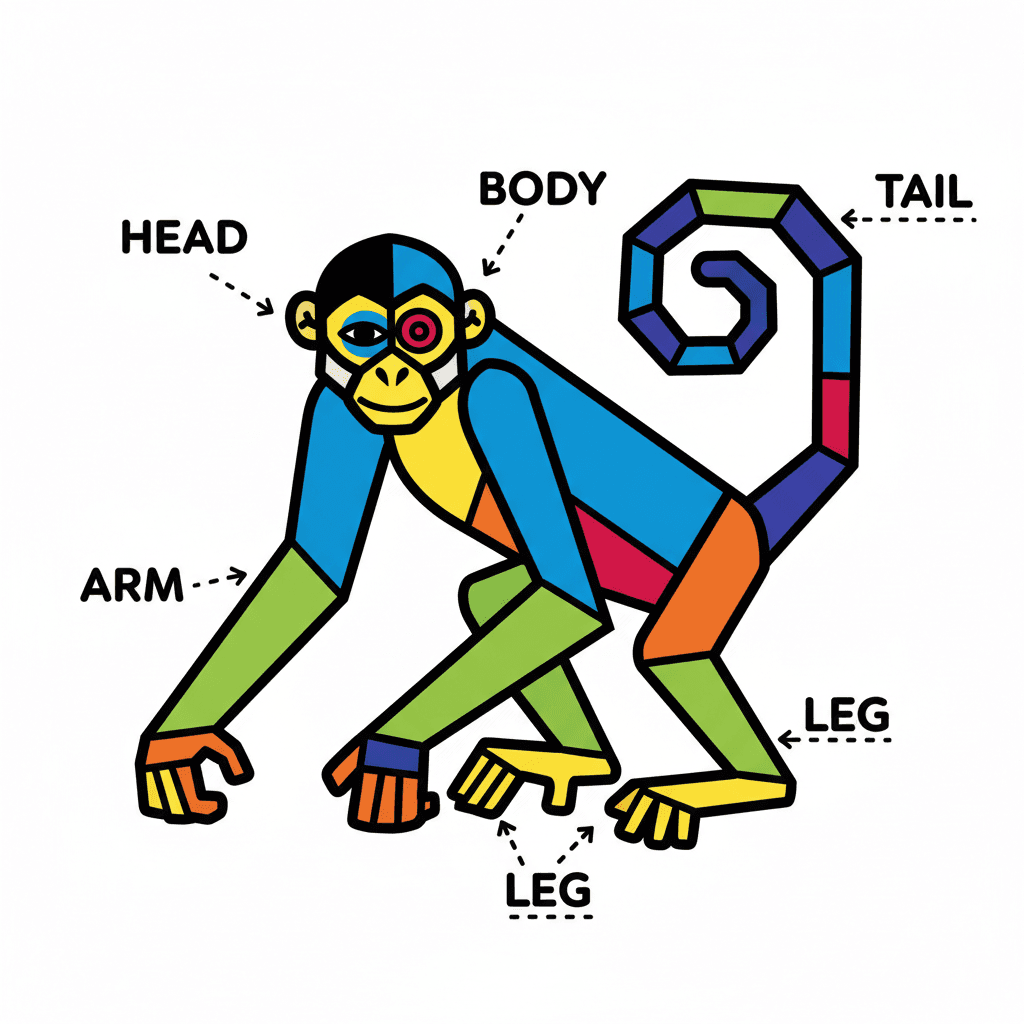
Photos of spider monkey drawings

Step-by-step guide to draw a spider monkey
How to Draw a Spider Monkey
Step 1
Lightly draw a large oval for the body and a circle above it for the head to set the monkey’s basic shape.
Step 2
Draw a gentle curved line from head to body to show the neck and spine position.
Step 3
Sketch two long curved lines from each side of the body for the arms and two shorter curved lines for the legs.
Step 4
Add a long curling line from the back of the body for the tail and make it loop or curl at the end.
Step 5
Draw simple oval shapes at the ends of the arms and legs to mark palms and feet.
Step 6
Lightly draw a vertical line and a horizontal line across the face circle to place the eyes nose and mouth evenly.
Step 7
Draw big friendly eyes a small rounded nose and a smiling mouth using the face guide lines.
Step 8
Add rounded ear shapes on each side of the head and a few short fur tufts around the face.
Step 9
Turn each arm and leg line into thicker limb shapes and connect them to the palms and feet.
Step 10
Add long thin fingers and toes with curved lines to show the spider monkey’s long hands and feet.
Step 11
Use short quick pencil strokes along the body tail and limbs to create fur texture following the direction the fur would grow.
Step 12
Erase extra guide lines and darken the final outlines you want to keep to make your drawing clean.
Step 13
Shade the drawing by pressing a little harder in shadowed areas under the belly behind limbs and around the face to show form.
Step 14
Add any color or extra details you like and then share your finished spider monkey drawing on DIY.org.
Help!?
I don't have a regular drawing pencil or eraser — what can I use instead?
If you don't have a regular pencil, use a light-colored colored pencil or a soft charcoal pencil and a kneaded eraser or tissue so you can still lightly draw the large oval, circle and face guide lines and erase extra guide lines later.
My monkey's arms or tail look stiff — how can I fix that?
If the arms or tail look stiff, redraw the long curved lines for the arms and the long curling line for the tail with looser, flowing strokes, then turn each arm and leg line into thicker limb shapes and add long thin fingers and toes to restore natural movement.
How can I adapt this activity for different ages and skill levels?
For younger kids, pre-draw the large oval and circle and let them add simple eyes, ears and color, while older kids can add more fur texture using short quick pencil strokes and practice shading by pressing a little harder in shadowed areas to show form.
What are fun ways to extend or personalize the spider monkey drawing?
To personalize and extend the activity, draw a tree branch or jungle background behind the body and tail, change the face after using the face guide lines for different expressions, experiment with watercolor or colored pencils to add any color, and then share your finished spider monkey on DIY.org.
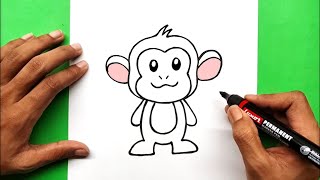
Watch videos on how to draw a spider monkey
How to draw a monkey step-by-step tutorial | easy draw monkey for beginners
4 Videos
How to draw a monkey step-by-step tutorial | easy draw monkey for beginners
🐵 Easy Monkey Drawing for Kids | Step by Step Tutorial 🎨
How to Draw A Monkey 🐵 | Super Simple Draw | Step By Step
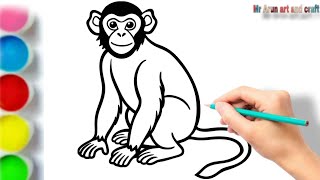
![[Shorts] 🐒 How to draw a Monkey | Step by step tutorial to draw and color Monkey | Pencil to Palette](https://img.youtube.com/vi/RAspJweeNAc/mqdefault.jpg)
[Shorts] 🐒 How to draw a Monkey | Step by step tutorial to draw and color Monkey | Pencil to Palette
Facts about drawing animals for kids
🐒 Spider monkeys use their long, flexible tails like a fifth arm — drawing a curling tail adds life and action to your sketch.
✏️ Artists often start with simple shapes (circles, ovals, lines) to block in the body before adding details — it's a pro trick!
🎨 Light, repeated pencil strokes create convincing fur texture; vary pressure to make soft highlights and dark shadows.
🐾 Spider monkeys have very long arms and small thumbs, so making the arms longer than the legs helps nail the proportions.
🌳 Spider monkeys live high in Central and South American forests and are amazing at swinging between branches — show that energy in your pose.
How do I draw a spider monkey step-by-step?
What materials do I need to draw a spider monkey?
What ages is drawing a spider monkey suitable for?
What are the benefits and variations of drawing a spider monkey?
