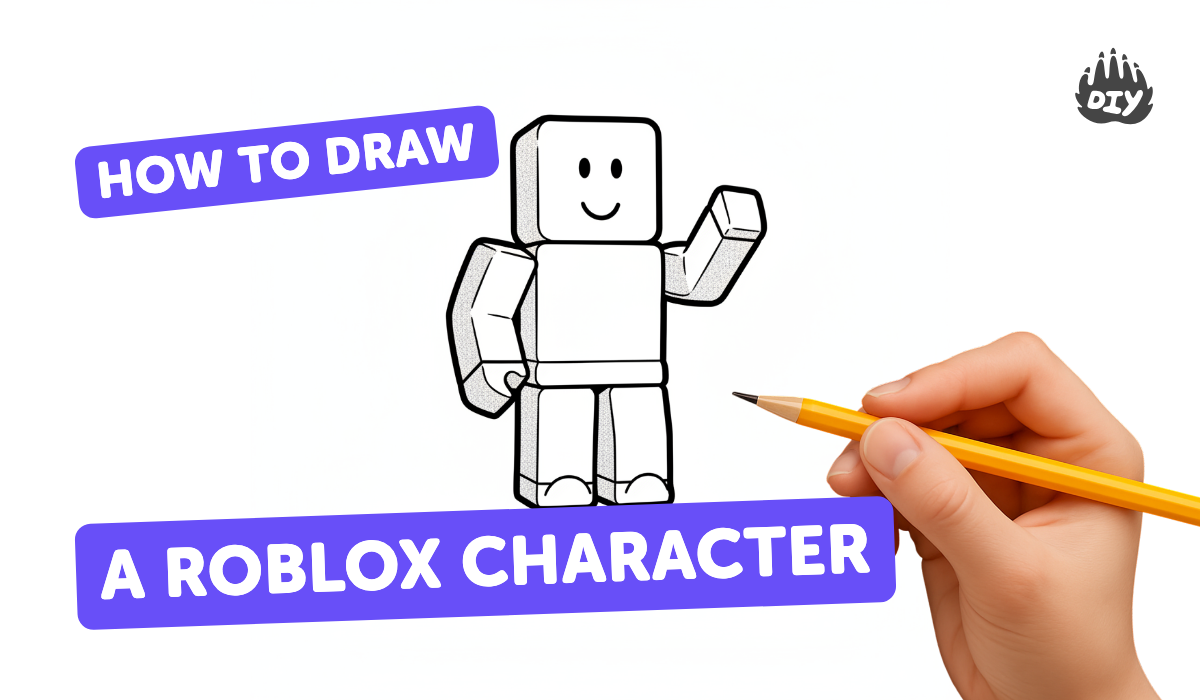
How to draw a roblox character - a free roblox character drawing guide
Draw a Roblox character step-by-step using simple shapes, measurement, and coloring techniques to practice proportions, symmetry, and creative design skills.

Step-by-step guide to draw a Roblox character
How to Draw a Roblox Character | Step-by-Step Tutorial
Step 1
Place your paper in front of you and draw a light horizontal line across the middle to be your waist guide.
Step 2
Use your ruler to measure and draw a square head about 4 cm on each side centered above the waist guide.
Step 3
Draw a light vertical centerline from the top of the head down past the waist guide to help keep things symmetrical.
Step 4
Measure and draw a rectangular torso directly under the head that is the same width as the head and about twice as tall.
Step 5
Draw a small neck rectangle connecting the bottom of the head to the top of the torso.
Step 6
Draw one long rectangle for the left arm from the top of the torso down toward the waist.
Step 7
Draw one long rectangle for the right arm matching the left arm so both arms are the same size.
Step 8
Draw two leg rectangles below the torso side by side so each leg is the same size and touches the bottom of the torso.
Step 9
Lightly sketch two small square eyes on either side of the centerline in the middle of the head and a thin rectangular mouth below them.
Step 10
Add a simple blocky hairstyle or hat on top of the head using big shapes.
Step 11
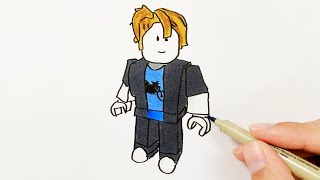
Add clothing details like a pocket stripe or logo on the torso using simple shapes and keep them balanced on both sides.
Step 12
Carefully trace the final outlines of your character with the black marker.
Step 13
Once the marker is dry gently erase the pencil guidelines so only the bold drawing remains and then color your character with your coloring materials.
Step 14
Share your finished Roblox character on DIY.org
Help!?
What can we use if we don't have a ruler, black marker, or eraser?
If you don't have a ruler, use the straight edge of a book or a credit card to measure and draw the 4 cm square head and matching rectangles, use a fine-tip pen or dark crayon instead of the black marker to trace the final outlines, and substitute any soft eraser to remove the pencil guidelines.
My drawing looks lopsided or the marker smudged — how can I fix it?
Redraw or darken the light vertical centerline and re-measure the left and right arm and leg rectangles with your ruler or book to balance them before carefully tracing with the black marker, then wait for the marker to dry completely before gently erasing the pencil guidelines.
How can I adapt this activity for different ages?
For younger kids have an adult pre-draw the waist guide, a larger head and thick arm/leg rectangles for easy coloring, for school-age children keep the 4 cm head and ruler steps with small square eyes and a simple pocket stripe, and for older kids encourage precise measuring, detailed clothing logos on the torso, shading, or pattern work with finer coloring materials.
How can we personalize or extend the Roblox character after finishing?
Add a custom blocky hairstyle or hat, design a unique pocket stripe or logo on the torso, create a themed background or multiple characters for a scene, turn the drawing into a cardboard cutout for play, and then share the finished Roblox character on DIY.org.
Watch videos on how to draw a Roblox character
🎨 Draw a Roblox Character in 5 Minutes | Easy Drawing Lesson for Kids
4 Videos
🎨 Draw a Roblox Character in 5 Minutes | Easy Drawing Lesson for Kids
How to Draw Roblox Characters | Fun and Easy Drawing Tutorial for Beginners 🎮✏️
How to DRAW ROBLOX HEAD CHARACTER easy - Drawing Tutorial
How to Draw a Roblox Character
Facts about drawing and character design for kids
🎮 Roblox began development in 2004 and lets players build and customize blocky avatars and worlds.
✏️ Artists often use the "head unit" technique—measuring a figure in head-lengths—to keep body proportions consistent.
🔁 Many Roblox avatars are symmetrical, which makes using mirrored shapes a quick way to keep designs balanced.
🔷 Blocky characters are perfect for beginners because rectangles, circles, and triangles combine to form complex poses.
📏 Using light guidelines or a simple grid helps you measure arms, legs, and torso so everything lines up neatly.
How do I draw a Roblox character step-by-step?
What materials do I need to draw a Roblox character?
What ages is drawing a Roblox character suitable for?
What are the benefits of drawing Roblox characters?
