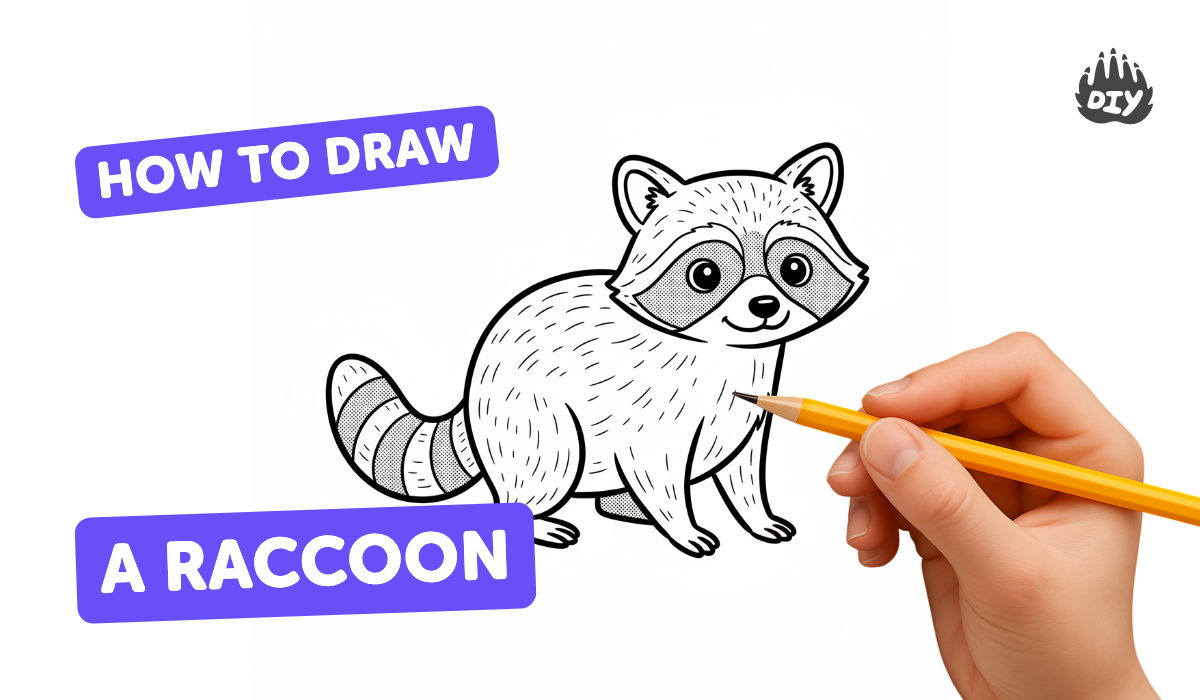
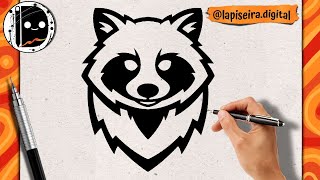
How to draw a raccoon - a free raccoon drawing guide
Draw a raccoon step-by-step using simple shapes, proportions, shading, and fur texture. Practice observation, patience, fine motor skills, and shading technique.

Drawing Apps
Get inspired with these


Instructions
How to Draw a Raccoon for Kids. Easy Drawing Lesson for Kids. Step by Step
Step 1
Gather your materials and sit at a well-lit table ready to draw.
Step 2
Lightly sketch a circle for the head and a bigger oval below it for the body.
Step 3
Draw a vertical center line and a horizontal eye line across the head to help with placement.
Step 4
Draw two rounded triangle ears on top of the head.
Step 5
Draw two rounded eye shapes on the horizontal eye line.
Step 6
Draw the dark mask shapes around the eyes connecting toward the nose.
Step 7
Draw a small rounded triangle for the nose and a short line under it for the mouth.
Step 8
Draw four short tube-like legs beneath the body.
Step 9
Draw a long bushy tail curving out from the body.
Step 10
Add several curved bands along the tail to make stripes.
Step 11
Darken the final outline lines that you like the most.
Step 12
Erase the light construction guidelines so the raccoon looks clean.
Step 13
Add short quick pencil strokes along the cheeks belly tail and body to show fur texture.
Step 14
Shade under the chin belly and along the sides with light pencil and gently blend with the tissue or cotton bud.
Step 15
Share your finished raccoon drawing on DIY.org.
Help!?
I don't have a cotton bud or tissue for blending the shading — what can I use instead?
For the shading step ('Shade under the chin, belly and along the sides'), substitute a clean fingertip, a folded piece of tissue, a cotton ball, or a soft paper towel to gently blend the pencil.
My raccoon's mask and eyes look uneven — how can I fix them so they match?
Keep your light construction lines from steps 1–3, redraw the rounded eye shapes on the horizontal eye line (step 5) and carefully reshape the dark mask (step 6) using the eraser to balance both sides before darkening the final outline (step 11).
How can I change this activity for younger or older kids?
For younger children simplify by using the big basic shapes only (steps 2–5) and skipping fur texture and shading, while older kids can add detailed fur strokes (step 13), blended shading with the tissue or cotton bud (step 14), and more refined tail stripes (steps 9–10).
What are some ways to enhance or personalize the finished raccoon drawing?
After you darken outlines and erase guidelines (steps 11–12), personalize the drawing by coloring it with colored pencils or markers, adding a forest or nighttime background, changing tail stripe patterns, or photographing and sharing it on DIY.org as suggested.
Related videos
How To Draw A Cartoon Raccoon
4 Videos
How To Draw A Cartoon Raccoon
How to draw Raccoon Drawing Tutorial | Easy Step-by-Step Guide
How To Draw A Cute Raccoon
How to draw a raccoon step by step
Fun Facts
🦝 Raccoons wear a distinctive black "mask" and have a ringed tail — those bold patterns are super fun to sketch!
🖐️ Raccoons have five nimble front "fingers" that look almost like tiny hands — great practice for drawing paws and gestures.
📐 Artists often begin with simple shapes (circles for the head, ovals for the body) to get proportions right before adding details.
✏️ Pencil grades matter: HB is a medium tone, while 2B–6B pencils give darker, softer shading perfect for fur.
🧶 To suggest fur quickly, use short directional strokes and light cross-hatching instead of drawing every single hair.
How do I draw a raccoon step-by-step?
What materials do I need to draw a raccoon?
What ages is drawing a raccoon suitable for?
What are the benefits of drawing a raccoon?
