How to Draw a Poodle
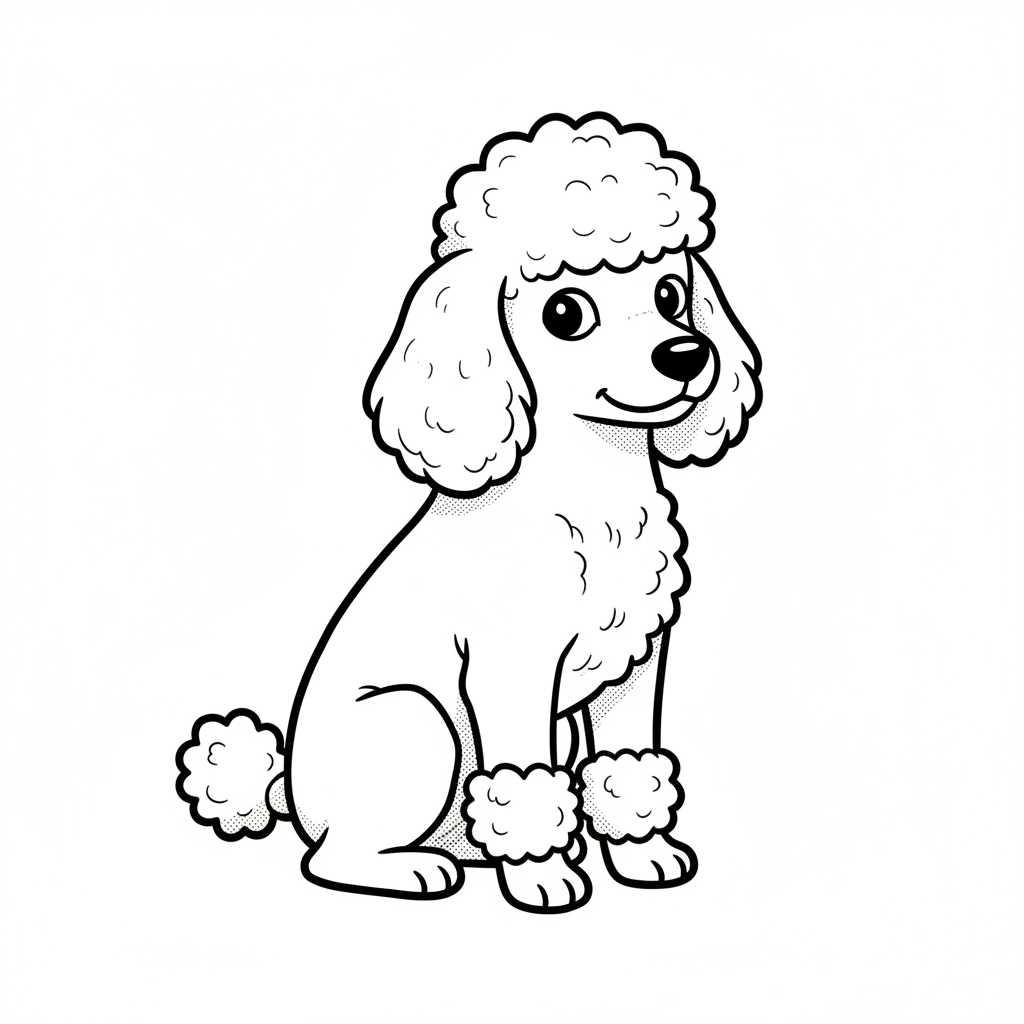
Draw a fluffy poodle step-by-step using basic shapes, lines, and shading. Practice proportions, texture, curly fur techniques, and adding expressive facial details.
About this tutorial
Draw a fluffy poodle step-by-step using basic shapes, lines, and shading. Practice proportions, texture, curly fur techniques, and adding expressive facial details.
What you need
Instructions
- 1
Step 1
Lightly draw one vertical line and one horizontal line that cross near the middle of the page to help place the poodle's face and body.
- 2
Step 2
Lightly sketch a medium circle for the head a larger oval below for the body and a small oval in front of the head for the snout to map out basic shapes.
- 3
Step 3
Draw a short curved line connecting the head circle to the body oval to form the neck.
- 4
Step 4
Lightly draw four straight guide lines under the body to mark where each leg will go.
- 5
Step 5
Add small rounded ovals at the ends of each leg line to mark the paws.
- 6
Step 6
Draw a vertical and a horizontal guideline across the head circle to find the eye and snout positions.
- 7
Step 7
Draw two round expressive eyes on the horizontal guideline with dark pupils and a tiny white highlight in each pupil.
- 8
Step 8
Draw a small rounded triangle or oval at the tip of the snout for the nose and a short curved line under it for the mouth.
- 9
Step 9
Draw big fluffy ears on each side of the head using cloud-like curly lines to show poodle fur.
- 10
Step 10
Outline the body and legs with lots of short curved "C" or "U" shapes to create the curly fur texture.
- 11
Step 11
Add fur puffs on the top of the head the tip of the tail and around the ankles using small cloud shapes for the classic poodle look.
- 12
Step 12
Erase the light construction lines so only your fluffy poodle drawing remains.
- 13
Step 13
Shade under the chin belly and behind curl clusters with light hatch strokes to show shadow and form.
- 14
Step 14
Gently blend the shaded areas with a tissue or your finger to soften the shading and make the fur look rounder.
- 15
Step 15
Share your finished fluffy poodle on DIY.org.
Get inspired
Fun facts
How do you draw a fluffy poodle step-by-step?
Start with light pencil guidelines: draw a circle for the head and an elongated oval for the body. Add smaller circles for hip and shoulder joints, and cylinders for legs. Sketch a rounded muzzle, floppy ear shapes, and a pom-pom tail. Replace smooth outlines with short curved strokes to suggest curly fur. Refine facial features—big expressive eyes, button nose, smiling mouth—then erase guidelines. Add light shading for volume and darker curls for depth. Ink or color when satisfied.
What materials do I need to draw a fluffy poodle?
You’ll need plain drawing paper, a set of pencils (HB for sketching, 2B or 4B for darker lines), an eraser, and a sharpener. Optional helpful items: fine liners for inking, colored pencils or markers for color, a blending stump for soft shading, and a reference photo of a poodle. A kneaded eraser and a lightbox or tracing paper help younger kids practice over guides.
What ages is drawing a fluffy poodle suitable for?
Drawing a fluffy poodle suits children roughly aged 6 and up. Younger kids (4–6) can join using simplified shapes and large curly strokes with adult help. Older kids and preteens can practice proportions, texture, and shading for more realistic results. Adjust complexity: toddlers can make pom-pom fingerprints, early learners trace basic shapes, while older children refine details and experiment with different media.
What are the benefits of drawing a fluffy poodle and fun variations?
Drawing a poodle builds fine motor skills, observation, patience, and understanding of texture and proportion. It boosts creativity and confidence as children see progress from simple shapes to detailed fur. Variations include a cartoon poodle with exaggerated pom-poms, a realistic study focusing on light and shadow, or using watercolor washes and colored pencils for a soft fur effect. Try collage with cotton balls for a tactile version.
Watch & Learn
Need help?
What can I use if I don't have a tissue or blending stump to soften the shading?
If you don't have a tissue or blending stump for the shading step, gently rub the hatch strokes with a clean fingertip, a folded scrap of paper, or a cotton swab to blend and round the fur.
My drawing looks flat or the curls hide the face—what should I do?
If the curly 'C' and 'U' fur marks are hiding facial features or making the poodle look flat, lightly erase the overlapping fur where the vertical/horizontal head guidelines locate the eyes and snout, then redraw the eyes, nose, and a few contour curls to restore form and contrast.
How can I adapt this activity for younger or older kids?
For younger children simplify by pre-drawing the vertical and horizontal guide lines and the head/body/snout shapes for them to trace and add a few big cloud ears and paw ovals, while older kids can follow every step including detailed curly 'C' fur texture, hatch shading, and blending with a tissue.
How can we enhance or personalize the finished poodle?
After erasing the construction lines and finishing the fur puffs, personalize your poodle by adding colored pencil or watercolor fur shades, a patterned collar or bow near the neck connection, extra background details like a park, and then photograph it to share on DIY.org.