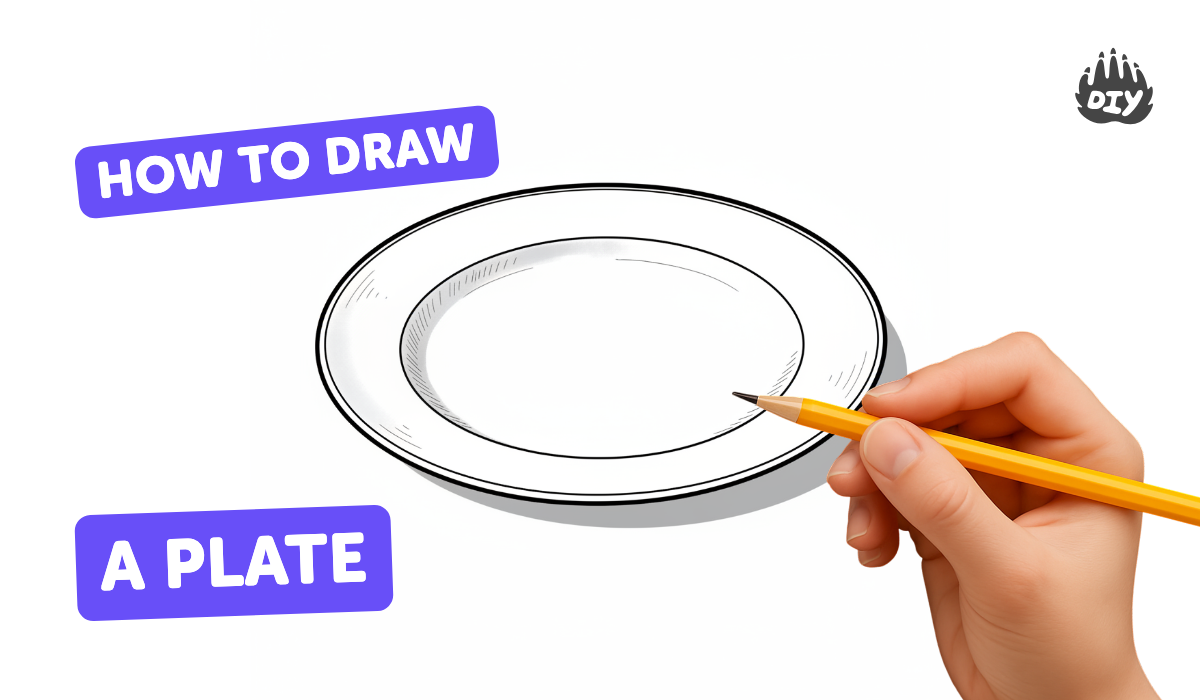
How to draw a plate - a free plate drawing guide
Draw a realistic plate using simple shapes, shading, and perspective. Carefully practice observational drawing, light direction, and smooth curved lines.

Drawing Apps
Get inspired with these


Instructions
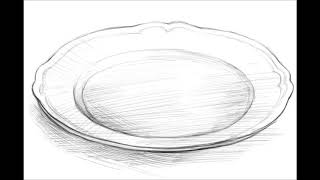
How To Draw A Plate Step By Step 🍽️ Plate Drawing Easy
Step 1
Warm up by drawing five smooth ovals on a scrap piece of paper to loosen your hand.
Step 2
Put your real plate or a photo of a plate next to your drawing paper and decide which direction the light is coming from.
Step 3
Lightly sketch a large ellipse in the middle of your paper for the plate's outer rim.
Step 4
Lightly draw a smaller concentric ellipse inside the first one for the inner rim.
Step 5
Draw a shallow curved line between the rims to show the plate’s slope and depth.
Step 6
Lightly sketch a small faint ellipse in the center to show the bottom of the plate.
Step 7
Trace over the smoothest outer rim line with a slightly darker pencil line to make it clear.
Step 8
Erase any extra construction lines so the plate shape looks clean and smooth.
Step 9
Lightly shade the side of the plate that is away from the light to create a base tone.
Step 10
Darken the far edge and the area just under the rim to show the plate’s curved form.
Step 11
Gently blend the shaded areas with your tissue or stump so the tones look smooth.
Step 12
Add a soft cast shadow on the surface opposite the light source to ground the plate.
Step 13
Lift a tiny spot of graphite with your eraser on the lit side to create a bright highlight.
Step 14
Share your finished plate drawing on DIY.org
Help!?
What can we use if we don't have a stump, tissue, or a real plate for the drawing?
If you don't have a stump or tissue for blending use a folded tissue, cotton swab, or clean fingertip, and if you don't have a real plate use a printed photo of a plate or a shallow bowl as your model.
My ellipses look uneven and the plate looks lopsided—how can I fix that?
Warm up by drawing five smooth ovals as the instructions say, lightly build concentric ellipses with faint construction lines, rotate the paper to keep your wrist steady, then erase extras before tracing the smoothest outer rim.
How can I adapt the activity for different ages or skill levels?
For younger kids simplify by tracing a real plate and using a thick pencil to mark a single rim and one flat shadow, while older kids follow all steps including subtle shading, blending with a stump, and lifting a highlight with an eraser.
What are some ways to extend or personalize the plate drawing once it's finished?
Enhance the finished plate by adding decorative patterns on the rim, introducing colored pencils or watercolor over the shaded form, or drawing several plates at different light directions to practice varied cast shadows before sharing on DIY.org.
Related videos
How To Draw A Plate Step By Step || Plate Drawing || Pencil Sketch || Art And Craft ||
4 Videos
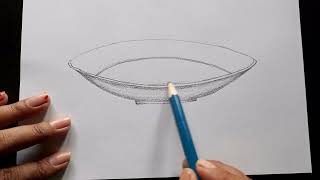
How To Draw A Plate Step By Step || Plate Drawing || Pencil Sketch || Art And Craft ||
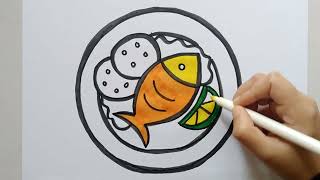
How to draw a Plate | Plate of Food Easy Draw Tutorial
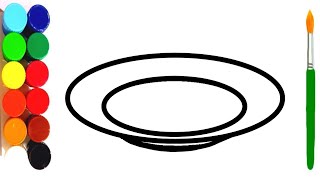
Plate 🍽 Drawing, Painting and Coloring for kids and toddlers | Draw plate #plate #dish #drawing
How To Draw A Plate
Fun Facts
🎨 Still life became a major genre in 17th-century Dutch art where painters practiced rendering everyday objects like plates to master realism.
✏️ A circle seen at an angle appears as an ellipse — drawing the right ellipse is the secret to a believable plate in perspective.
☀️ The direction of light decides where highlights and shadows fall: move the light and the plate’s shadow and shading change.
🧠 Our brains are great at filling gaps, so a few smooth curved lines can convince viewers they’re seeing a full 3D plate.
✨ A tiny bright specular highlight often makes a surface look shiny and real — artists use it to 'sell' the material.
How do I draw a realistic plate step-by-step?
What materials do I need to draw a realistic plate?
What ages is this plate drawing activity suitable for?
What are the benefits of drawing realistic plates?
