How to draw a pizza - a free pizza drawing guide
Draw a pizza with crust, sauce, cheese, and toppings using simple shapes. Practice color, proportion, and shading to make it look delicious.

Drawing Apps
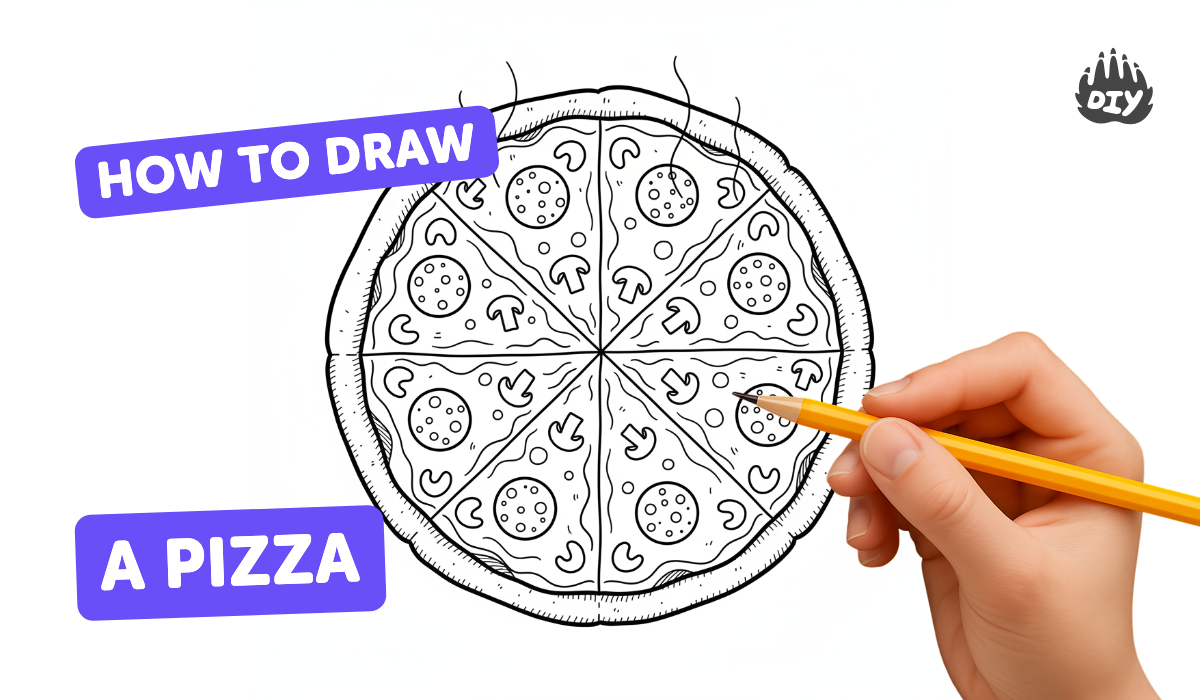
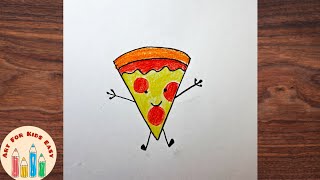
Photos of pizza drawing examples


Step-by-step guide to draw a pizza
How To Draw A PIZZA🍕 - Easy Step by Step Drawing Tutorials for Kids by Chiki Doodle
Step 1
Place a round plate or lid on your paper and hold it steady.
Step 2
Trace around the plate with your pencil to make the pizza's outer circle.
Step 3
Draw a slightly smaller circle inside the first circle to mark the inner edge of the crust.
Step 4
Draw another smaller circle inside to show where the sauce and cheese will stop.
Step 5
From the center draw straight lines to the outer circle to divide the pizza into slices.
Step 6
Add toppings by drawing simple shapes like circles for pepperoni ovals for mushrooms and strips for peppers.
Step 7
Draw little lines and dots on the crust to make it look bumpy and baked.
Step 8
Trace over your main pencil lines with the black marker to make them bold.
Step 9
Colour the crust with a light brown or tan using your colouring materials.
Step 10
Colour the sauce inside the inner circle with red or orange so it looks saucy.
Step 11
Colour the cheese with yellow and add a few short darker yellow strokes for melted texture.
Step 12
Shade under a few toppings and along the bottom edge with a darker color or pencil to make your pizza look three dimensional.
Step 13
Share your finished creation on DIY.org
Help!?
What can we use if we don't have a round plate or lid to trace the pizza outline?
Use any circular object like a drinking glass, jar lid, roll of tape, or a compass to trace the outer circle as the first step.
The plate moved while tracing or my slice lines look uneven — how do I fix that?
Hold the plate steady with one hand or a small piece of tape while tracing, then erase and re-draw uneven center-to-outer slice lines with a ruler or straightedge before tracing over them with the black marker.
How can I adapt this pizza drawing for younger or older kids?
For younger children use larger circular objects, thicker crayons, and fewer big toppings to follow the simple tracing and colouring steps, while older kids can add smaller detailed toppings, extra crust texture lines, and more shading under toppings with colored pencils for realism.
What are some ways to extend or personalize the finished pizza drawing?
Personalize it by drawing favorite toppings, writing a name on the crust, cutting the picture out to make a pizza card, or adding glitter glue and extra shading before sharing your finished creation on DIY.org.
Watch videos on how to draw a pizza
How to Draw a Cute Pizza Easy for Kids
4 Videos
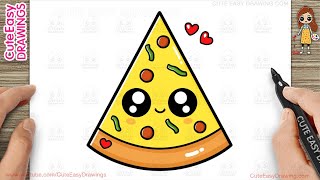
How to Draw a Cute Pizza Easy for Kids
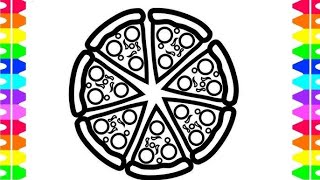
Pizza drawing for kids: Fun and easy step-by-step guide
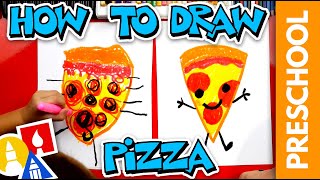
How To Draw Pizza - Preschool
How to draw a pizza 🍕 | Easy Drawing for kids | Step-by-step tutorial
Facts about drawing and coloring
🍕 Pizza as we know it started in Naples, Italy — the Margherita pizza was named for Queen Margherita in 1889.
🧀 Mozzarella cheese melts into long, stretchy strands — drawing a few drips makes your pizza look gooey and yummy.
🍅 Tomatoes were once grown as ornamental plants in Europe because people thought they were poisonous — now they're pizza stars!
🎨 Using three shades (light, medium, dark) for each color helps create a 3D look — try this on the crust and cheese.
📐 A tasty-looking crust is often about 1/6–1/8 of the pizza's diameter — use that proportion when you sketch.
How do you draw a pizza with crust, sauce, cheese, and toppings?
What materials do I need to draw a pizza with my child?
What ages is drawing a pizza suitable for?
What are the benefits of drawing a pizza for kids?
