How to draw a pine tree - a free pine tree drawing guide
Draw a pine tree using simple shapes and layered branches. Practice proportions, texture, and shading with pencil or crayons to create depth.

Drawing Apps
Photos of pine tree drawings


Step-by-step guide to draw a pine tree
How to draw a pine tree with pencil step by step/ Drawing for beginners.
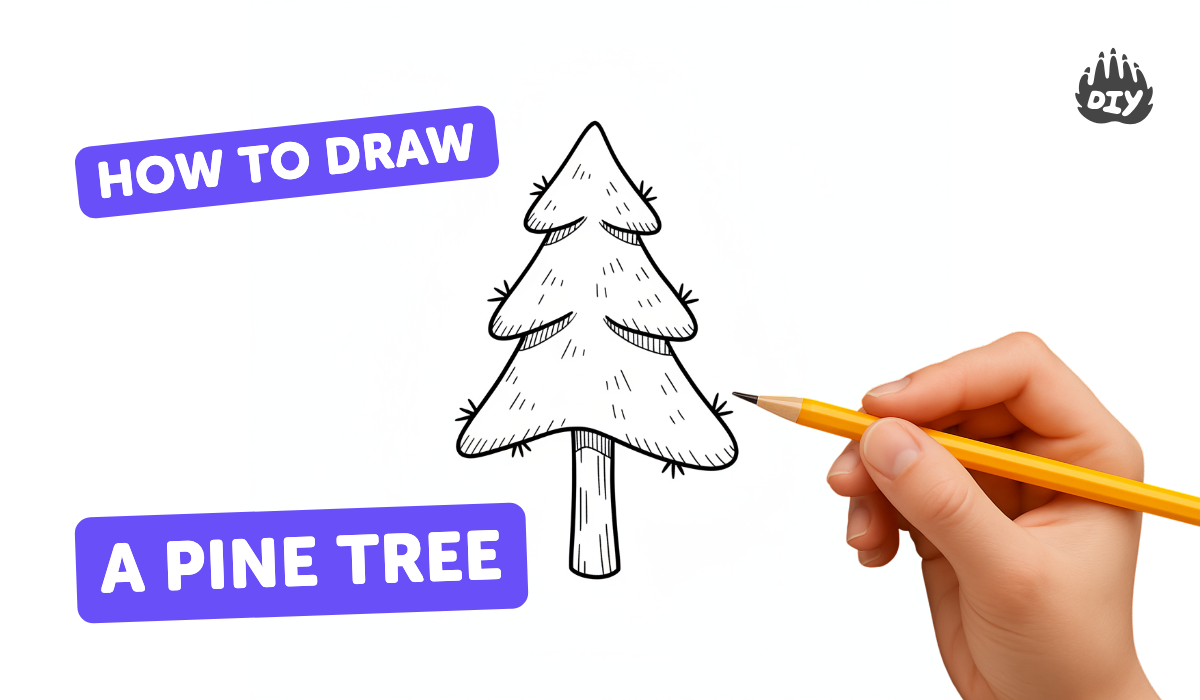
Step 1
Gather your materials.
Step 2
Place your paper flat on a table.
Step 3
Lightly draw a faint vertical center guideline down the middle of the paper.
Step 4
Draw a narrow rectangle or slightly tapered rectangle at the bottom center for the trunk.
Step 5
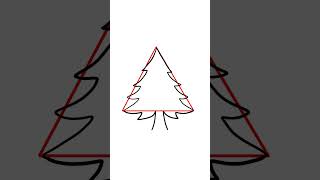
Draw a wide triangle shape above the trunk for the lowest layer of branches.
Step 6
Draw a slightly smaller triangle above the first triangle for the middle layer of branches.
Step 7
Draw a small triangle at the top for the tree tip.
Step 8
Add jagged or zigzag lines along each triangle edge to make the branches look leafy and layered.
Step 9
Use short pencil strokes along the branch edges to create pine needle texture.
Step 10
Shade the underside of each branch layer lightly to make the tree look deeper and rounder.
Step 11
Erase the faint center guideline and any extra sketch marks.
Step 12
Color the needles and trunk using lighter and darker shades to finish your pine tree.
Step 13
Take a photo of your finished pine tree and share it on DIY.org.
Help!?
What can I use if I don't have colored pencils or an eraser?
Use crayons or washable markers to color the needles and trunk, and use a folded scrap of paper or a kneaded eraser to lift the faint center guideline instead of a regular eraser.
My triangles look uneven—how do I fix them?
Lighten or redraw the faint vertical center guideline, erase and re-sketch the narrow trunk centered at the bottom, then redraw the widest triangle for the lowest branches, a slightly smaller one above it, and the small top triangle to keep the layers balanced.
How can I change this activity for different ages?
For toddlers, have them make large simple triangles and bold zigzag branch edges with crayons; for school-age kids, follow the pencil steps adding short pencil strokes for pine needle texture and light shading under each branch layer; and for older kids, work on detailed shading, color blending on the needles and trunk, and composition before photographing for DIY.org.
How can we make the pine tree more creative or display it?
Add a background scene, glue cotton or torn tissue to the shaded undersides for snow, use darker and lighter shades to create depth on the needles and trunk, or draw several layered trees to make a forest before taking the photo to share on DIY.org.
Watch videos on how to draw a pine tree
How to Draw a Pine Tree | Easy Step by Step Tutorial
4 Videos

How to Draw a Pine Tree | Easy Step by Step Tutorial
Learn how to Draw a Pine Tree in just 8 STEPS!
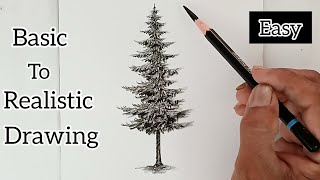
Pencil drawing of pine tree for beginners/ basic drawing/ realistic drawing/
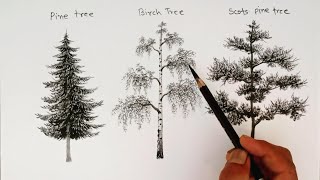
How to draw different types trees by pencil for beginners.
Facts about drawing and sketching for kids
🌲 Pine trees are conifers and most keep their needles year-round, so they stay green even in winter.
🎄 Some pine species can live for thousands of years — the oldest known bristlecone pine is over 4,800 years old!
✏️ Pine needles often grow in bundles called fascicles, and noticing their groups helps you draw realistic texture.
🪵 Pine cones vary wildly in size — the sugar pine can produce cones up to about 60 cm (2 ft) long, a cool detail to sketch.
🎨 Layering simple triangular shapes and adding soft shading gives a pine tree a 3D look with just pencils or crayons.
How do I teach my child to draw a pine tree using simple shapes and layered branches?
What materials do I need to draw a pine tree with my child?
What ages is drawing a layered pine tree suitable for?
What are the benefits and fun variations of drawing pine trees?
