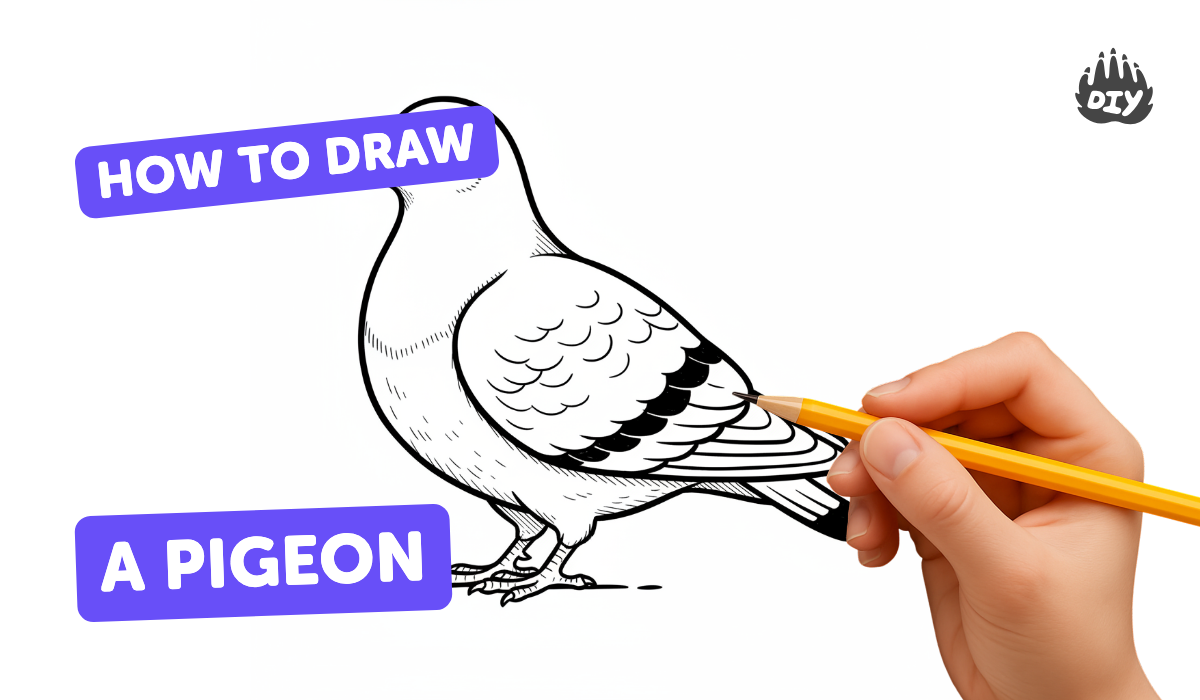
How to draw a pigeon - a free pigeon drawing guide
Draw a pigeon step-by-step using basic shapes and simple shading for ages 7–13. Practice proportions, feather details, and coloring to create a realistic bird.

Drawing Apps
Get inspired with these


Instructions
How to Draw a Pigeon | Easy Step-by-Step Pigeon Drawing for Kids and Beginners
Step 1
Place your paper in portrait orientation on a flat surface.
Step 2
Lightly draw a small circle near the top third of the paper for the head and a larger oval below it that overlaps a little for the body.
Step 3
Draw a short curved line to connect the head and body to form the neck.
Step 4
Draw a vertical guideline down the center of the head to mark where the beak and eye will go.
Step 5
Sketch a small pointed beak on the guideline at the front of the head.
Step 6
Draw a small circle for the eye on the guideline slightly above the beak.
Step 7
Gently erase extra construction lines around the head and leave a tiny white dot inside the eye for a highlight.
Step 8
Draw the wing as a large curved teardrop shape overlapping the side of the body.
Step 9
Add tail feathers at the back by drawing three or four curved fan shapes.
Step 10
Draw short curved lines along the wing and body to show layered feather details.
Step 11
Draw two thin straight legs under the body and add three small toes on each foot.
Step 12
Lightly shade the belly and feather edges with short pencil strokes and then add color using light gray for the body darker gray for the wings and a small dab of green or purple on the neck for iridescence.
Step 13
Share your finished pigeon drawing on DIY.org
Help!?
What can we use if we don't have light and dark gray pencils or special paper?
If you don't have light and dark gray colored pencils, use a regular graphite pencil to lightly shade the belly and a softer/darker pencil or charcoal for the wings, and substitute green or purple crayons or markers for the neck iridescence on plain white paper.
My head and body don't overlap right and the neck looks weird—how do I fix it?
If the small circle and larger oval aren't aligned, gently erase and reposition them so the circle sits near the top third and the oval overlaps slightly, then redraw the short curved line to connect the head and body into a smooth neck.
How can I adapt this pigeon drawing for different ages?
For younger children, simplify by tracing or stamping a circle and oval, adding a sticker eye and broad crayon shading, while older kids can add layered feather lines, detailed shading on the belly and wings, and the tiny dab of green or purple iridescence on the neck.
How can we enhance or personalize the finished pigeon drawing?
Extend the activity by gluing a few real feathers onto the teardrop wing, painting a background park or rooftop, experimenting with watercolor washes for the body and darker gray on the wings, or drawing a pigeon family before photographing your finished pigeon to share on DIY.org.
Related videos
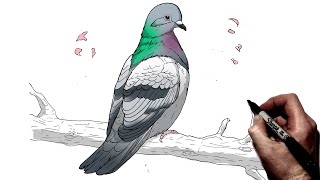
How to Draw The Pigeon | Drawing Videos For Kids 🖍️ | Mo Willems Workshop
4 Videos
How to Draw The Pigeon | Drawing Videos For Kids 🖍️ | Mo Willems Workshop

Cute Bird Drawing 🕊️✨ Easy Pigeon Drawing for Kids Step by Step Simple Drawing Tutorial 🎨
How To Draw A Pigeon | Step By Step |
Pigeon Drawing - How to Draw Easy Birds - Step by Step Picture Drawings
Fun Facts
🐦 Pigeons can recognize human faces and remember friendly people — perfect for drawing familiar poses!
🪶 Feathers overlap like roof tiles, so sketching layers of short curved strokes makes wings look realistic.
✏️ Many artists begin with simple shapes (circles, ovals, triangles) to map an animal’s proportions before adding details.
🎨 Even gentle shading from one light source can turn flat shapes into a round, lifelike pigeon.
📐 A handy proportion tip: a pigeon’s body is roughly twice the size of its head and its beak is short and triangular — great for getting the shape right.
How do I teach my child to draw a pigeon step-by-step?
What materials do I need to draw a pigeon?
What ages is this pigeon-drawing activity suitable for?
What are the benefits of having my child draw pigeons?
