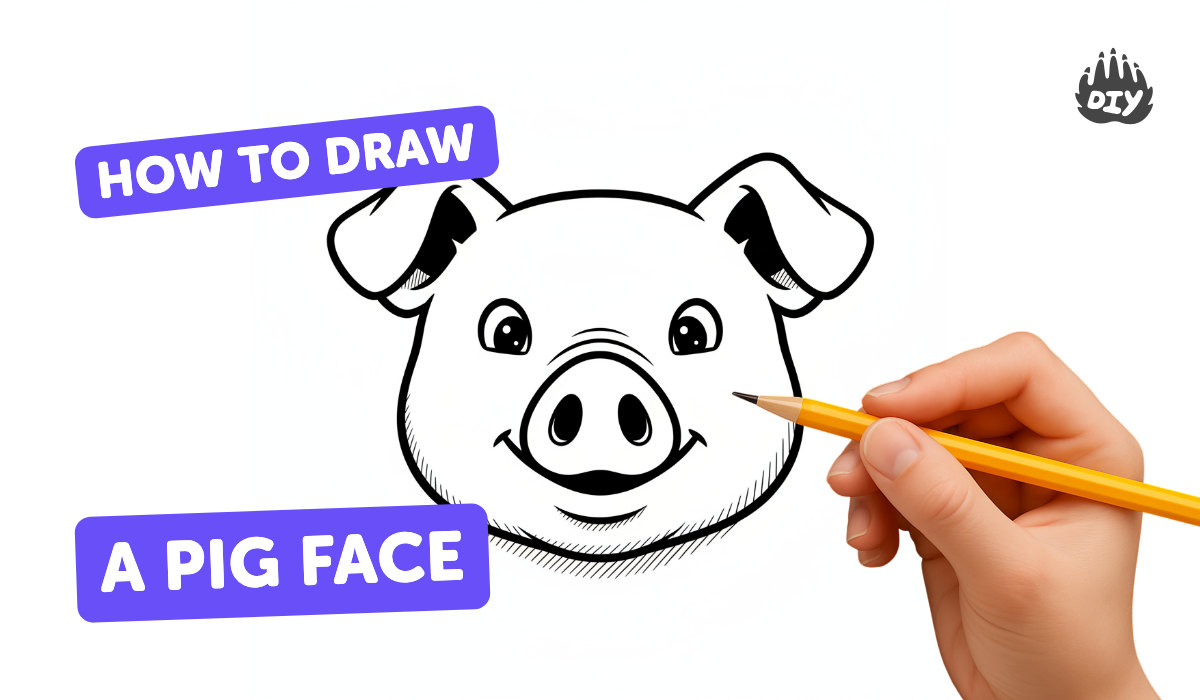
How to draw a pig face - a free pig face drawing guide
Draw a pig face using basic shapes: circle head, oval snout, rounded ears, dots for eyes. Practice adding shading and color.

Drawing Apps
Photos of pig face drawings


Step-by-step guide to draw a pig face
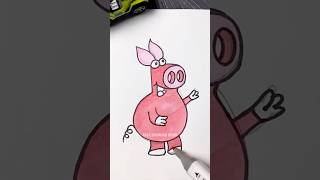
How to Draw a Pig Step by Step for Kids | Easy Pig Drawing Tutorial for Children | Learn to Draw
Step 1
Place a sheet of paper on a flat surface so you have room to draw.
Step 2
Lightly draw a large circle near the center of the paper for the pig’s head.
Step 3
Draw a slightly flattened oval near the bottom center of the circle for the snout.
Step 4
Draw two small filled circles inside the oval to make the nostrils.
Step 5
Draw two rounded triangular ears on the top left and top right of the head.
Step 6
Draw two small dots or tiny circles above the snout for the eyes.
Step 7
Erase any extra overlapping lines so each shape looks neat and clear.
Step 8
Lightly shade just under the snout with your pencil to make a soft shadow.
Step 9
Lightly shade inside each ear with your pencil to add depth.
Step 10
Carefully trace the main head snout ears and eye outlines with the black marker to make the pig stand out.
Step 11
Color the pig’s head and ears pink using your coloring materials.
Step 12
Color the snout a slightly darker pink and color the nostrils and eyes a darker color.
Step 13
Add a tiny uncolored dot or small white highlight to each eye to make them look shiny.
Step 14
Take a photo of your finished pig face and share your creation on DIY.org.
Help!?
What can I use instead of a black marker or pink coloring materials?
If you don't have a black marker, carefully trace the main head, snout, ears, and eye outlines (step 10) with a dark crayon or sharpened colored pencil, and use pink crayons, colored pencils, or washable markers instead of paint for coloring (steps 12–13).
My pig looks lopsided or the snout is too big — how can I fix it?
If the head or snout look lopsided, erase the extra overlapping lines (step 6), lightly redraw the large circle and slightly flattened oval (steps 2–3) until the proportions look right, and only trace with the black marker (step 10) when satisfied.
How can I adapt this drawing for toddlers or older kids?
For toddlers, pre-draw the large circle, snout oval, and ears for them to trace and color (steps 2–6, 12–13), while older kids can add realistic shading under the snout and inside ears (steps 8–9), extra facial details, and refine outlines with the marker (step 10).
How can we personalize or extend the pig-face activity?
To personalize and extend the activity, add accessories like a hat or bow before tracing (step 10), vary head and snout pinks when coloring (steps 12–13), draw a simple background, and take a photo to share on DIY.org (step 15).
Watch videos on how to draw a pig face
How to Draw a Cute Pig Face 🐷 Easy Step-by-Step Guide
4 Videos
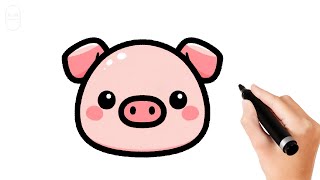
How to Draw a Cute Pig Face 🐷 Easy Step-by-Step Guide
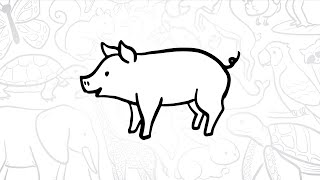
🐖 How to Draw a Simple Pig | Step-by-Step Lesson 🐷
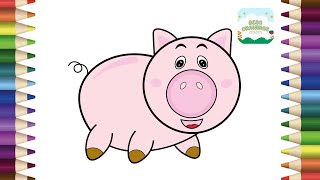
How to Draw a Cute Pig Simple & Easy Step by Step for Kids | Pig Drawing
Easy and Cute Pig Drawing Tutorial for Kids 🐷 | Step-by-step Kids Drawing Tutorial #drawing4kids
Facts about drawing basics for kids
🐷 Pigs have expressive faces—ears, snout, and eye placement make them fun and instantly recognizable to draw.
✏️ Artists often start with simple shapes like circles and ovals to block in a face before adding details.
🎨 Real pigs come in many colors and patterns, so your pig drawing can be pink, spotted, black, or any creative hue!
🌓 Adding light and shadow (shading) on one side of the snout and head makes the pig look round and 3D.
✅ Cartoon pig faces usually use tiny dot eyes, a big round head, and an oval snout—perfect for beginners.
How do you draw a pig face using basic shapes?
What materials do I need to draw a pig face?
What ages is drawing a pig face suitable for?
What are some variations and tips for drawing a pig face?
