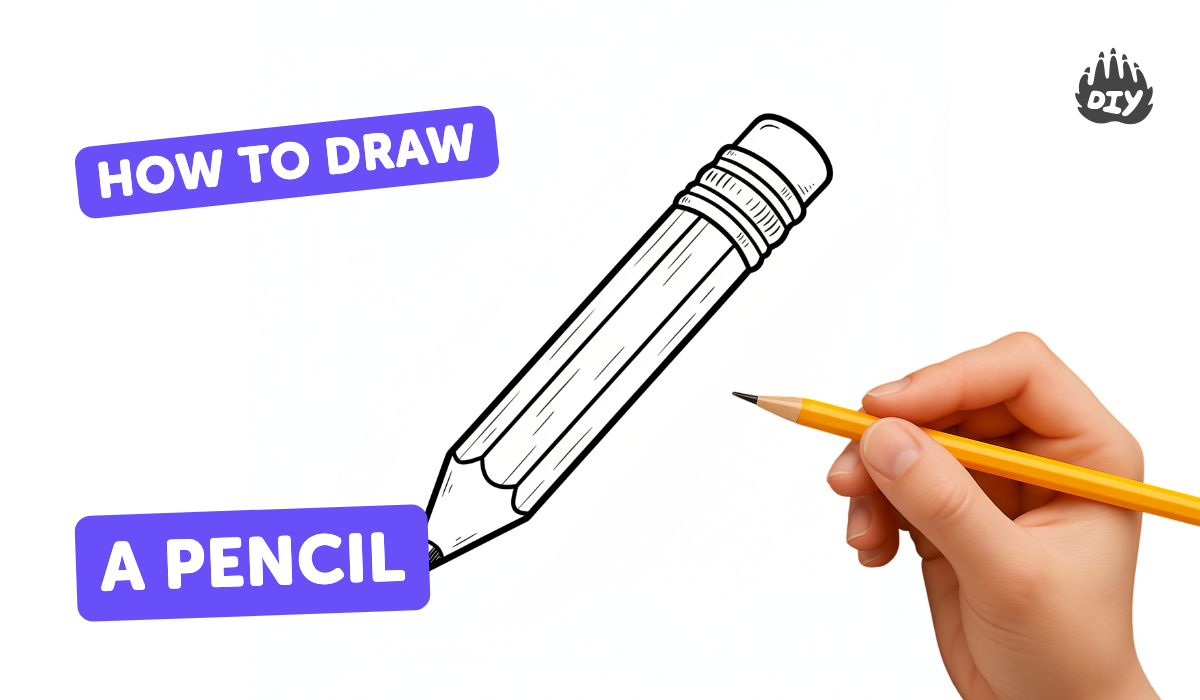
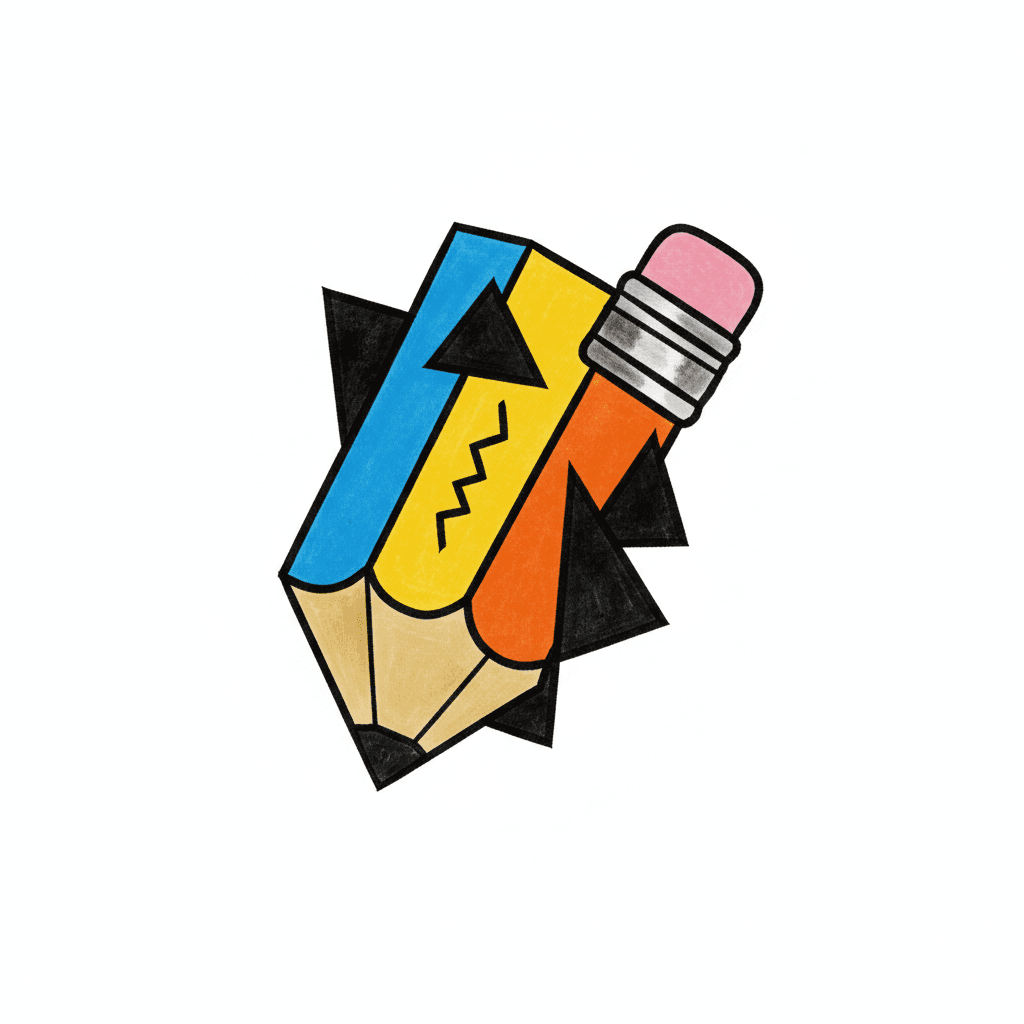
How to draw a pencil - a free pencil drawing guide
Draw a realistic pencil step by step using basic shapes, shading, wood grain, and proportion to practice sketching techniques, perspective, and texture.

Drawing Apps
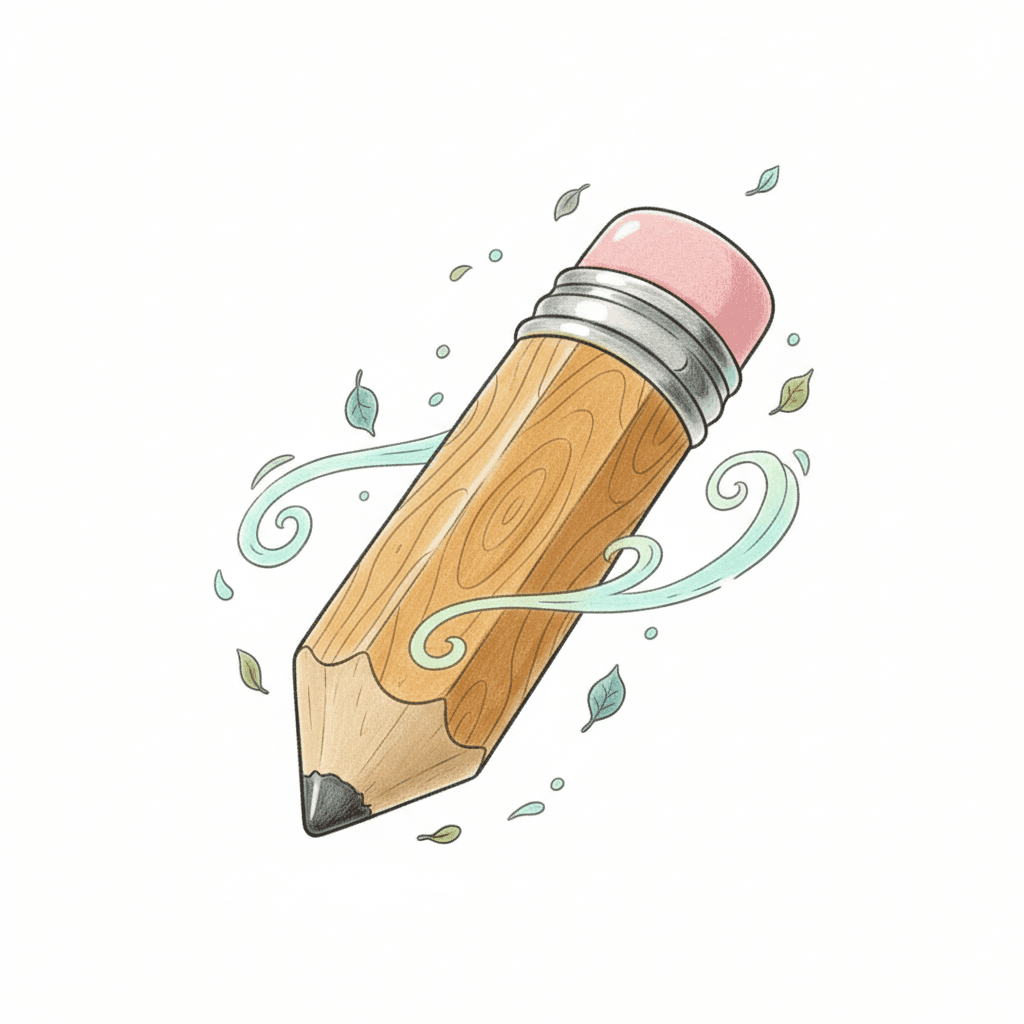
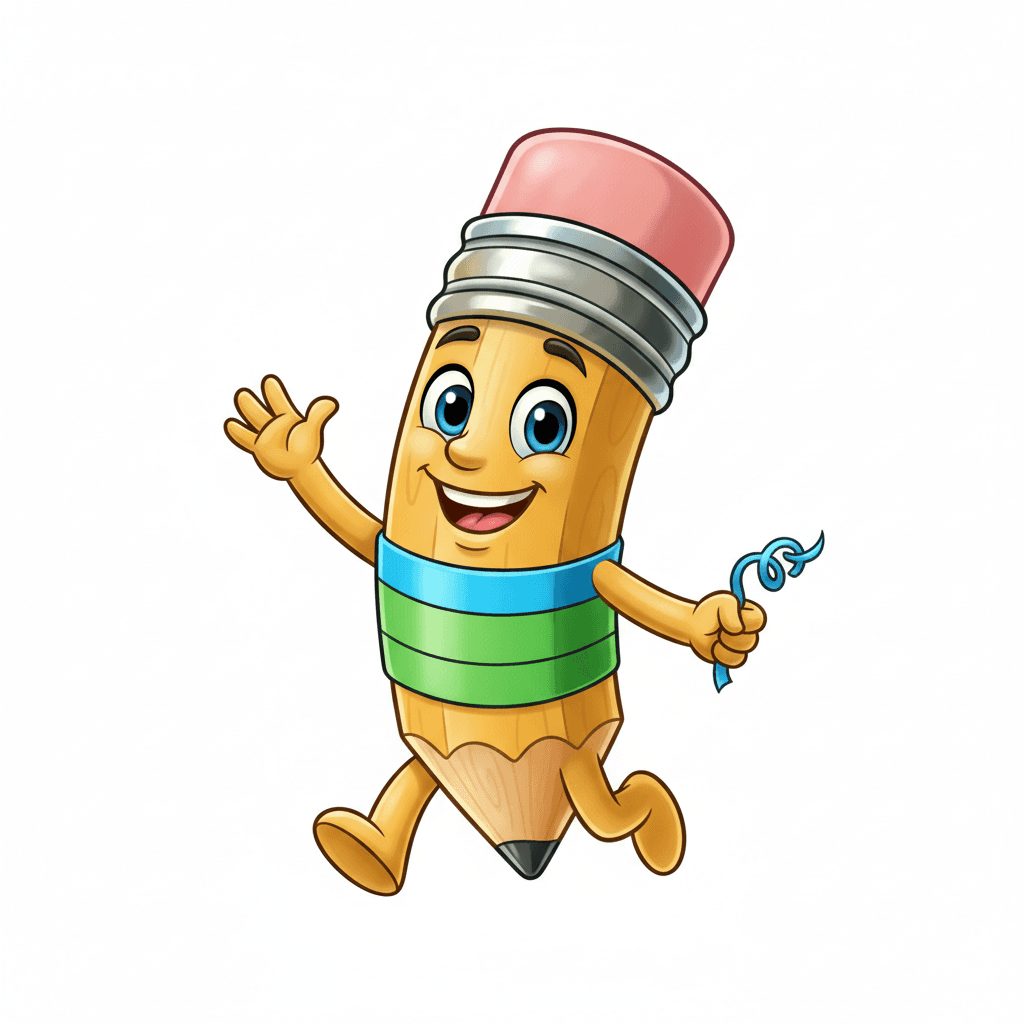
Get inspired with these


Instructions
How to draw a Pencil for kids | Pencil Easy Draw Tutorial
Step 1
Gather your materials and place your paper on a flat surface so you are ready to draw.
Step 2
Lightly draw a straight centerline at a slight angle to set the pencil's direction.
Step 3
Draw two light parallel lines on either side of the centerline to set the pencil's body width.
Step 4
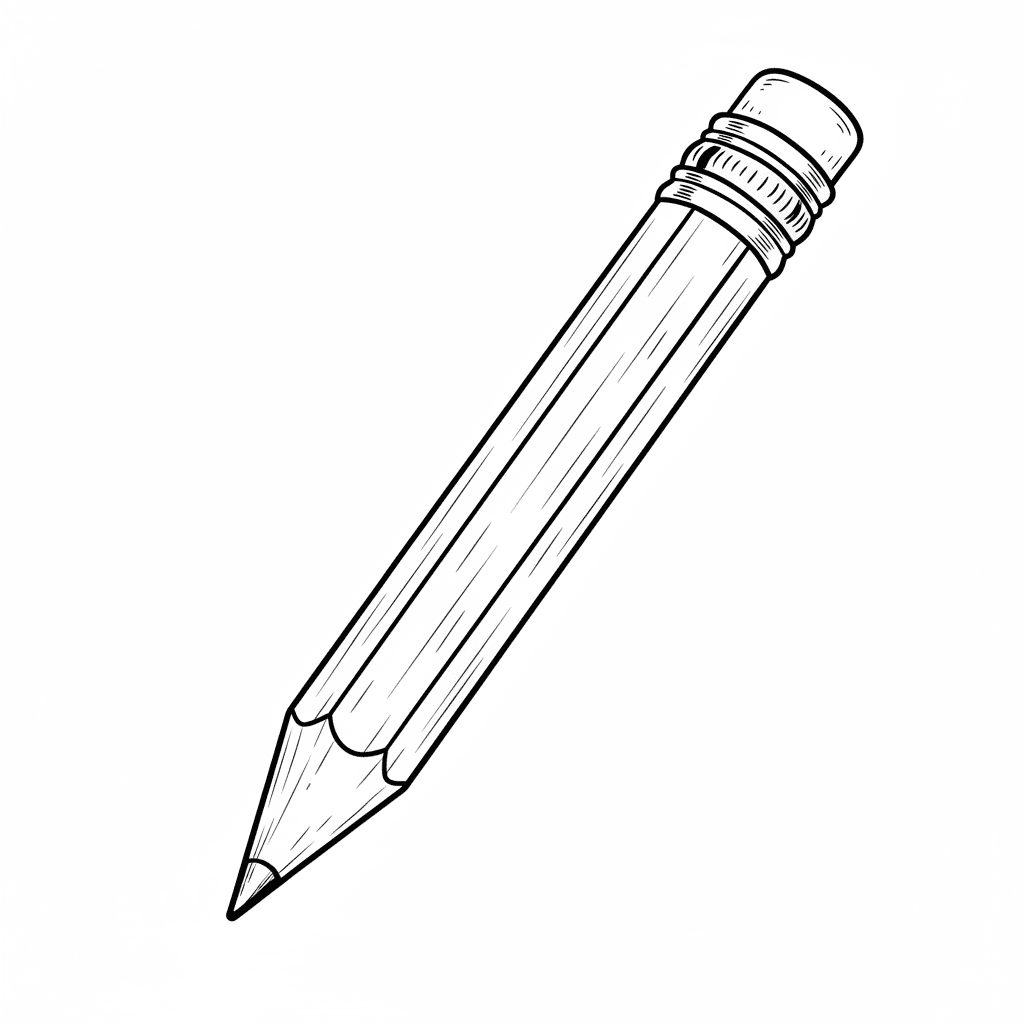
At one end draw two converging lines that meet at a sharp point to form the sharpened tip.
Step 5
Inside the sharpened cone draw a small dark triangle to show the graphite lead.
Step 6
Draw a thin curved line around the graphite to mark where the wood meets the lead.
Step 7
At the opposite end draw a short rectangle that touches the body to make the metal ferrule.
Step 8
Draw a small rounded rectangle beyond the ferrule to make the eraser.
Step 9
Lightly sketch three slightly angled lines along the pencil body to suggest its hexagonal faces.
Step 10
Shade each face with different pressure using light strokes on one face and darker strokes on the adjacent face to show form.
Step 11
Smooth the shading by gently blending along the faces with a blending stump or cotton swab.
Step 12
Add wood grain by drawing short curved strokes in the wood cone that follow the tip's shape.
Step 13
Create a thin highlight by lightly erasing a narrow strip across one face and onto the ferrule to suggest shine.
Step 14
Share your finished pencil drawing on DIY.org.
Help!?
I don't have a blending stump or special eraser — what can we use instead?
Use a clean cotton swab or a folded tissue to smooth the shading in step 11, and substitute a kneaded or white vinyl eraser for the thin highlight in step 13.
My pencil tip looks blunt after drawing — how can I fix it?
If the sharpened tip from step 4 looks blunt, lightly erase the cone and redraw the converging lines to meet at a tighter point, then darken the small triangle for the graphite in step 5.
How can I adapt this activity for younger or older kids?
For younger children skip steps 9–11 and use markers to draw the centerline, body, ferrule, and eraser, while older kids can refine the hex faces in step 9, practice varied pressure in step 10, and add detailed wood grain in step 12.
How can we make the finished pencil drawing more creative or realistic?
Personalize the barrel by drawing a name or pattern after step 3, use colored pencils before step 10 for a painted finish, and emphasize realism by adding the eraser-metal reflection with the narrow erased highlight in step 13.
Related videos
I'll teach you to draw! How to Draw #1: The Essential First Steps Most Beginners Miss
3 Videos

I'll teach you to draw! How to Draw #1: The Essential First Steps Most Beginners Miss

How to draw anything | learn sketching for beginners in 7 steps

Easy Pencil Drawings For Kids/ Cartoon Drawing Step by Step/ How to Draw Cartoon Characters
Fun Facts
✏️ A standard #2 pencil is the most common for school tests and is roughly equivalent to an HB grade.
🪵 Most wooden pencils are made from incense-cedar, which sharpens smoothly and resists splintering.
🎨 Large graphite deposits discovered in 16th-century Borrowdale, England, helped kick off modern pencil making.
🔍 Artists achieve realistic shading with pencils using hatching, cross-hatching, and blending tools like stumps or tissue.
📏 A new full-size pencil is about 7.5 inches (19 cm) long—keeping your drawn pencil's proportions close to this helps it look real.
How do I teach my child to draw a realistic pencil step by step?
What materials do I need to draw a realistic pencil?
What ages is this pencil drawing activity suitable for?
What are the benefits of drawing a realistic pencil?
