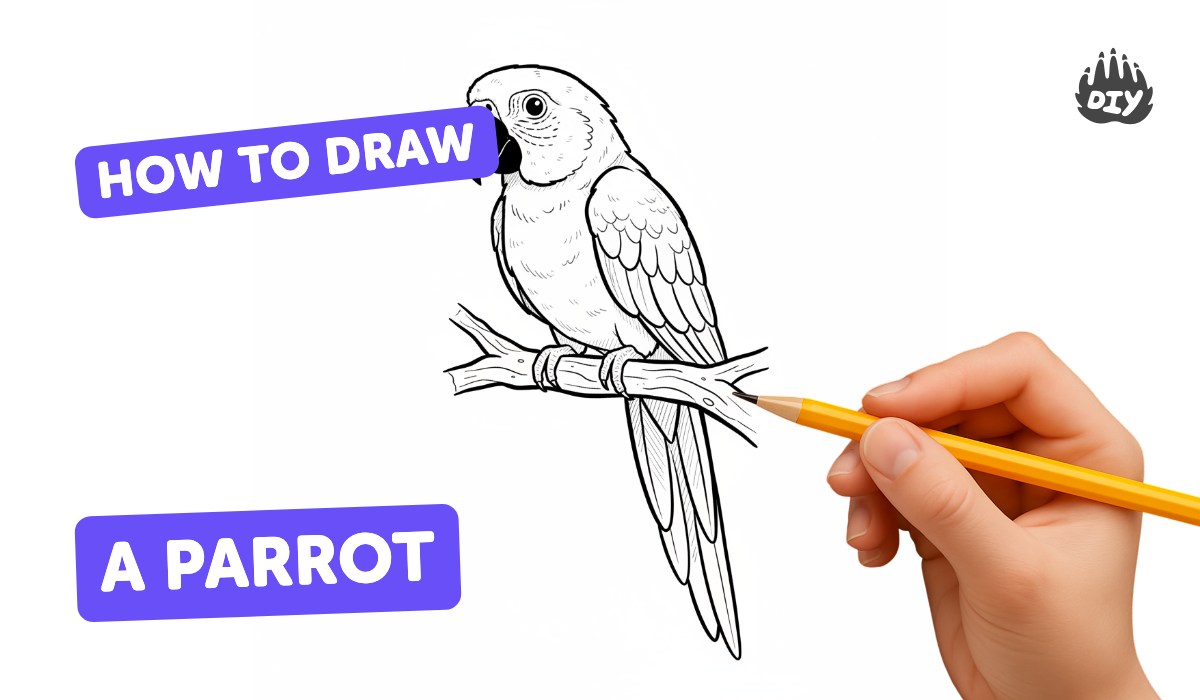
How to draw a parrot - a free parrot drawing guide
Draw a colorful parrot step-by-step using simple shapes, proportions, and shading. Practice observation, line control, and color blending to create realism.

Drawing Apps
Get inspired with these


Instructions
How to Draw a Colorful Parrot | Easy Drawing for Kids
Step 1
Gather your materials and find a flat comfy spot to draw.
Step 2
Lightly draw a circle for the head and a larger oval below it for the body to map the parrot shape.
Step 3
Draw a light vertical guideline through the head and body to help place features evenly.
Step 4
Sketch the beak as a curved triangle and add a circle for the eye using the guideline for placement.
Step 5
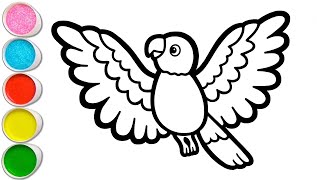
Draw a long curved triangle for the tail and a rounded teardrop shape on the side of the body for the wing.
Step 6
Draw two short legs and simple curved claws gripping a straight branch for the perch.
Step 7
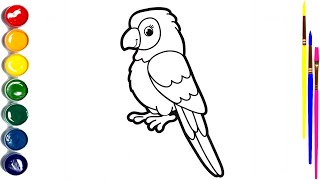
Connect the basic shapes with smooth curved lines to form the parrot outline.
Step 8
Erase the light construction lines so only the parrot outline remains.
Step 9
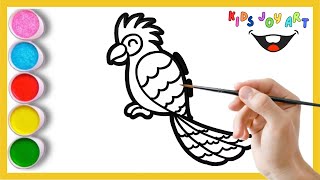
Add feather details by drawing short curved lines on the wing and long lines on the tail.
Step 10
Trace the final lines with a black marker or darken them with your pencil to make the drawing clear.
Step 11
Apply light base colors to the head body wing and tail using your coloring materials.
Step 12
Add darker tones where shadows fall and gently blend the colors with a tissue or cotton swab for smooth transitions.
Step 13
Share your finished colorful parrot on DIY.org.
Help!?
What can I use if I don't have a black marker or cotton swabs for blending?
If you don't have the black marker or cotton swabs mentioned in the instructions, trace the final lines with a sharp dark pencil or thin black pen and blend colors using a clean finger or soft cloth instead of a tissue or cotton swab.
My parrot's beak and eye look off or the proportions feel weird—how do I fix that?
If the beak or eye sit unevenly, redraw the light vertical guideline through the head and body and reposition the curved-triangle beak and eye circle along it, and if proportions still look wrong, lightly erase and adjust the head circle or larger body oval before connecting the shapes.
How can I adapt this drawing activity for different ages and skill levels?
For preschoolers, simplify by providing pre-drawn head and body shapes to color and using stickers for feather details; for school-age kids follow all steps including feather lines and basic blending with tissue; and for older kids add darker tones, detailed feather texture, and smoother blending with cotton swabs or blending stumps.
What are some fun ways to extend or personalize the parrot drawing after finishing the basic steps?
To enhance the finished colorful parrot, add unique patterns or collage pieces to the wing and tail, draw a detailed jungle branch background with gripping claws, and put a small white highlight on the eye with a gel pen or paint to make it pop.
Related videos
How to Draw a Cute Parrot Tutorial 🦜✍️ Easy Step-by-Step
4 Videos
How to Draw a Cute Parrot Tutorial 🦜✍️ Easy Step-by-Step
Let's Draw a Cute Parrot! 🦜 Easy Step-by-Step Drawing Tutorial for Kids & toddlers
Let's Draw and Paint a colorful Parrot 🦜 together Simple Bird parrot picture for kids
How To Draw a Colorful Parrot Step By Step
Fun Facts
🦜 Parrots are part of the bird order Psittaciformes and include colorful friends like macaws and cockatoos.
✏️ Many artists begin drawings by blocking in basic shapes (circles, ovals, rectangles) to nail proportions fast.
🎨 Parrot feather colors come from special pigments called psittacofulvins and from feather structure that creates shine.
🌈 Birds, including parrots, can see ultraviolet light, so they notice color details humans often miss.
🖌️ To blend color smoothly, layer from light to dark and use tiny circular strokes or gentle smudging for realism.
How do I draw a colorful parrot step-by-step?
What materials do I need to draw a parrot with my child?
What ages is this parrot drawing activity suitable for?
What are the benefits of drawing a parrot with my child?
